Ciabatta Bread Recipe

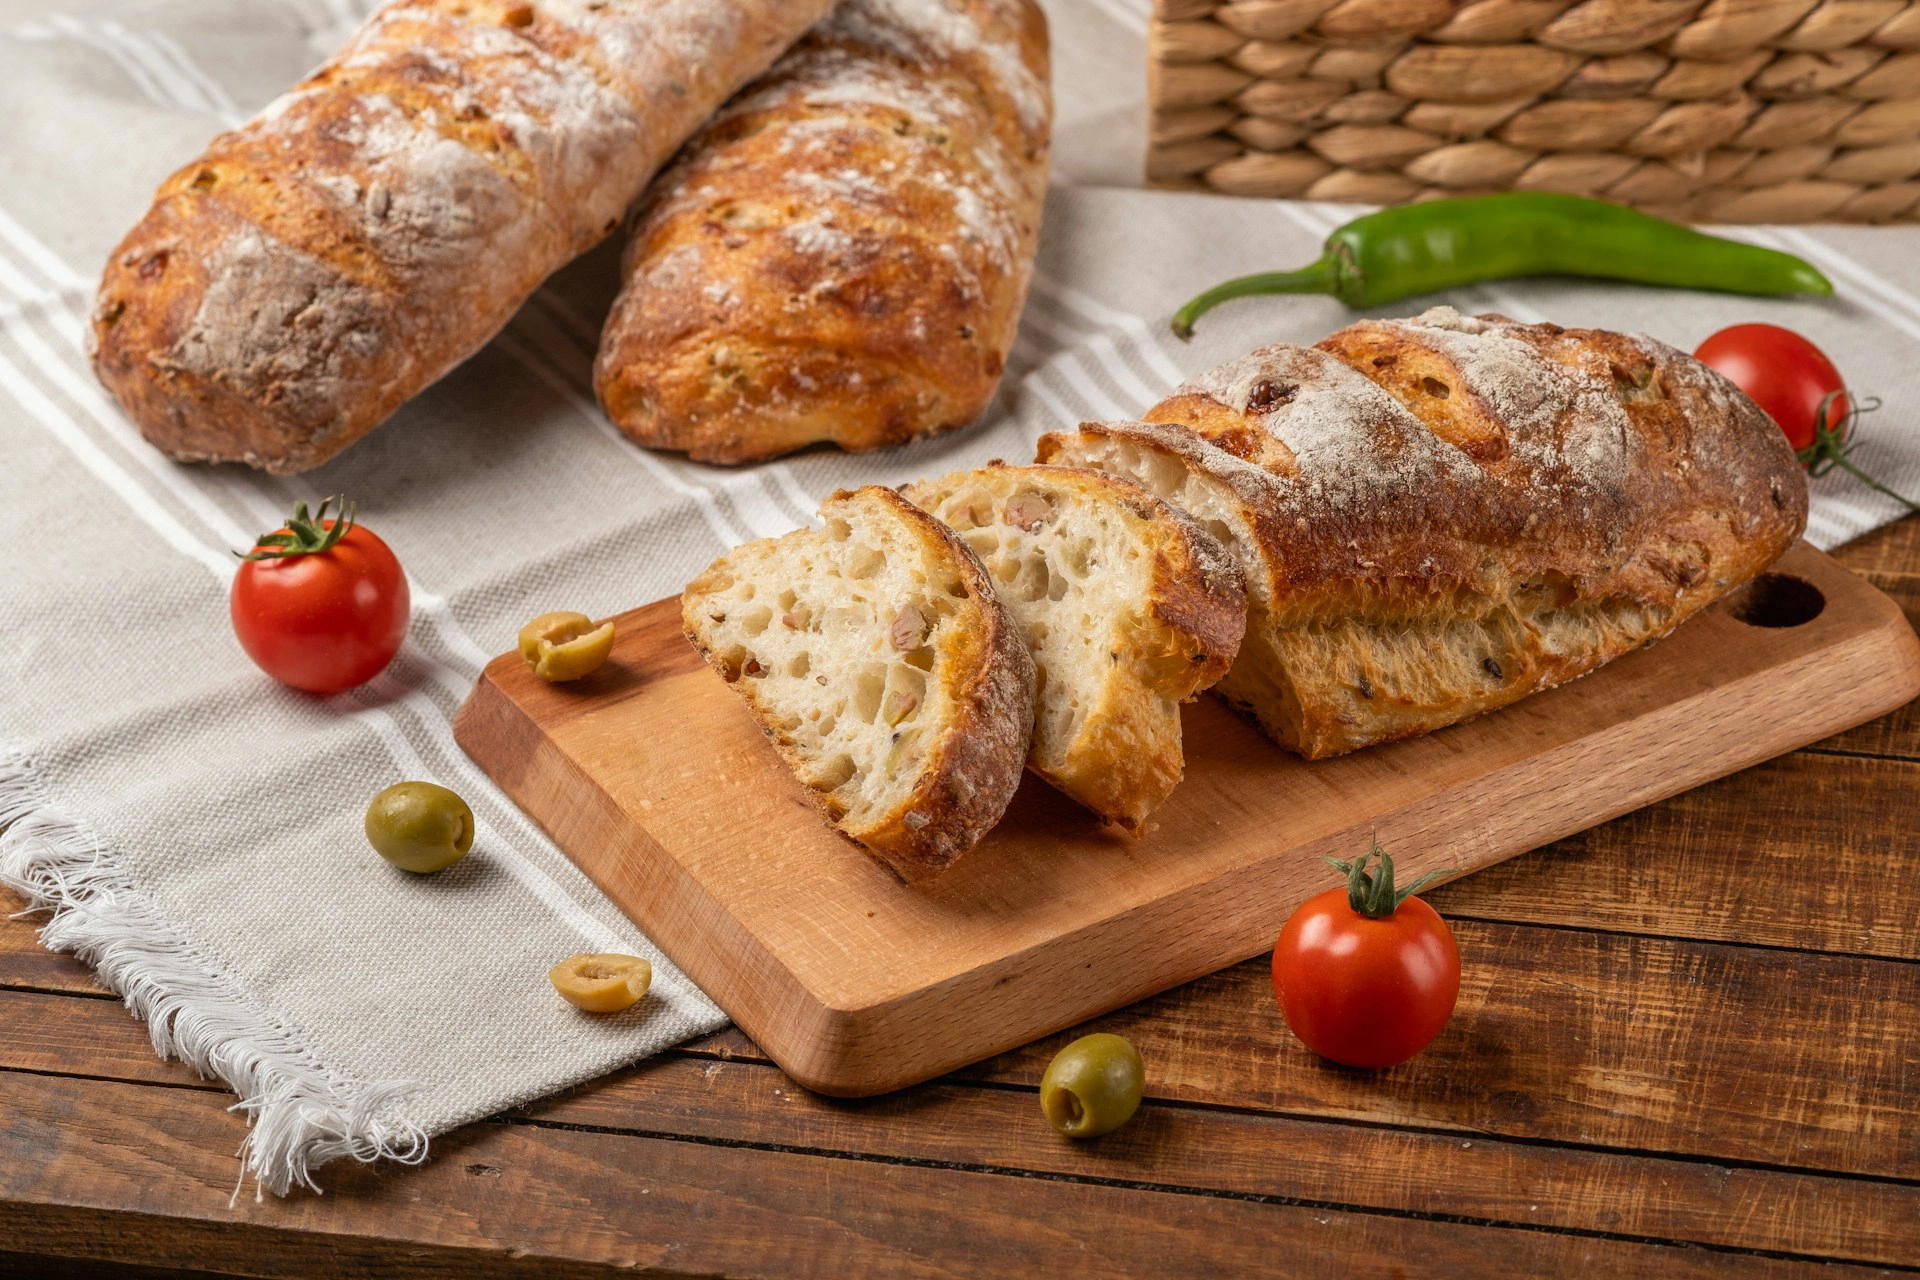
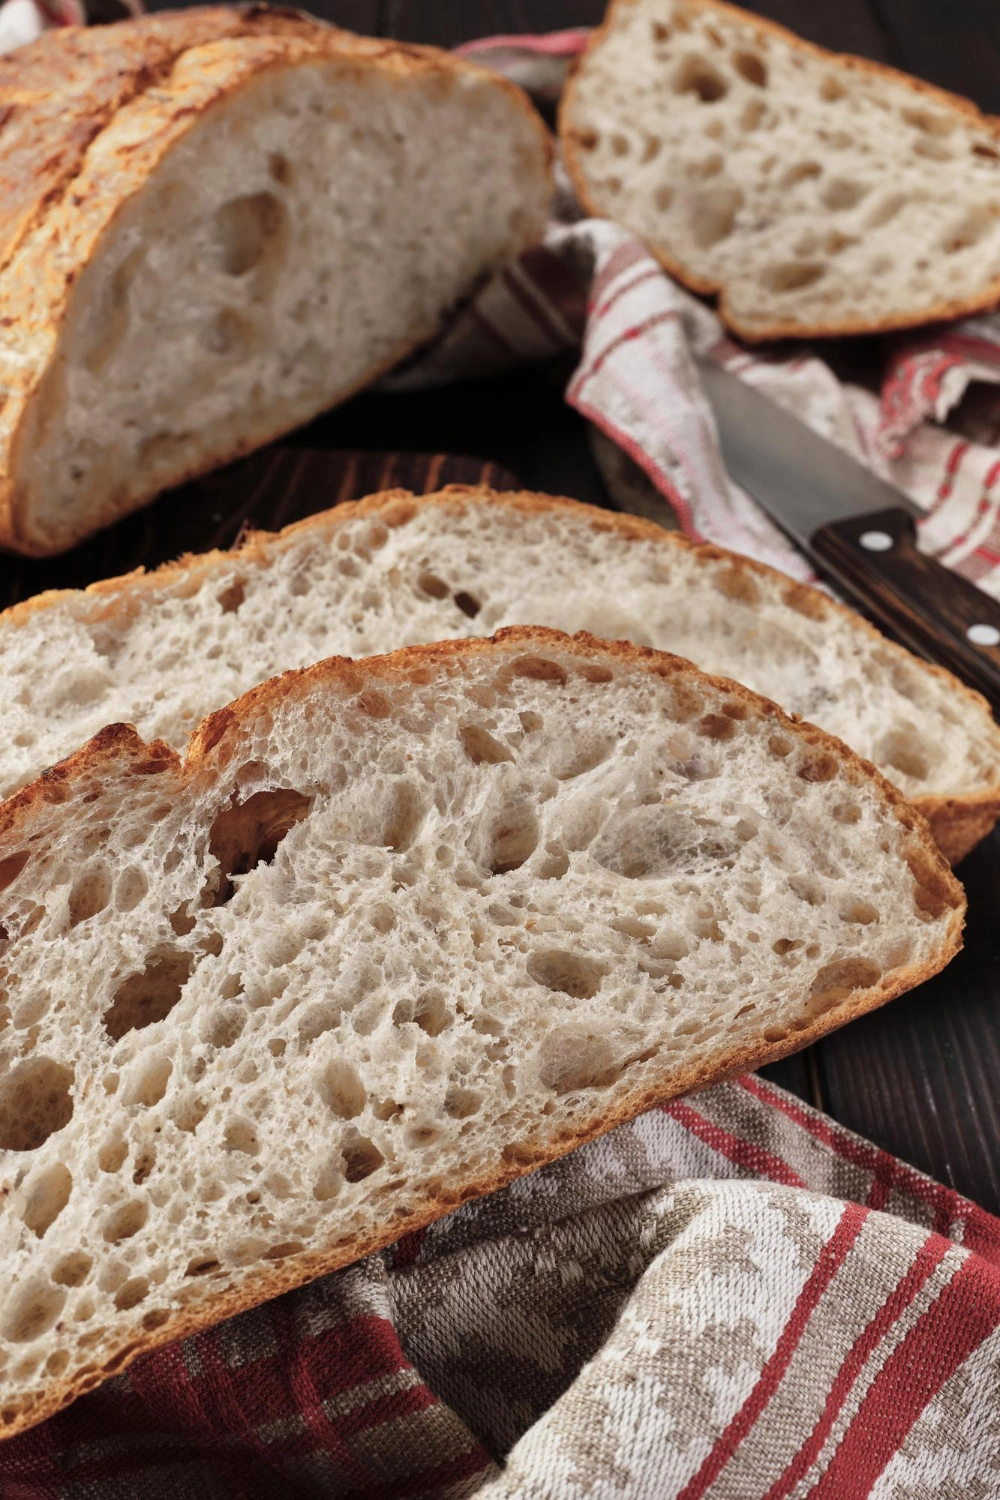
Tearing into a loaf with a crackly, golden crust and an airy, irregular crumb full of large holes is what separates real ciabatta from anything you can grab off a grocery shelf. This Ciabatta Bread Recipe builds that texture using a wet, high hydration dough and a simple overnight poolish, the kind of technique bakeries rely on that turns out to be entirely doable at home.
I was intimidated by ciabatta bread for a long time, mostly because the dough looks and feels nothing like a typical bread dough, closer to thick batter than something you can knead by hand. Once I understood that the stickiness is supposed to be there, and that a series of gentle stretch and folds replaces traditional kneading, this ciabatta bread recipe stopped feeling like a challenge and started feeling like a genuinely satisfying weekend project. That first bite of warm, crusty ciabatta bread, still faintly steaming from the oven, makes every bit of overnight planning worth it.
Table of Contents
Why You’ll Love This Recipe
- Authentic, bakery style texture with a crackly crust and airy, holey crumb
- Built on a simple overnight poolish, developing real depth of flavor
- Mostly hands off, despite the impressive final result
- Makes two full loaves, perfect for sandwiches or sharing
- Naturally vegan, using nothing more than flour, water, yeast, and salt
- A genuinely rewarding baking project, worth the time it asks for
Quick Information
- Prep Time: 20 minutes active
- Poolish Rest: 12 hours, or overnight
- Rise Time: 2 hours
- Cook Time: 25 minutes
- Total Time: About 14 hours 45 minutes, mostly hands off
- Servings: 8 (makes 2 loaves)
- Difficulty: Medium
- Calories: 140 per serving
- Important Tool: A kitchen scale for accurate measurements
- Best For: Sandwiches, paninis, or serving alongside soup
- Course: Bread
- Cuisine: Italian
- Category: Desserts & Baking
Nutrition Information
- Calories: 140
- Protein: 4g
- Carbohydrates: 27g
- Fat: 1g
- Fiber: 1g
- Sugar: 0g
- Sodium: 290mg
- Serving Size: 1 slice (about 1/8 of a loaf)
- Servings Per Recipe: 8
This ciabatta bread recipe is naturally low in fat, since the dough relies on flour, water, yeast, and salt rather than added butter or oil. Most of the sodium comes from the salt needed to properly season the dough, so adjusting it slightly is an easy way to control sodium if needed.
Nutrition information is an estimate calculated from standard ingredient values and will vary based on specific brands and portion sizes used.
Ingredients
For the Poolish
- 1 cup (120g) bread flour
- 1/2 cup (120ml) water, room temperature
- 1/8 teaspoon instant yeast
For the Final Dough
- 3 cups (360g) bread flour
- 1 1/4 cups (300ml) water, room temperature
- 1 3/4 teaspoons salt
- 1/2 teaspoon instant yeast
- 1 tablespoon olive oil
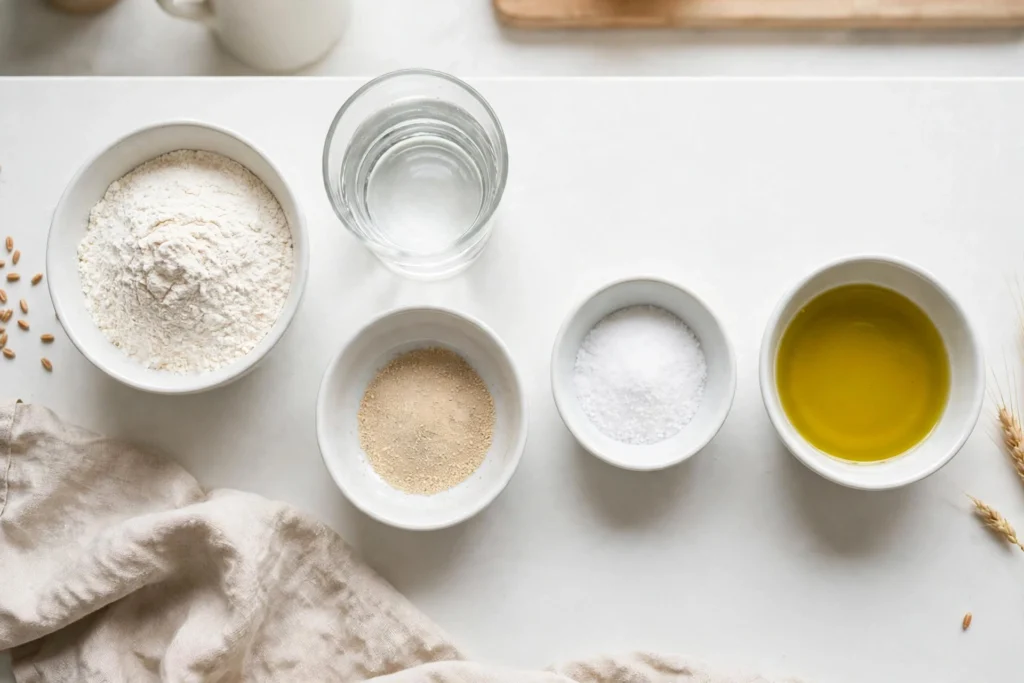
Ingredient Notes: A kitchen scale makes a real difference with this ciabatta bread recipe, since the high hydration dough depends on an accurate ratio of flour to water that volume measurements alone cannot reliably capture. Bread flour, rather than all purpose, gives the finished loaves the chewy structure and those signature large holes that define good ciabatta bread.
Callout Box — Ingredient Tip: If you are short on time, you can shorten the poolish rest to about 4 hours in a warm spot, though a full overnight rest genuinely does produce noticeably better flavor in the finished ciabatta bread.
Equipment Needed
- Kitchen scale – ensures accurate flour and water ratios for this high hydration dough
- Large mixing bowl – for both the poolish and the final dough
- Bench scraper – helps handle and shape the naturally sticky dough
- Baking sheet or bread peel – for transferring and baking the shaped loaves
- Wire rack – lets the finished ciabatta bread cool properly before slicing
Practical Tip: Keep a small bowl of water nearby while shaping the dough, since wetting your hands works far better than adding extra flour when this sticky dough starts clinging to your fingers.
Preparation
The night before you plan to bake, whisk the poolish ingredients together in a bowl until combined, then cover and let it sit at room temperature for 12 hours, or overnight. A properly ready poolish will look domed and bubbly on top, with a slightly sour, yeasty smell, and may have started to collapse slightly in the center, which is completely normal and a good sign that it has fully developed.
The next day, have your final dough ingredients measured and ready, since this dough comes together quickly once mixing begins.
Step by Step Instructions
- Combine the dough. In a large bowl, combine the poolish, bread flour, water, salt, yeast, and olive oil, mixing with a spatula or your hands until no dry flour remains. The dough will look shaggy and extremely wet at this stage, which is exactly how ciabatta bread dough should look.
- Rest briefly. Cover the bowl and let the dough rest for 30 minutes.
- Stretch and fold. With wet hands, grab one side of the dough, stretch it upward, and fold it over itself, rotating the bowl and repeating on all four sides. Repeat this stretch and fold process three more times, spaced 30 minutes apart, for a total bulk rise of about 2 hours. This wet dough should never be kneaded by hand the way a standard bread dough is; the stretch and fold method builds structure gently without deflating the air pockets that give ciabatta bread its signature holes.
- Divide the dough. Turn the risen, bubbly dough out onto a heavily floured surface and gently divide it into two equal portions using a bench scraper, handling it as little as possible.
- Shape the loaves. Gently shape each portion into a rough rectangle, being careful not to press out the air bubbles, then transfer to a floured piece of parchment paper.
- Proof. Cover the shaped loaves loosely and let them proof for 30 to 45 minutes, until visibly puffy.
- Preheat and prepare steam. Preheat your oven to 475°F (245°C), placing a baking stone or sheet inside to heat along with the oven, and set a small pan of water on a lower rack to create steam.
- Bake. Slide the loaves, still on their parchment, onto the hot baking surface and bake for 20 to 25 minutes, until deeply golden brown. A properly baked ciabatta bread should sound hollow when you tap the bottom, and an instant read thermometer inserted into the center should read about 205°F to 210°F.
- Cool completely. Transfer the loaves to a wire rack and let them cool completely, at least 45 minutes, before slicing, since the crumb continues to set as it cools.
Expert Tips & Tricks
- Trust the wet dough. The first time I made this, I kept adding flour trying to make the dough less sticky, and ended up with a dense, disappointing loaf, so now I resist that urge completely.
- Use a scale, not cups. Measuring by weight rather than volume is the single biggest factor in getting a properly hydrated, workable ciabatta bread dough.
- Do not skip the stretch and folds. This gentle technique is what builds structure in a dough too wet to knead traditionally, and skipping steps here noticeably affects the final texture.
- Handle the dough minimally after bulk rise. The less you press and manipulate the risen dough while shaping, the more of those large, irregular holes will survive into the baked loaf.
- Steam matters for the crust. That pan of water in the oven creates the humid environment needed for a properly crackly, golden ciabatta bread crust.
- Let it cool fully. Cutting into warm ciabatta bread before it has finished cooling leaves the crumb gummy instead of properly set.
- Make the poolish the night before. Planning this one step ahead is what makes the rest of the process feel manageable the next day.
Common Mistakes & Troubleshooting
Dense, heavy bread: This usually traces back to skipping or rushing the stretch and fold steps, or from over-handling the dough during shaping. Stick to the full set of stretch and folds spaced 30 minutes apart, and handle the risen dough as gently and briefly as possible when dividing and shaping.
No large holes in the crumb: Pressing out air bubbles during shaping is the most common cause of a tighter, more uniform crumb than classic ciabatta bread should have. Handle the dough minimally once it has risen, using a light touch with the bench scraper rather than pressing or patting it down.
Flat, spread out loaves: Underproofing, or a dough that was too warm and over-fermented, can both lead to loaves that spread wide instead of holding a taller shape. Watch for visible puffiness rather than relying on time alone, since proofing speed varies with kitchen temperature.
Pale, soft crust: Baking without steam, or at too low a temperature, leaves the crust pale and soft instead of deeply golden and crackly. Make sure your oven is fully preheated to 475°F and that your pan of water is in place before the loaves go in.
Gummy texture when sliced: Cutting into the loaf before it has fully cooled is the most common cause here, since the crumb structure is still setting as the bread cools. Let the ciabatta bread cool completely on a wire rack, waiting at least 45 minutes before slicing.
Storage Instructions
- Room Temperature: Store in a paper bag or loosely wrapped for up to 2 days; ciabatta bread is best enjoyed the day it is baked.
- Refrigerator: Not recommended, since refrigeration tends to dry bread out faster than room temperature storage.
- Freezer: Freeze whole or sliced loaves tightly wrapped for up to 3 months.
- Reheating: Refresh in a 375°F (190°C) oven for 5 to 8 minutes to restore some crispness to the crust, since microwaving makes the texture tough and chewy.
- Make Ahead: The overnight poolish is essentially a built in make ahead step, letting you split the workload across two days.
- My storage tip: I always freeze one full loaf right away if I am not planning to finish both within a couple of days, since ciabatta bread reheats from frozen far better than it holds up sitting at room temperature for several days.
Variations & Substitutions
- Spicy version: Knead a teaspoon of red pepper flakes into the dough during the final stretch and fold for a subtle, evenly distributed heat throughout the loaf.
- Extra tender version: Increase the olive oil slightly to 2 tablespoons for a softer, more tender crumb that some people, especially kids, prefer over the classic chewier texture.
- Naturally vegan: This recipe is plant based as written, using no dairy, eggs, or animal derived ingredients.
- Gluten free adaptation: Ciabatta bread is genuinely difficult to replicate gluten free, since the structure depends heavily on gluten development, though a dedicated gluten free bread flour blend with added xanthan gum can approximate the texture with some trial and error.
- Other substitutions: Fold in chopped fresh rosemary and a bit of extra olive oil for a rosemary olive oil version, or add chopped sun-dried tomatoes for a Mediterranean twist on this ciabatta bread recipe.
Serving Suggestions
Fresh ciabatta bread works beautifully in several different ways.
- Sandwiches: Slice horizontally for a hearty panini or sandwich bread
- Dipping: Serve with good olive oil and balsamic vinegar for dipping
- Soup pairing: A slice alongside butternut squash soup makes for a comforting meal
- Toast: Toasted and rubbed with garlic for a simple bruschetta base
- Meal combinations: Pair with a cheese board for an easy appetizer spread (internal link: more bread and baking recipes)
Callout Box — Meal Prep Tip: I regularly bake a double batch of this ciabatta bread recipe, freezing one full loaf right after it cools so a second fresh feeling loaf is always just a quick reheat away.
Frequently Asked Questions
Can I make ciabatta bread ahead of time?
Yes, in a sense the entire recipe is built around planning ahead, since the poolish needs to rest overnight before you even start the final dough. Once baked, ciabatta bread is best eaten within a couple of days at room temperature, or you can freeze a full loaf for up to 3 months and reheat it in the oven whenever you want fresh feeling bread again.
Why is my ciabatta dough so sticky, and how do I handle it?
Stickiness is completely normal and expected for this style of high hydration dough, which is meant to feel more like a thick batter than a traditional kneadable dough. Keep your hands wet rather than adding extra flour, and use a bench scraper to help lift and shape the dough instead of trying to handle it entirely with your fingers.
Can I make ciabatta bread without a stand mixer?
Absolutely, this ciabatta bread recipe is written specifically for hand mixing, since the stretch and fold technique replaces traditional kneading entirely. A stand mixer with a dough hook can technically help combine the initial ingredients, but the structure building stretch and folds are done by hand regardless of how you mix the dough initially.
Why doesn’t my ciabatta bread have big holes?
The most common cause is handling the dough too much during shaping, which presses out the air pockets that create those signature large, irregular holes. Be as gentle and minimal as possible when dividing and shaping the risen dough, and make sure you completed the full set of stretch and folds during the bulk rise, since that step is what builds the air structure in the first place.
Why is my homemade ciabatta bread dense instead of airy?
Dense ciabatta bread almost always points back to skipped or rushed stretch and folds, over-handling during shaping, or a dough that did not get enough time to properly rise. Stick closely to the timing for both the bulk rise and the final proof, and resist adding extra flour even when the dough feels intimidatingly sticky, since that added flour is often what leads to a denser final crumb.
Conclusion
Ciabatta Bread Recipe proves that some of the most impressive baking results come from trusting a process that looks nothing like typical bread making, wet dough, minimal handling, and all. What makes this one worth the overnight planning is that first tear into a warm loaf, crust crackling and crumb full of air, a texture that is genuinely hard to find outside a real bakery. Give this ciabatta bread recipe a try on a weekend when you have the time, and you will likely find yourself planning your next batch before the current one is even gone.
For more homemade bread and baking recipes like this one, follow along on Pinterest at MyRecipesDiary.

Ciabatta Bread Recipe
Ingredients
Equipment
Method
- Mix poolish ingredients and rest 12 hours, or overnight.
- Combine poolish with remaining dough ingredients until no dry flour remains.
- Rest 30 minutes, then stretch and fold four times, spaced 30 minutes apart, over 2 hours.
- Gently divide dough into two portions on a floured surface.
- Shape into rough rectangles and proof 30 to 45 minutes.
- Bake at 475°F with steam for 20 to 25 minutes until deeply golden.
- Cool completely on a wire rack before slicing.
Notes
- Trust the wet, sticky dough; resist adding extra flour to make it easier to handle.
- Use a kitchen scale rather than cups for the most accurate, reliable hydration.
- Let the baked loaves cool completely before slicing, since the crumb is still setting as it cools.
- A baking stone or sheet preheated with the oven helps the bottom crust bake evenly.