Peanut Butter Cookies with Golden Edges and Soft Centers

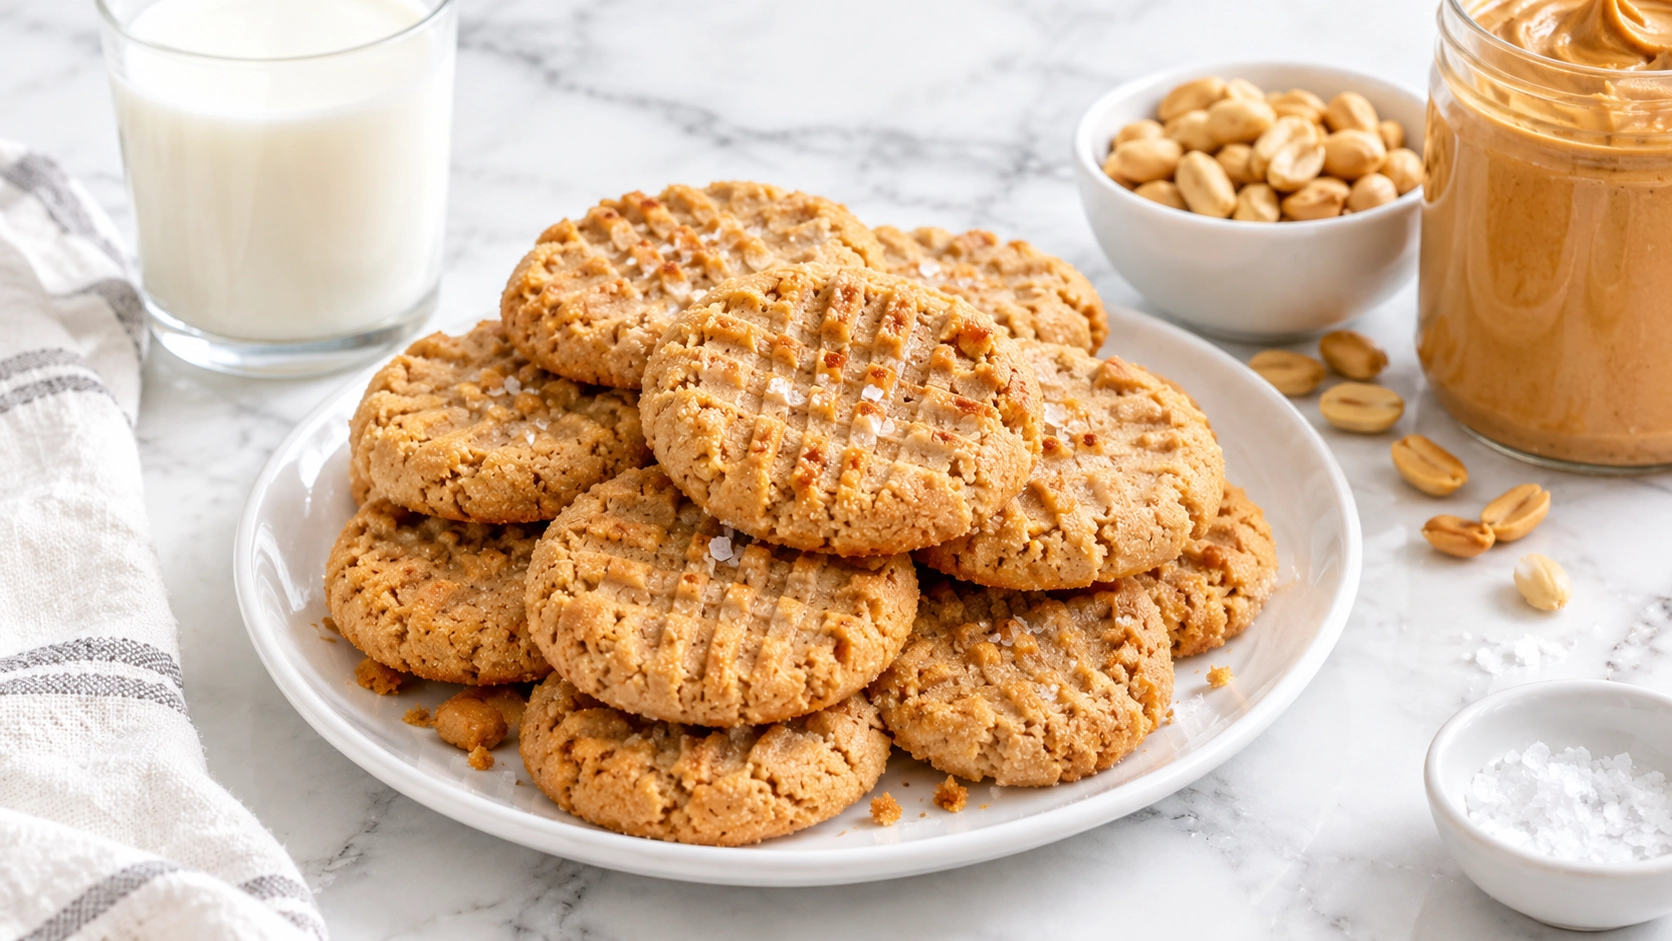
A tray of peanut butter cookies fresh from the oven, with crisp golden edges, soft chewy centers, and that classic criss cross top, makes the whole kitchen smell like a childhood after school snack. This peanut butter cookies recipe makes cookies that are rich, salty sweet, and tender, with a deep roasted peanut flavor in every bite.
My early batches were disappointing. They spread into thin, greasy lace, then turned crumbly and dry the next day, and the criss cross vanished in the oven. After eight test bakes, three fixes changed everything: a short chill, a mix of white and brown sugar, and pulling the pan while the centers still look soft.
What makes this version different is the balance. Brown sugar keeps the centers chewy for days, a pinch of baking powder adds a gentle lift, and a roll in sugar gives a crisp, sparkling edge. It needs one bowl and no special tools. My nephew, who eats only one cookie at a time, went back for four and asked if I could make them every Friday.
Table of Contents
Why You’ll Love This Peanut Butter Cookies Recipe
- Soft, chewy centers that stay tender for 4 days, thanks to brown sugar
- Crisp, sparkling edges from a roll in granulated sugar before baking
- Deep peanut flavor from a full cup of creamy peanut butter in the dough
- Make ahead and freezer friendly, since the dough keeps 3 days and the cookies freeze for 3 months
- Easy to serve a crowd, with 24 cookies from one batch
- Simple pantry ingredients, with one bowl and no special tools
Quick Information
- Prep Time: 15 minutes
- Chill Time: 30 minutes
- Cook Time: 10 to 12 minutes per tray
- Cool Time: 10 minutes
- Total Time: About 1 hour 20 minutes
- Servings: 24 cookies
- Difficulty: Easy
- Calories: 165 per cookie
- Important Tool: A medium cookie scoop
- Best For: Lunch boxes, bake sales, cookie exchanges, after school snacks, or gift tins
- Course: Dessert
- Cuisine: American
- Category: Desserts & Baking
Nutrition Information
- Calories: 165
- Protein: 4g
- Carbohydrates: 17g
- Fat: 9g
- Fiber: 1g
- Sugar: 11g
- Sodium: 130mg
- Serving Size: 1 cookie (about 32g of dough before coating)
- Servings Per Recipe: 24
These peanut butter cookies are a sweet treat, with most of the calories coming from the peanut butter, butter, and sugar. Peanut butter adds a little protein, and one cookie with a glass of milk makes a satisfying snack. This recipe contains peanuts, wheat, eggs, and dairy.
Nutrition information is an estimate calculated from standard ingredient values and will vary based on specific brands and portion sizes used.
Ingredients
For the Cookie Dough
- 1 1/4 cups (155g) all purpose flour
- 1/2 teaspoon baking soda
- 1/4 teaspoon baking powder
- 1/2 teaspoon fine salt
- 1/2 cup (113g) unsalted butter, softened to about 65°F
- 1/2 cup (100g) granulated sugar
- 1/2 cup (100g) packed light brown sugar
- 1 large egg, at room temperature
- 1 cup (250g) creamy peanut butter
- 1 teaspoon alcohol free vanilla extract
For Rolling
- 1/4 cup (50g) granulated sugar
For Finishing
- Flaky sea salt, for sprinkling
Ingredient Notes: Use a regular creamy peanut butter, since it gives the most reliable texture. I tested this with Jif creamy peanut butter and King Arthur flour, and both gave a tender, chewy cookie. Room temperature butter and egg blend smoothly, so the dough stays thick and does not separate.
Tip: Spray the measuring cup with cooking spray before you scoop the peanut butter. It slides right out, and you leave nothing behind in the cup.
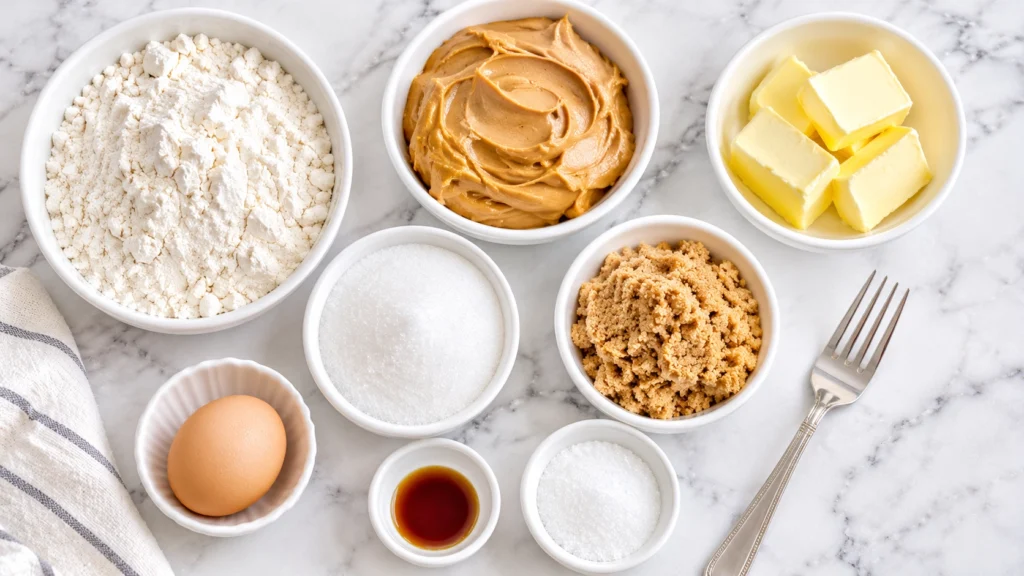
Equipment Needed
- Medium cookie scoop: portions even portions of about 32g so they bake at the same speed
- Hand or stand mixer: creams the butter, sugars, and peanut butter until smooth
- Rimmed baking sheets lined with parchment: give steady heat and stop the cookies from sticking
- Fork: presses the classic criss cross pattern into each cookie
- Wire rack: cools the cookies so the bottoms stay crisp
- Digital kitchen scale: weighs the flour for a soft, never dry cookie
Practical Tip: Dip the fork in granulated sugar before every press. The sugar keeps the dough from sticking, and it gives the pattern a sparkling edge.
Preparation
Set the butter and egg on the counter for 1 hour. Heat the oven to 350°F (175°C) with the rack in the center, and line two rimmed baking sheets with parchment paper.
Weigh the flour, or spoon it into the cup and level it with a knife. Measure the sugars, peanut butter, and vanilla, and pour the rolling sugar into a small shallow bowl.
Step by Step Instructions
1. Mix the dry ingredients
Heat the oven to 350°F and line two baking sheets with parchment. Whisk the flour, baking soda, baking powder, and salt in a medium bowl until evenly combined.
2. Cream the butter, sugars, and peanut butter
Beat on medium speed for 2 minutes, until smooth and creamy, scraping the bowl once.
Chef’s Note: Use softened butter that still holds its shape and stop mixing once smooth.
3. Add the egg and vanilla
Beat for 30 seconds, until the dough looks glossy and no streaks of egg remain.
4. Fold in the flour
Mix on low speed in two additions until a few streaks remain, then finish with a spatula. The dough should look thick and soft, a little sticky but not wet.
5. Chill the dough
Cover and refrigerate for 30 minutes, until firm enough to roll without sticking to your hands.
Chef’s Note: Chill until the dough rolls without sticking. A warm kitchen may call for a few more minutes.
6. Shape and press
Portion about 32g of dough per cookie, roll each piece into a ball, and coat it in granulated sugar. Place the balls 2 inches apart, then press each one with a fork, once in each direction, to about 1/2 inch thick.
7. Bake and cool
Bake at 350°F for 10 to 12 minutes, until the edges are set and golden and the centers look soft and slightly puffy. Sprinkle with flaky salt, then cool on the pan for 10 minutes.
Chef’s Note: Cool each tray completely before loading the next batch of dough.
Expert Tips & Tricks
- Use two sugars. White sugar gives crisp edges, and brown sugar keeps the centers chewy, so together they give the best of both textures.
- Chill the dough. Cold dough spreads slowly, so the cookies stay thick and the criss cross pattern keeps its shape.
- Learn from my mistake. I once skipped the chill and loaded dough onto a pan that was still hot from the first batch. The cookies flowed into one giant, greasy sheet, so now I always cool the pan between trays.
- Weigh the flour. A packed cup can hold up to 30g extra flour, and that extra flour is the main cause of dry, crumbly cookies.
- Make ahead. Roll the dough into balls, coat them in sugar, and freeze them on a tray, then bag them, so you can bake a few fresh cookies whenever you like.
- Store with parchment. Layer the cooled cookies in an airtight tin with parchment between each layer, so the sugar coat stays crisp.
- Save time. Use a cookie scoop to portion the dough in about 3 minutes, and bake one tray while you shape the next.
Common Mistakes & Troubleshooting
Cookies spread flat and greasy: Warm butter, a whipped dough, or a hot pan makes them melt outward. Cream only until smooth, chill the dough for 30 minutes, and bake on a cool pan. If they start to spread, chill the remaining dough for 15 minutes.
Dry, crumbly cookies: Too much flour, overbaking, or a cold dough that was not fully mixed leaves them sandy. Weigh the flour and pull the cookies while the centers look soft. Store them overnight in an airtight container, and they soften.
Hard, crunchy cookies: Overbaking and too much white sugar dry them out. I baked my second batch until the centers turned brown, and they cooled into hockey pucks. Bake for 10 to 12 minutes only. A slice of apple in the tin for a few hours helps hard cookies soften.
Puffy, cakey cookies: Too much baking powder, an overmixed dough, or skipping the fork press leaves them domed. Level your spoons, mix on low after the flour goes in, and press each ball flat. Press a puffy cookie with a spatula as soon as it leaves the oven.
Burnt bottoms or pale tops: Dark pans and thin sheets scorch the base. Use light colored sheets lined with parchment and bake on the center rack. If the bottoms brown too fast, drop the oven to 325°F and add 2 minutes.
Storage Instructions
- Room Temperature: Store in an airtight container for up to 5 days.
- Refrigerator: Keep in an airtight container for up to 1 week; let them sit for 10 minutes before serving.
- Freezer: Freeze baked cookies for up to 3 months, or freeze sugar coated dough balls on a tray, then bag them, for up to 3 months. Flatten the portions with a fork before freezing, then bake from frozen for about 12 to 14 minutes, checking for set edges.
- Reheating: Warm a cookie in the microwave for 8 seconds, or in a 300°F oven for 4 minutes, to bring back the soft center.
- Make Ahead: Mix the dough up to 3 days ahead and keep it covered in the fridge, then scoop and bake.
- My storage tip: I freeze the dough balls and bake only 4 at a time in a toaster oven, so a warm cookie takes about 15 minutes.
Variations & Substitutions
- Spicy version: Add 1/4 teaspoon cayenne and 1/2 teaspoon cinnamon to the dry ingredients for a sweet heat.
- Mild, kid friendly version: Fold in 1/2 cup of mini chocolate chips, and roll the balls in rainbow sprinkles in place of the sugar.
- Vegetarian version: The recipe is already vegetarian, with no gelatin or meat ingredients.
- Vegan version: Use plant based butter and replace the egg with 1 tablespoon of ground flaxseed mixed with 3 tablespoons of water, rested for 5 minutes.
- Gluten free version: Use a 1:1 gluten free baking flour blend with xanthan gum, and chill the dough for 45 minutes.
- Blossom version: Press an unwrapped chocolate kiss into each warm cookie as it comes out of the oven.
- Other substitutions: Replace 1/4 cup of the flour with oat flour, stir in 1/2 cup of chopped dark chocolate, or add 1/2 cup of chopped roasted peanuts.
Serving Suggestions
Peanut butter cookies are best served slightly warm, when the centers are soft and the edges still have a crisp snap.
- Garnishes: Flaky sea salt, chopped roasted peanuts, or a drizzle of melted dark chocolate
- Drinks: Cold milk, hot coffee, or a silky matcha latte for a creamy pairing
- Snack plates: Set beside peanut butter protein balls for a peanut butter lover’s platter
- Dessert tables: Serve next to an Oreo cheesecake for a spread with soft and creamy textures
- Ice cream sandwiches: Sandwich a scoop of vanilla ice cream between two cooled cookies
- Meal combinations: Explore more dessert and baking recipes for other crowd pleasers
Meal Prep Tip: I freeze two trays of sugar coated dough balls on Sunday, then bake a few fresh cookies after dinner whenever the craving hits.
Frequently Asked Questions
How do I ship peanut butter cookies in the mail?
Let the cookies cool completely, then stack them in pairs, flat sides together, and wrap each pair in plastic wrap. Pack them snugly in a sturdy tin or box lined with parchment, filling gaps with crumpled wax paper so nothing shifts. Add a slice of bread to keep them soft, and choose 2 day shipping. Peanut butter cookies are dense and sturdy, so they travel well and are best eaten within 5 days of baking, including transit time.
Why do my peanut butter cookies taste bitter or too salty?
A bitter taste usually comes from too much baking soda or burnt bottoms, and too much salt comes from salted butter combined with salted peanut butter. Level your measuring spoons, use unsalted butter, and pull the peanut butter cookies when the edges are golden, not dark brown. Taste your peanut butter first, since some brands are very salty. If a finished batch tastes salty, serve the cookies with cold milk or a scoop of vanilla ice cream to balance them.
Can I use almond butter, sunflower seed butter, or crunchy peanut butter?
Yes, swap in the same amount of any creamy nut or seed butter. Almond butter gives a milder, slightly drier cookie, and sunflower seed butter tastes great but can turn the dough green from a harmless reaction with baking soda. Crunchy peanut butter adds bits of nut, so the cookies look rustic and eat a little thicker. Avoid natural, oil separated butters unless you stir them until smooth, or your peanut butter cookies will spread and turn greasy.
How long do I bake bigger or smaller peanut butter cookies?
For jumbo cookies made with 1/4 cup of dough, bake at 350°F for 14 to 16 minutes. For mini cookies made with 1 tablespoon of dough, bake 7 to 9 minutes. In every size, pull the pan when the edges look set and the centers still look slightly puffy and soft, since they finish on the hot pan. Keep each tray to one size so everything bakes evenly, and rotate the pan halfway if your oven runs hot.
Why do you press peanut butter cookies with a fork?
The fork marks flatten the dense dough so it bakes evenly, because peanut butter cookies hold their ball shape and stay raw in the middle if left round. The criss cross pattern became the classic look by the 1930s, and it is also a quick way to get a thinner, crispier edge. Dip the fork in granulated sugar each time so it does not stick, and press twice at right angles.
Conclusion
The best peanut butter cookies are the ones you pull from the oven while they still look a little underdone. Those soft centers finish setting on the hot pan, and that short pause is the whole secret to a chewy bite that lasts for days.
I baked three dozen for a school bake sale last October, and the table was bare within an hour. A neighbor who swears she only likes chocolate chip took two, then came back for the recipe.
Make them once as written, then make them your own. A pinch of flaky salt or a handful of chocolate chunks keeps these peanut butter cookies a favorite for years.
For more easy dessert and baking recipes like this one, follow along on Pinterest at MyRecipesDiary.
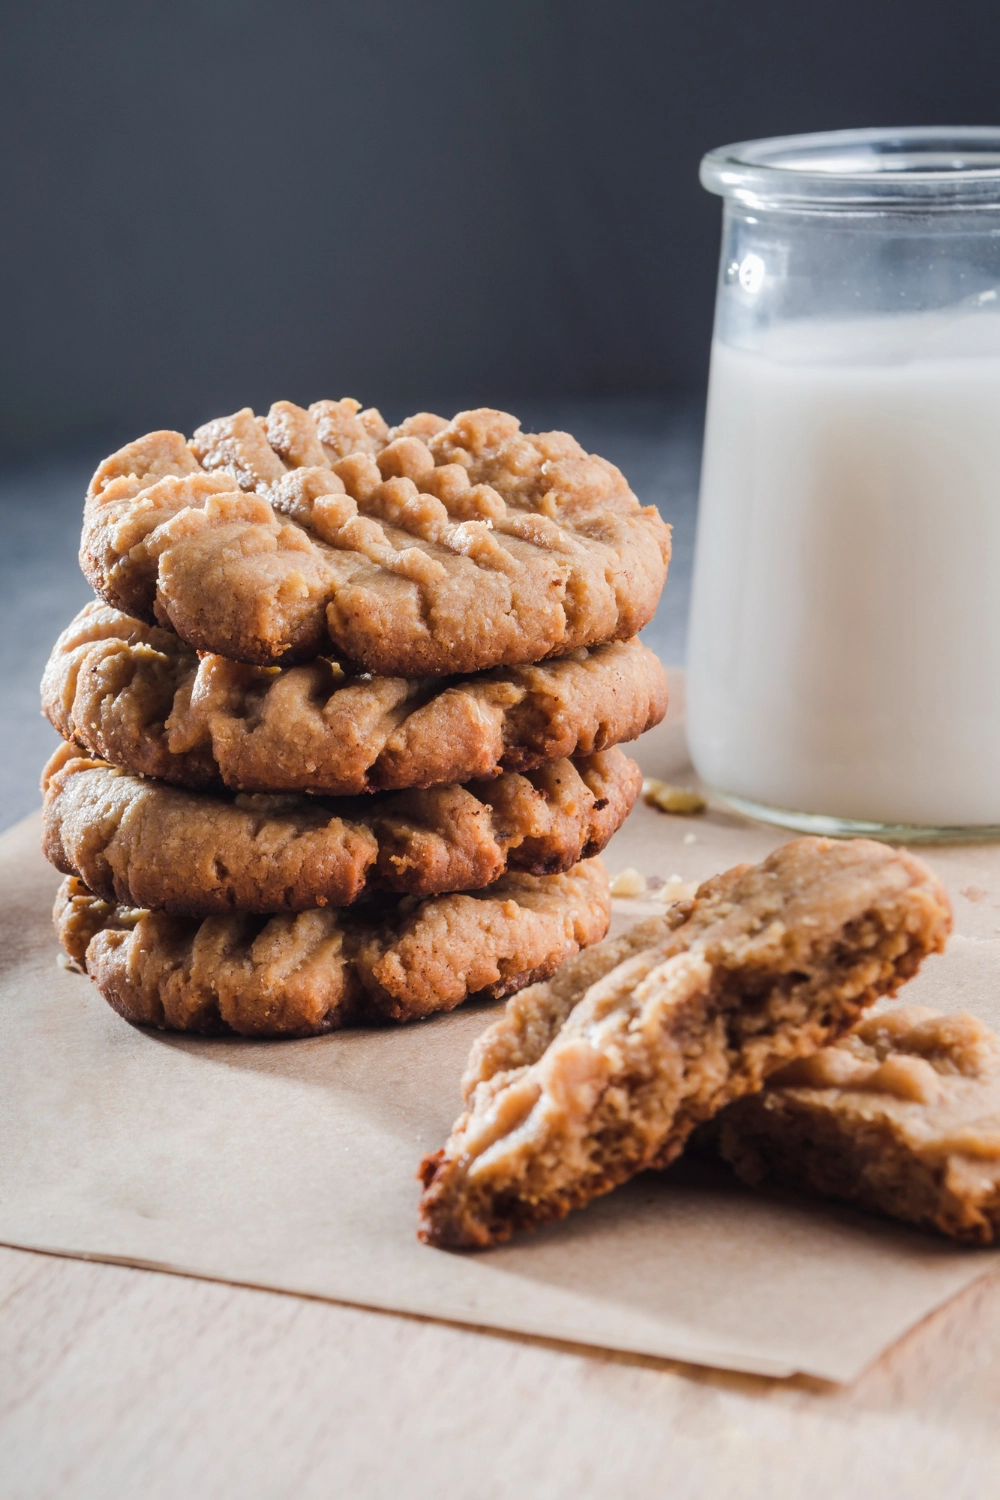

Peanut Butter Cookies Recipe
Ingredients
Equipment
Method
- Heat the oven to 350°F and line two baking sheets with parchment. Whisk the flour, baking soda, baking powder, and salt in a medium bowl until evenly combined.
- Beat on medium speed for 2 minutes, until smooth and creamy, scraping the bowl once.
- Beat for 30 seconds, until the dough looks glossy and no streaks of egg remain.
- Mix on low speed in two additions until a few streaks remain, then finish with a spatula. The dough should look thick and soft, a little sticky but not wet.
- Cover and refrigerate for 30 minutes, until firm enough to roll without sticking to your hands.
- Portion about 32g of dough per cookie, roll each piece into a ball, and coat it in granulated sugar. Place the balls 2 inches apart, then press each one with a fork, once in each direction, to about 1/2 inch thick.
- Bake at 350°F for 10 to 12 minutes, until the edges are set and golden and the centers look soft and slightly puffy. Sprinkle with flaky salt, then cool on the pan for 10 minutes.
Notes
- Weigh the flour for a tender, chewy cookie.
- Let the baking sheet cool between batches.
- Dip the fork in sugar before each press.