Chicken Pot Pie Recipe

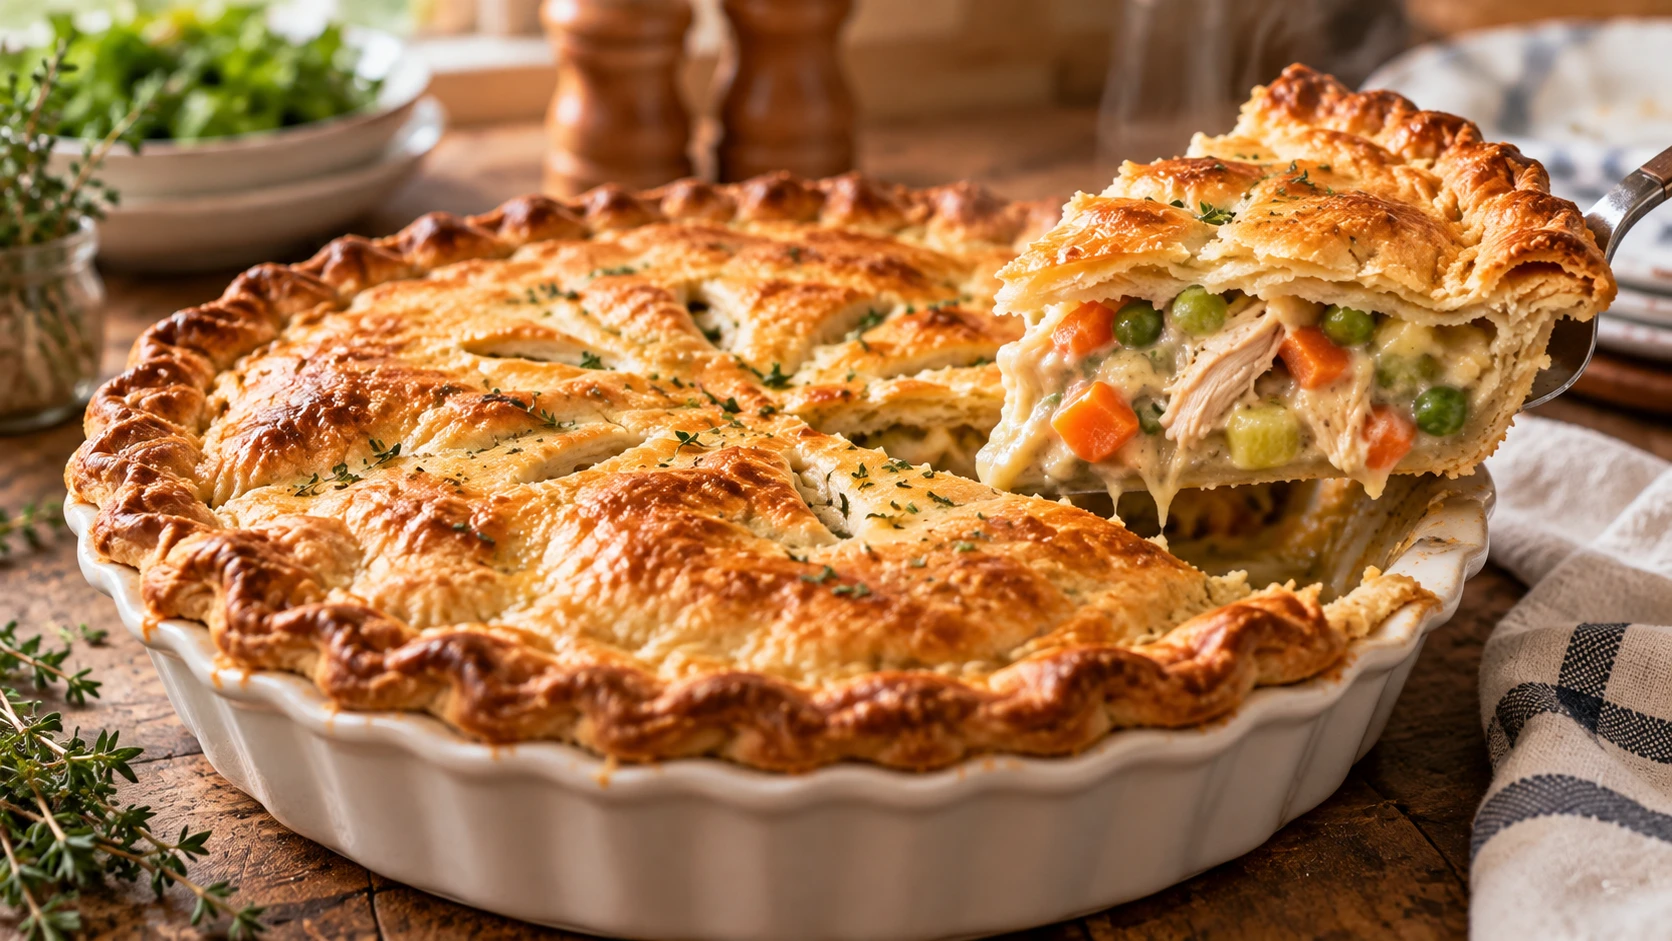
Cutting into a golden, flaky crust and watching a rich, creamy filling spill out is exactly the kind of moment that makes a cold evening feel a little warmer. Chicken Pot Pie brings together tender chicken, soft vegetables, and a velvety gravy, all tucked under a crust that shatters with every bite.
I started making this from scratch after one too many watery, bland versions from the freezer aisle, and homemade truly is a different experience. The filling comes together on the stovetop in one pan, so most of the work is done before the pie ever sees the oven, leaving the crust to do the rest of the work turning golden and crisp. Once you pull a bubbling, golden pot pie out of the oven yourself, it becomes hard to go back to the frozen version.
Table of Contents
Why You’ll Love Chicken Pot Pie
- Rich, creamy filling packed with tender chicken and vegetables
- Flaky, golden crust that shatters with every bite
- Great way to use leftover chicken, especially rotisserie chicken
- Freezer friendly, making it an excellent make ahead dinner
- Naturally comforting, the kind of meal that feels like a warm hug
- Easy to customize with different vegetables or a lighter topping
Quick Information
- Prep Time: 20 minutes
- Cook Time: 40 minutes
- Total Time: 1 hour
- Servings: 6
- Difficulty: Medium
- Calories: 480 per serving
- Important Tool: A 9 inch pie dish
- Best For: Cold weather dinners, Sunday meals, or using up leftover chicken
- Course: Main Course
- Cuisine: American
Nutrition Information
- Calories: 480
- Protein: 24g
- Carbohydrates: 38g
- Fat: 27g
- Fiber: 3g
- Sugar: 4g
- Sodium: 690mg
- Serving Size: 1 slice (about 1/6 of the pie)
- Servings Per Recipe: 6
This pie gets a solid protein boost from the chicken, while the vegetables add fiber and help balance out the richness of the creamy filling. Using a single crust on top instead of a full double crust is an easy way to lighten the dish slightly if you prefer.
Nutrition information is an estimate calculated from standard ingredient values and will vary based on specific brands and portion sizes used.
Ingredients
For the Filling
- 3 tablespoons butter
- 1 small onion, diced
- 2 carrots, diced
- 2 celery stalks, diced
- 2 garlic cloves, minced
- 1/3 cup all purpose flour
- 2 cups chicken broth
- 2/3 cup milk
- 3 cups cooked chicken, shredded or diced
- 1 cup frozen peas
- 1/2 teaspoon dried thyme
- 3/4 teaspoon salt
- 1/4 teaspoon black pepper
For the Crust
- 2 pie crusts, store bought or homemade, one for the bottom and one for the top
- 1 egg, beaten, for egg wash
Ingredient Notes: Rotisserie chicken is the fastest option here, though any cooked, shredded chicken breast or thigh works well. A store bought refrigerated pie crust saves significant time and still bakes up flaky, so there is no need to make your own unless you prefer to.
Callout Box — Ingredient Tip: Dicing the carrots and celery small and roughly the same size as the peas helps the filling cook evenly and makes each bite easier to scoop with a fork.
Equipment Needed
- Large skillet or saucepan – cooks the filling and gravy on the stovetop
- 9 inch pie dish – holds the crust and filling for baking
- Whisk – smooths out the roux and gravy as it thickens
- Rolling pin – for rolling out the crust, if using homemade dough
- Pastry brush – applies the egg wash for a golden, shiny crust
Practical Tip: Chilling your assembled pie in the refrigerator for 10 to 15 minutes before baking helps the crust hold its shape and bake up flakier once it hits the hot oven.
Preparation
Before you start, preheat your oven to 400°F (200°C) so it is fully heated by the time your pie is assembled. Dice your onion, carrots, and celery into small, even pieces so they cook through at the same rate.
If using a refrigerated pie crust, let it sit at room temperature for about 10 minutes before unrolling, since cold dough is more likely to crack.
Step by Step Instructions
- Cook the vegetables. Melt the butter in a large skillet over medium heat and add the onion, carrots, and celery, cooking for 5 to 6 minutes until softened.
- Add the garlic. Stir in the minced garlic and cook for 30 seconds, until fragrant.
- Make the roux. Sprinkle the flour over the vegetables and stir constantly for 1 to 2 minutes, until no raw flour taste remains.
- Build the gravy. Slowly whisk in the chicken broth and milk, stirring continuously until the mixture thickens and coats the back of a spoon, about 4 to 5 minutes.
- Add the chicken and peas. Stir in the cooked chicken, frozen peas, thyme, salt, and pepper, then remove from heat.
- Assemble the pie. Line the pie dish with one crust, pour in the filling, and top with the second crust, crimping the edges to seal.
- Vent and brush. Cut a few small slits in the top crust to let steam escape, then brush the entire top with beaten egg.
- Bake until golden. Bake for 35 to 40 minutes, until the crust is deeply golden and the filling is bubbling visibly through the vents.
- Rest before serving. Let the chicken pie rest for 10 minutes before slicing to allow the filling to set.
Chef’s Note: Cook the roux for the full 1 to 2 minutes before adding liquid, since skipping this step leaves the finished gravy tasting slightly raw and pasty instead of smooth.
Chef’s Note: The filling is ready for the crust once it is thick enough to mound slightly on a spoon rather than running off immediately.
Chef’s Note: If the crust edges start browning too quickly before the filling is fully baked, cover them loosely with foil for the remaining bake time.
Expert Tips & Tricks
- Cook the roux fully. The first time I rushed this step, my gravy tasted slightly raw despite looking thick enough, so now I always give it the full 1 to 2 minutes before adding liquid.
- Use rotisserie chicken to save time. Starting with already cooked chicken cuts a significant chunk of prep time compared to cooking chicken from scratch just for this recipe.
- Dice vegetables evenly. Uniform pieces cook at the same rate, which keeps you from ending up with some vegetables mushy while others are still firm.
- Chill the assembled pie briefly. A short 10 to 15 minute rest in the fridge before baking helps the crust hold its shape and bake up flakier.
- Vent the crust well. A few generous slits let steam escape properly, which helps prevent a soggy top crust from trapped moisture.
- Cover the edges if needed. Loosely tenting the crust edges with foil partway through baking keeps them from over-browning before the center finishes.
- Make it ahead. Assemble the entire pie up to a day in advance and refrigerate unbaked, then bake fresh when you are ready to serve.
Common Mistakes & Troubleshooting
Runny, thin filling: This almost always traces back to an undercooked roux or not enough flour relative to the liquid. Cook the flour and butter mixture for the full 1 to 2 minutes, and let the gravy simmer until it visibly coats the back of a spoon before adding the chicken.
Soggy bottom crust: A filling that is too thin, or a pie that was not baked long enough, both leave the bottom crust underdone and soft. Make sure the filling has thickened properly before assembling, and bake until the top crust is deeply golden rather than just lightly browned.
Crust burns before filling is done: High oven heat combined with thin pie crust edges can brown too quickly relative to the rest of the bake time. Keep an eye on the edges starting around the 20 minute mark, and tent them with foil if they are browning faster than the center.
Bland filling: Skipping the salt, pepper, or thyme leaves the finished pie tasting flat despite all the right ingredients. Season the filling generously and taste it before pouring it into the crust, since it is much easier to adjust at that stage.
Filling boils over the vents: Overfilling the pie dish leaves no room for the filling to bubble without spilling over during baking. I learned this after filling a pie a little too generously once and ending up with a smoking oven floor, so now I always leave a small gap below the rim before topping with the second crust.
Storage Instructions
- Room Temperature: Do not leave the pie out longer than 2 hours.
- Refrigerator: Store covered in an airtight container for up to 4 days.
- Freezer: Freeze baked or unbaked pie tightly wrapped for up to 3 months.
- Reheating: Reheat individual slices in a 350°F (175°C) oven for 15 to 20 minutes, covered loosely with foil to prevent over-browning.
- Make Ahead: Assemble the pie up to 24 hours in advance and refrigerate unbaked until ready to bake.
- My storage tip: I always freeze pot pie unbaked rather than baked whenever possible, since the crust turns out noticeably flakier baked fresh from frozen than reheated after baking.
Variations & Substitutions
- Spicy version: Stir in a pinch of cayenne pepper or a dash of hot sauce to the filling for a subtle kick.
- Mild, kid friendly version: Skip the black pepper and keep the filling extra creamy and mild for younger palates.
- Vegetarian version: Swap the chicken for extra mushrooms and additional vegetables, using vegetable broth in place of chicken broth.
- Gluten free version: Use a gluten free flour blend for the roux and a gluten free pie crust for the topping.
- Other substitutions: Swap the top pie crust for a biscuit topping or puff pastry sheet for a different texture, or make individual mini pot pies in ramekins for easy portioning.
Serving Suggestions
Chicken pot pie is filling enough to be the entire meal, but a few sides round it out nicely.
- Side salad: A simple green salad with a light vinaigrette balances the richness of the pie
- Vegetables: Roasted asparagus makes a great lighter side alongside a rich, creamy pie
- Bread: A slice of crusty bread for anyone who wants to mop up extra filling
- Garnishes: A light sprinkle of fresh thyme or parsley over each serving
- Meal combinations: Pair with a light soup starter for a more complete comfort food dinner
Callout Box — Meal Prep Tip: I often assemble two pies at once, baking one for dinner and freezing the second unbaked, so a comforting, ready to bake dinner is always on hand for a busy night.
Frequently Asked Questions
Can I make chicken pot pie ahead of time?
Yes, you can assemble the full pie up to 24 hours in advance and store it covered in the refrigerator before baking. It also freezes well unbaked for up to 3 months, which I actually prefer since the crust bakes up flakier fresh from frozen than reheated after baking. Just add a few extra minutes to the bake time if starting from cold or frozen.
Why is my chicken pot pie filling too runny?
A runny filling almost always means the roux was undercooked or there was not enough flour relative to the amount of liquid. Cook the butter and flour mixture for the full 1 to 2 minutes before adding the broth and milk, and let the gravy simmer until it visibly coats the back of a spoon before adding the chicken and vegetables.
Can I use a store bought pie crust?
Absolutely, a refrigerated store bought pie crust works perfectly well here and saves a significant amount of time compared to making your own dough. Let it sit at room temperature for about 10 minutes before unrolling to prevent cracking. There is no need to make your own crust unless you specifically prefer the flavor or texture of homemade.
How do I keep the bottom crust from getting soggy?
Making sure your filling has thickened properly on the stovetop before it goes into the crust is the biggest factor here, since a runny filling is the most common cause of a soggy bottom. Baking the pie fully, until the top crust is deeply golden rather than just lightly browned, also helps ensure the bottom has enough time to crisp up properly.
Why does my pot pie crust burn before the filling is done?
This usually happens because the thin edges of the crust brown much faster than the thicker, insulated center of the pie. Keep an eye on the edges starting around the 20 minute mark, and loosely tent them with foil if they are browning too quickly, allowing the center to continue baking without the edges burning.
Conclusion
Chicken Pot Pie earns its place as a cold weather favorite by turning simple ingredients into something warm, creamy, and deeply comforting under a crust that shatters with every bite. What keeps this one in regular rotation at my house is how well it freezes, giving me a homemade dinner ready to bake on nights when cooking from scratch feels like too much. Make one this weekend, and you will likely find yourself planning a second just to keep in the freezer.
For more comforting dinner recipes like this one, follow along on Pinterest at MyRecipesDiary.
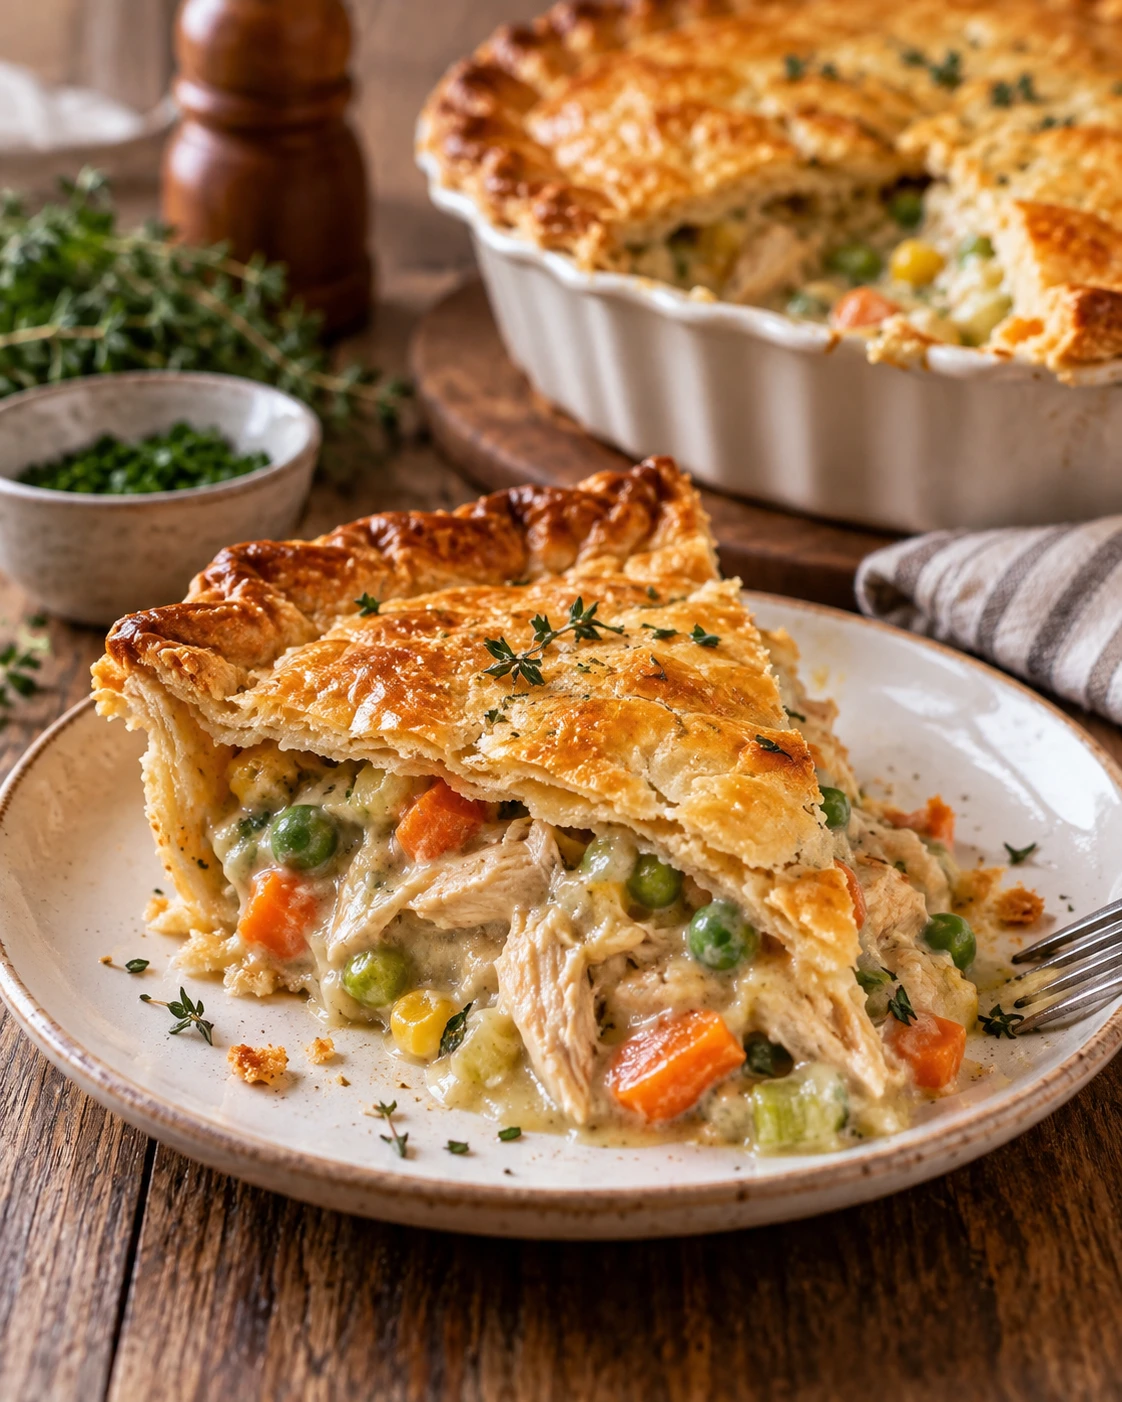
Chicken Pot Pie Recipe
Ingredients
Equipment
Method
- Sauté onion, carrots, and celery in butter, then add garlic.
- Stir in flour and cook 1 to 2 minutes to make a roux.
- Whisk in broth and milk; simmer until thickened.
- Stir in chicken, peas, and seasonings.
- Pour filling into a crust lined pie dish, top with second crust, and crimp edges.
- Cut vents, brush with egg wash, and bake at 400°F for 35 to 40 minutes.
- Rest 10 minutes before slicing.
Notes
- Cook the roux fully before adding liquid to avoid a raw, pasty gravy taste.
- Vent the top crust well to let steam escape and prevent a soggy top.
- Chill the assembled pie briefly before baking for a flakier crust.
- A 9 inch pie dish gives the filling and crust enough room to bake evenly without overflowing.