Iced Coffee with Creamy Swirls and Bold Café Flavor

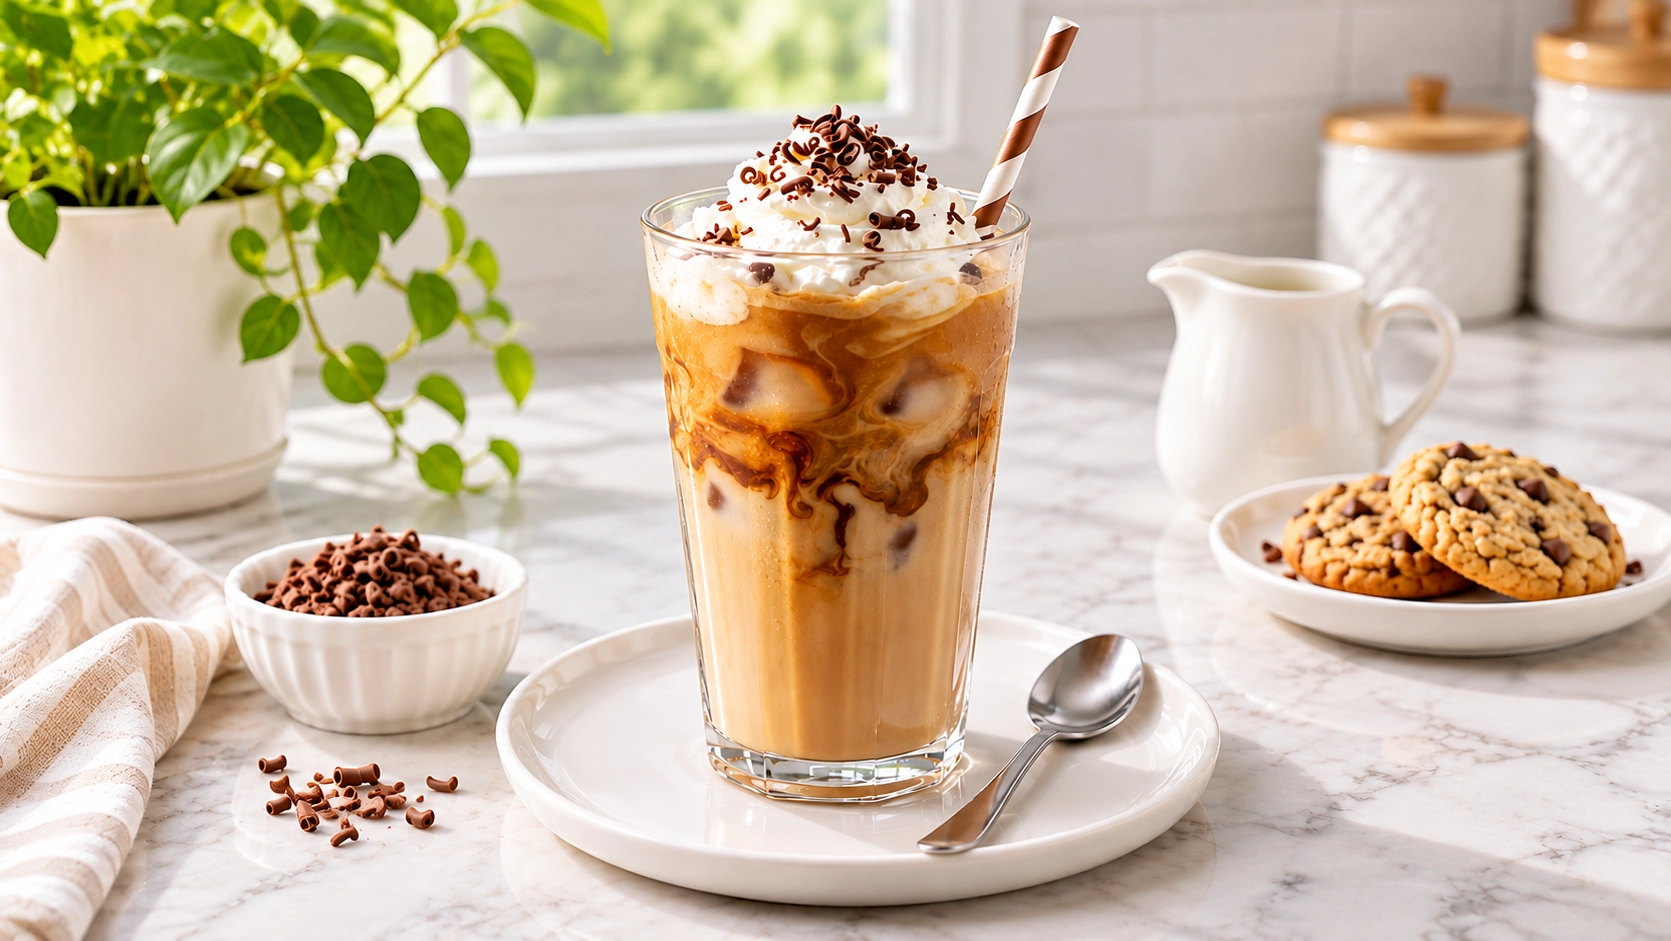
A refreshing glass of iced coffee is one of the easiest ways to enjoy your favorite coffee on a warm afternoon. Rich coffee, chilled milk, and plenty of ice come together to create a smooth, creamy drink that tastes like something from your favorite café. You only need a few everyday ingredients, and you can adjust the sweetness and coffee strength to suit your taste. There is no need for an expensive espresso machine or complicated brewing equipment.
I love making this drink at home because it gives me complete control over the flavor. When I first experimented with homemade iced coffee, I noticed that pouring hot coffee directly over ice made the drink watery. Cooling the brewed coffee first made a noticeable difference. This recipe uses strongly brewed coffee, cold milk, and a simple sweetener for a balanced flavor without excessive bitterness. It takes just a few minutes to assemble once the coffee has cooled, making it ideal for busy mornings, afternoon breaks, or a refreshing weekend treat.
Table of Contents
Why You’ll Love This Recipe
- Smooth coffee flavor: Strong brewed coffee provides a rich taste that stays noticeable after adding milk and ice.
- Budget friendly: Make a café style drink at home using affordable ingredients.
- Quick preparation: Assemble your drink in about 5 minutes once the coffee is chilled.
- Easy to customize: Adjust the sweetness, milk, and coffee strength.
- Perfect for warm weather: A tall glass filled with ice creates a refreshing drink.
- Great for busy mornings: Brew the coffee ahead and store it in the refrigerator.
Quick Information
- Prep Time: 5 minutes
- Cool Time: 30 minutes
- Total Time: 35 minutes
- Servings: 1 large glass
- Difficulty: Easy
- Calories: Approximately 95 kcal per serving
- Important Tool: Coffee maker or French press
- Best For: Summer afternoons, breakfast, coffee breaks
- Course: Beverage
- Cuisine: American inspired
- Category: Beverages
Nutrition Information
Approximate values per serving, using whole milk and sugar:
- Calories: 95 kcal
- Protein: 4 g
- Carbohydrates: 13 g
- Fat: 4 g
- Fiber: 0 g
- Sugar: 12 g
- Sodium: 50 mg
- Serving Size: 1 glass, approximately 8 fl oz (240 ml) of coffee and milk, plus ice and optional toppings
- Servings Per Recipe: 1
Milk provides protein and calcium, while brewed coffee contributes naturally occurring antioxidants. The amount of caffeine depends on the coffee beans, brewing method, and serving strength. You can reduce added sugar or use unsweetened milk alternatives to adjust the drink to your preferences.
Nutrition values are estimates and vary with milk type, sweetener, coffee strength, and portion size.
Ingredients
For the Coffee Base
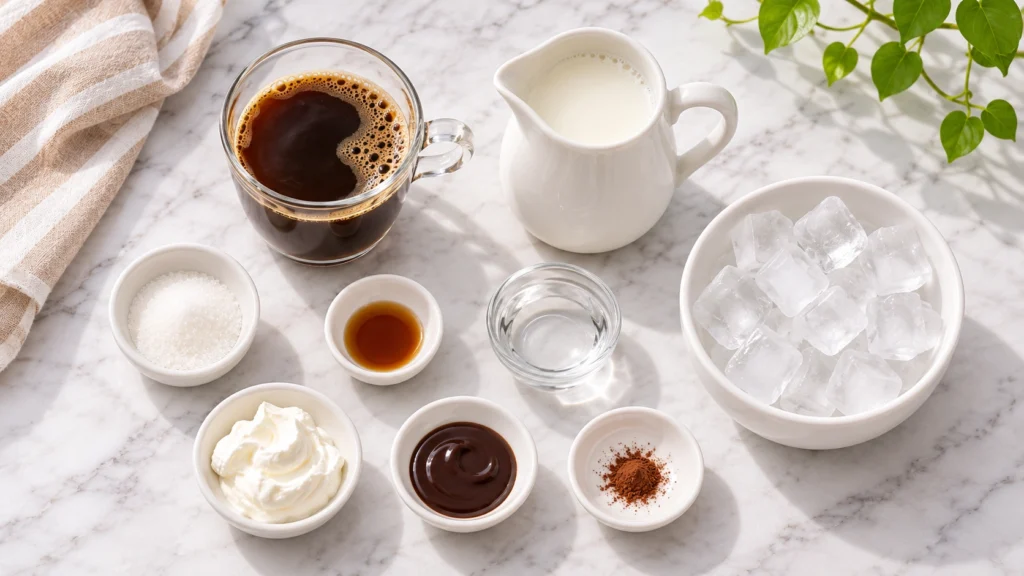
- 1/2 cup (120 ml) strongly brewed coffee
- 1 teaspoon (4 g) granulated sugar, or to taste
- 1/4 teaspoon (1 ml) vanilla extract, optional
For the Creamy Iced Coffee
- 1/2 cup (120 ml) cold whole milk
- 1 cup (approximately 140 g) ice cubes
- 1 tablespoon (15 ml) cold water, optional, to adjust strength
For the Optional Garnish
- 1 tablespoon (15 ml) lightly whipped cream
- 1 teaspoon (5 ml) chocolate syrup
- A small pinch of cocoa powder (less than 1 g)
Ingredient Notes: Use freshly brewed coffee with a bold flavor because the milk and ice will soften its intensity. Medium or dark roast coffee works particularly well. Whole milk creates a creamy drink, but low fat milk, oat milk, and almond milk are suitable alternatives. Choose alcohol free vanilla flavoring if using vanilla.
Tip: Dissolve the sugar while the coffee is still warm. Granulated sugar does not dissolve as easily in cold coffee, so sweetening before chilling gives a smoother result.
Equipment Needed
- Coffee maker or French press: Brew a flavorful coffee base.
- Heatproof measuring jug: Measure and cool the brewed coffee.
- Fine mesh coffee filter: Remove coffee grounds if using a manual brewing method.
- Tall 16 oz drinking glass: Leave enough space for coffee, milk, and ice.
- Long handled spoon: Mix the drink without spilling.
- Measuring spoons: Control the sweetener and flavorings.
Practical Tip: Use a glass with at least a 16 oz (475 ml) capacity so you have room to stir without overflowing.
Preparation
Start by brewing 1/2 cup (120 ml) of strong coffee using your preferred method. If using a French press, measure the coffee grounds and hot water carefully, then strain the coffee after brewing. Stir the sugar into the warm coffee until fully dissolved. Add the optional vanilla and mix gently.
Transfer the coffee to a heatproof jug and let it cool briefly before placing it in the refrigerator. Chill for approximately 30 minutes, or until cold. Meanwhile, measure the milk, prepare fresh ice cubes, and choose a tall serving glass. Keep the milk refrigerated until you are ready to assemble the drink.
Step by Step Instructions
1. Brew Strong Coffee
Prepare 1/2 cup (120 ml) of strong coffee using water around 195°F to 205°F (90°C to 96°C). Brew until the coffee develops a rich aroma and deep brown color.
2. Sweeten Warm Coffee
Add 1 teaspoon of sugar and the optional vanilla extract while the coffee is warm. Stir for 20 to 30 seconds until the sugar dissolves completely.
Chef’s Note: Dissolve the sugar fully while the coffee is warm to avoid gritty sweetness at the bottom.
3. Chill Coffee Base
Allow the coffee to cool briefly, then refrigerate for approximately 30 minutes until cold. It should feel cool to the touch before mixing with ice.
Chef’s Note: Chill until cold. Cooling takes longer in a deep container or when brewing a larger batch.
4. Fill Serving Glass
Add 1 cup of ice cubes to a tall glass and pour the chilled coffee over them. The ice should remain mostly solid rather than melting immediately.
5. Add Cold Milk
Pour in 1/2 cup (120 ml) cold milk and stir gently for 10 seconds until evenly combined. Taste, adjust the strength with a little cold water if needed, and add optional toppings before serving.
Chef’s Note: Taste after adding the milk before deciding whether to add the optional water.
Expert Tips & Tricks
- Brew coffee stronger: Use a slightly higher coffee to water ratio so the flavor stays balanced after adding milk.
- Avoid hot coffee over ice: I found that adding freshly brewed hot coffee directly to ice melted it too quickly and weakened the flavor.
- Use fresh ice: Ice stored near strongly flavored foods can absorb odors that affect the drink.
- Prepare coffee ahead: Brew several servings and refrigerate them in a sealed container for convenient morning drinks.
- Choose cold milk: Milk straight from the refrigerator helps keep the drink refreshing.
- Use coffee ice cubes: Freeze leftover brewed coffee in an ice cube tray to reduce dilution.
- Control sweetness: Start with a small amount of sugar and add more only after tasting.
Common Mistakes & Troubleshooting
Coffee tastes watery: This usually happens when the coffee is too weak or hot coffee melts the ice. Brew a stronger coffee base and chill it before serving. If your drink is already diluted, add a small amount of cooled espresso or coffee concentrate.
Drink tastes too bitter: Overextraction, very dark roasting, or excessive coffee grounds can create bitterness. Use freshly brewed coffee and avoid brewing too long. Add a little more milk or a small amount of sweetener to balance the flavor.
Sugar collects at the bottom: Granulated sugar dissolves slowly in cold liquids. Stir it into warm coffee before chilling or use simple syrup. If the drink is already cold, add a small amount of syrup and stir thoroughly.
Milk separates or curdles: Highly acidic coffee combined with certain milk alternatives can sometimes cause separation. Use fresh milk, allow the coffee to cool, and choose a milk designed for coffee drinks. If dairy milk curdles because it has spoiled, discard the drink.
Ice melts too quickly: Warm coffee, a hot serving glass, or small ice pieces can cause rapid melting. Chill the coffee and glass before assembly and use larger ice cubes.
Storage Instructions
- Room Temperature: Do not leave milk based iced coffee unrefrigerated for longer than 2 hours, or 1 hour when the temperature exceeds 90°F (32°C).
- Refrigerator: Store prepared coffee with milk in a sealed container for up to 24 hours at 40°F (4°C) or colder.
- Freezer: Freeze plain brewed coffee in covered ice cube trays for up to 1 month.
- Reheating: Reheating is unnecessary because this drink is intended to be served cold.
- Make Ahead: Brew and refrigerate plain coffee for up to 3 days, then add fresh milk and ice when serving.
- My storage tip: Keep the coffee and milk separate until you are ready to drink so the flavor remains fresh and the ice does not dilute the mixture.
Variations & Substitutions
- Mild decaf version: Use decaffeinated coffee and extra milk for a gentler coffee flavor.
- Vegetarian: Use dairy milk or a suitable plant based milk, and check any flavored syrups or toppings for compatible ingredients.
- Gluten free: Plain coffee, milk, sugar, and ice are naturally gluten free, but check packaged flavorings and toppings.
- Other substitutions: Replace whole milk with oat, almond, soy, or coconut milk.
- Vanilla variation: Add 1/2 teaspoon of vanilla syrup for a sweeter café style drink.
- Mocha variation: Stir 1 tablespoon of chocolate syrup into the coffee before adding milk.
- Caramel variation: Add 1 tablespoon of caramel syrup and finish with a light caramel drizzle.
Serving Suggestions
This chilled coffee pairs beautifully with breakfast foods, baked treats, and light afternoon snacks.
- Drinks: Serve alongside a glass of water or offer decaffeinated coffee for guests who prefer less caffeine.
- Brunch spread or Sides: Pair with buttered toast, pancakes, croissants, or a fresh and colorful fruit bowl.
- Sauces or dips: Add chocolate syrup, caramel sauce, or vanilla syrup for extra sweetness.
- Garnishes: Top with lightly whipped cream, cocoa powder, cinnamon, or chocolate shavings.
- Meal combinations: Enjoy with banana bread, chocolate chip muffins, breakfast sandwiches, or oatmeal cookies.
Meal Prep Tip: I like preparing a small bottle of sweetened coffee concentrate the night before. In the morning, I only need to add ice and cold milk, which makes breakfast preparation much faster.
Frequently Asked Questions
Can I make iced coffee the night before without losing its flavor?
Yes, you can brew and chill the coffee the night before serving. Store it in a clean, airtight glass bottle or container in the refrigerator. For the freshest taste, keep the milk and ice separate until you are ready to drink. Coffee may lose some of its fresh aroma during storage, but it remains suitable for a convenient morning beverage. Avoid storing the drink with ice because melting will gradually dilute the coffee.
Why does homemade iced coffee taste weaker than coffee shop versions?
Coffee shops often use stronger brewed coffee, espresso, or concentrated coffee bases to maintain flavor after adding milk and ice. At home, regular strength coffee can become diluted quickly, especially when poured over melting ice. Try increasing the amount of coffee grounds during brewing or using cooled espresso. Larger ice cubes also melt more slowly. A good homemade iced coffee should retain a noticeable coffee flavor even after the milk is mixed in.
Can I make iced coffee without milk or dairy products?
Yes, you can prepare a refreshing black iced coffee using chilled brewed coffee, ice, and your preferred sweetener. For a creamy dairy free version, use oat milk, almond milk, soy milk, or coconut milk instead of whole milk. Unsweetened oat milk is particularly good for a smooth texture, while coconut milk adds a mild tropical flavor. Adjust the sweetener after mixing because different plant based milks have different levels of natural sweetness.
How long should brewed coffee cool before adding ice?
For the best flavor, let freshly brewed coffee cool briefly at room temperature, then refrigerate it for approximately 30 minutes or until cold. The exact cooling time depends on the volume, container, and refrigerator temperature. Spreading the coffee into a shallow heatproof container can speed cooling. Avoid placing a large quantity of very hot coffee directly into the refrigerator. When properly chilled, the coffee should not melt the ice rapidly when poured into the glass.:
Is iced coffee the same as cold brew coffee?
No, iced coffee and cold brew use different preparation methods. Traditional iced coffee is brewed with hot water, cooled, and served over ice. Cold brew is prepared by steeping ground coffee in cold or room temperature water for several hours before filtering. Cold brew often tastes smoother and less acidic, while regular iced coffee can have a brighter aroma. Both methods work well with milk, sweeteners, and ice, so the better choice depends on your preferred flavor.
Conclusion
Making iced coffee at home gives you the freedom to create a drink that tastes exactly how you like it. A strong coffee base, properly chilled ingredients, and fresh ice make a noticeable difference in both flavor and texture. You can keep it simple with milk and sugar or experiment with vanilla, caramel, and chocolate flavors.
My favorite approach is to brew extra coffee in the evening and chill it overnight. It makes preparing a refreshing drink the next morning almost effortless. Once you discover your preferred coffee strength and milk ratio, you can enjoy a consistent café style result without leaving home.
For more Beverages recipes like this one, browse more ideas on my Pinterest.
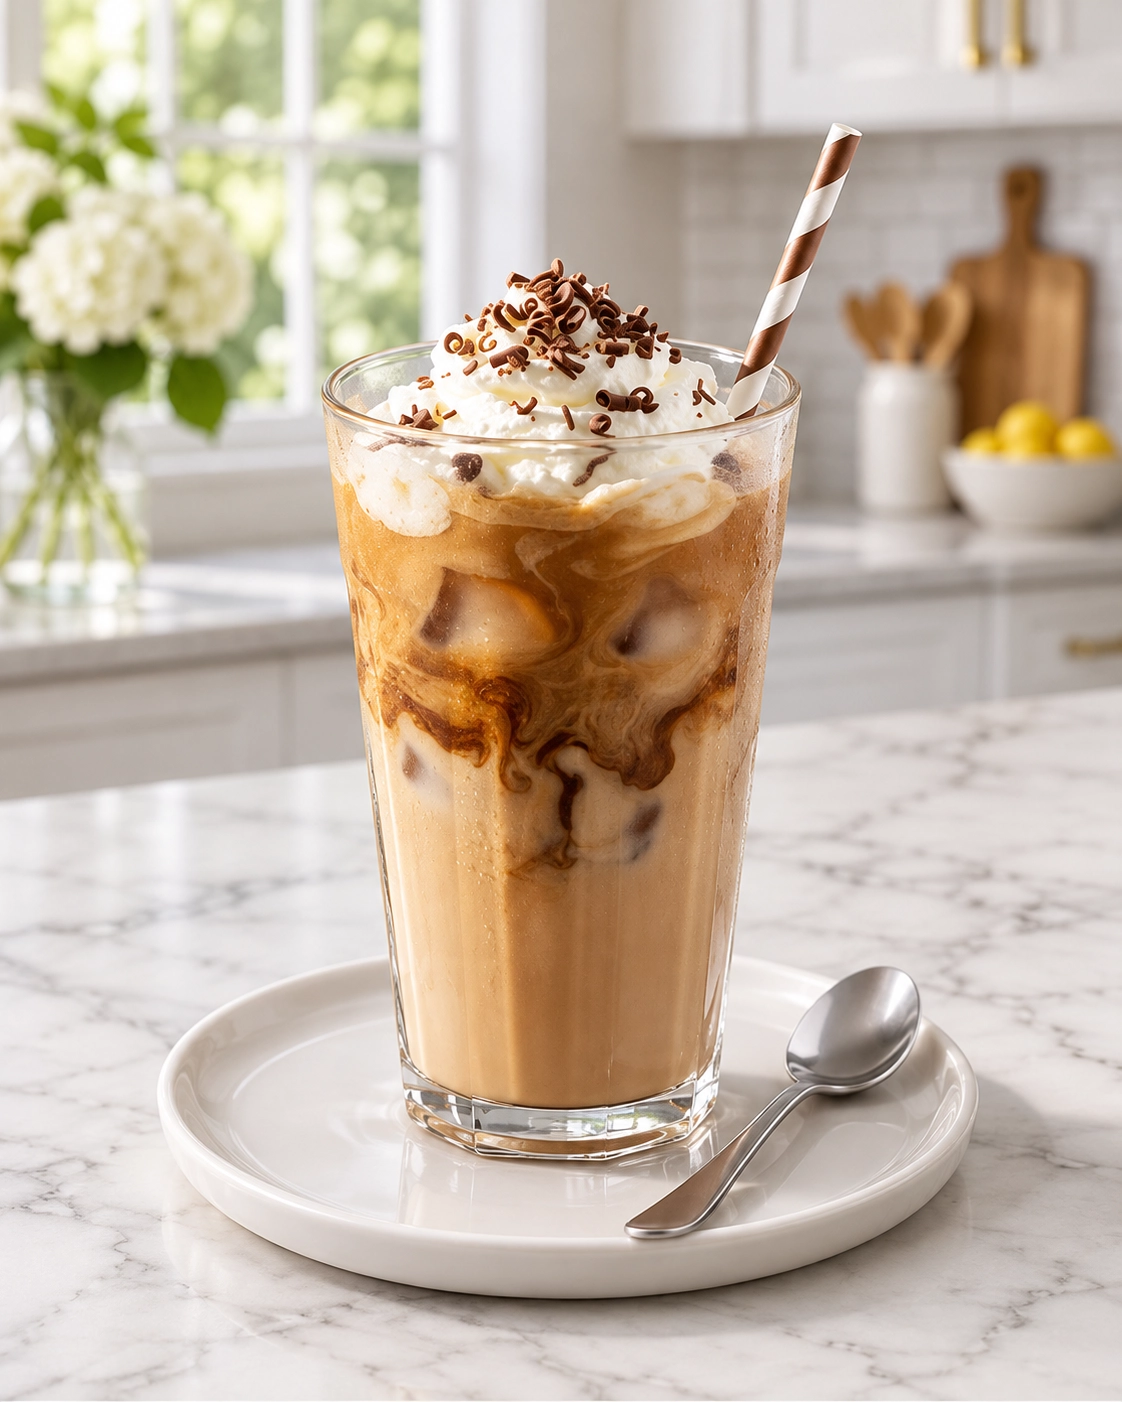

Iced Coffee with Creamy Swirls
Ingredients
Equipment
Method
- Prepare 1/2 cup (120 ml) of strong coffee using water around 195°F to 205°F (90°C to 96°C). Brew until the coffee develops a rich aroma and deep brown color.
- Add 1 teaspoon of sugar and the optional vanilla extract while the coffee is warm. Stir for 20 to 30 seconds until the sugar dissolves completely.
- Allow the coffee to cool briefly, then refrigerate for approximately 30 minutes until cold. It should feel cool to the touch before mixing with ice.
- Add 1 cup of ice cubes to a tall glass and pour the chilled coffee over them. The ice should remain mostly solid rather than melting immediately.
- Pour in 1/2 cup (120 ml) cold milk and stir gently for 10 seconds until evenly combined. Taste, adjust the strength with a little cold water if needed, and add optional toppings before serving.
Notes
- Brew coffee slightly stronger than usual for the best flavor.
- Dissolve sugar while the coffee is warm.
- Use cold milk and chilled coffee to prevent rapid ice melting.
- Substitute oat milk or almond milk for a dairy free version.