Banana Pudding with Velvety Vanilla Cream and Wafer Crunch

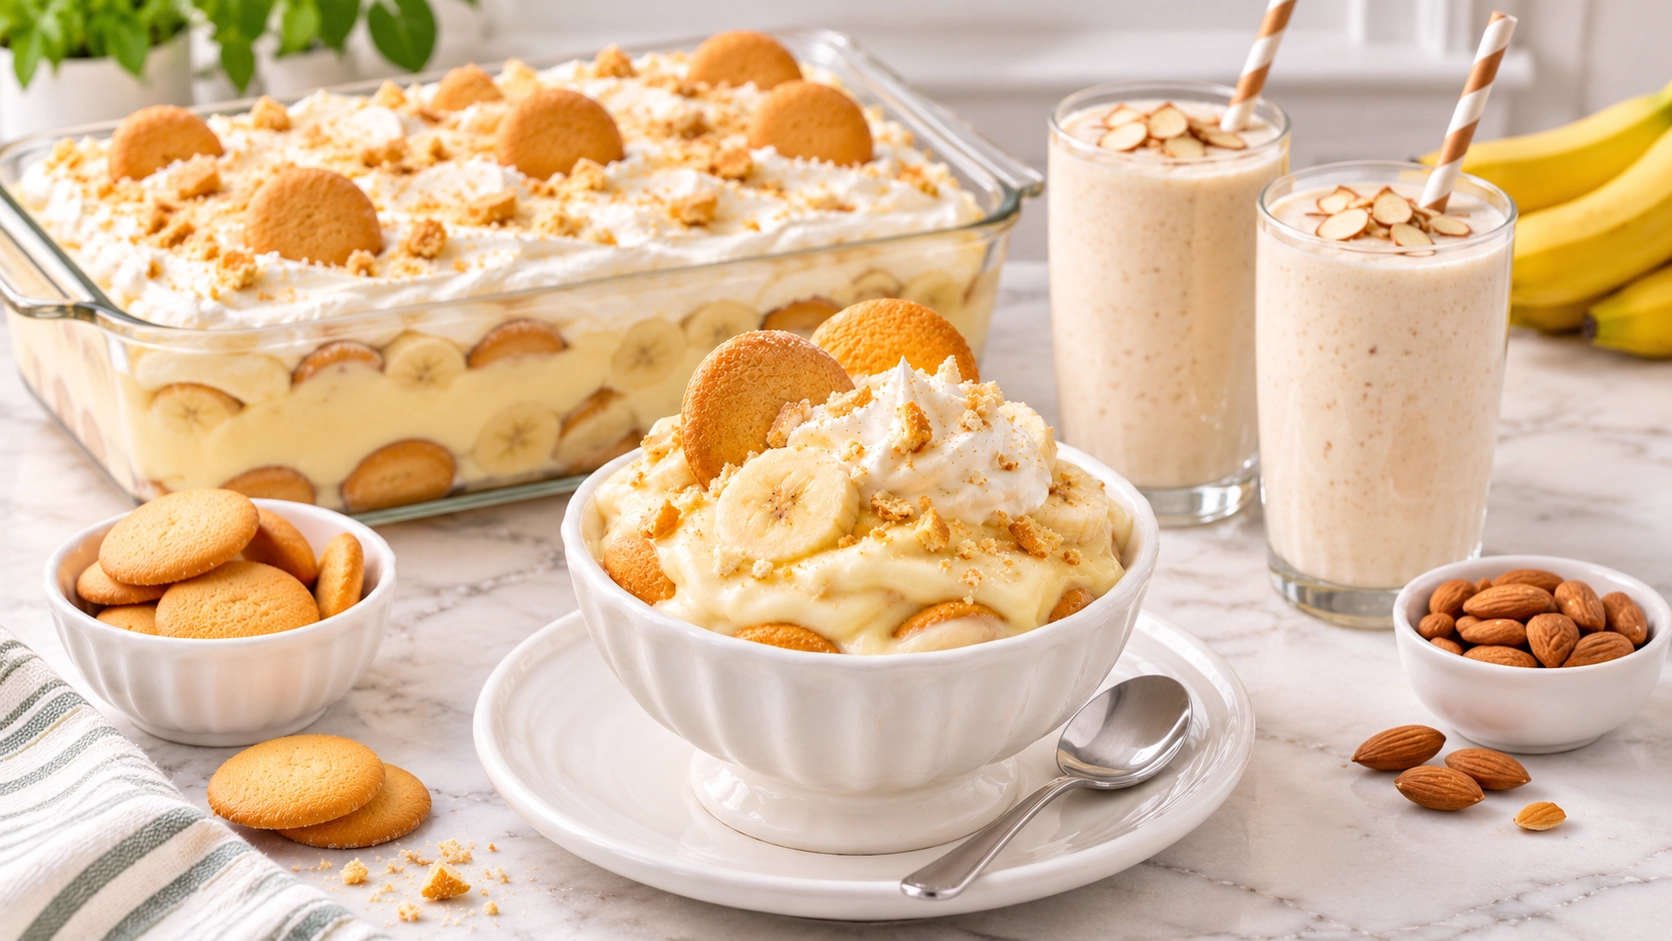
Banana pudding is one of those comforting desserts that disappears quickly at family gatherings. It combines silky vanilla custard, sweet banana slices, and soft vanilla wafers in delicious layers. Every spoonful has a creamy texture with just enough biscuit flavor to balance the sweetness. Best of all, this version requires no oven, making it an excellent choice when you want an impressive dessert without spending hours in the kitchen.
I love making this dessert the evening before a celebration because the layers become even better after chilling. The first time I made it, I noticed that the wafers softened beautifully overnight, creating a texture almost like a tender sponge cake. This recipe uses homemade vanilla pudding instead of instant pudding mix, giving you control over the sweetness and consistency. A fluffy whipped cream topping keeps the dessert light, while fresh bananas add natural sweetness. With a few simple ingredients and careful layering, you can make a beautiful dessert that everyone will want to try.
Table of Contents
Why You’ll Love This Recipe
- Rich and creamy texture: Homemade vanilla pudding creates a smooth, velvety filling.
- No oven required: Prepare the entire dessert on the stovetop and in the refrigerator.
- Perfect for gatherings: A large dish provides 10 generous portions.
- Make ahead friendly: Chilling allows the vanilla wafers to soften and absorb flavor.
- Simple ingredients: Bananas, milk, eggs, sugar, and biscuits are easy to find.
- Easy to customize: Serve in one large dish or individual dessert cups.
Quick Information
- Prep Time: 25 minutes
- Cook Time: 12 minutes
- Cool Time: 30 minutes
- Total Time: 4 hours 7 minutes, including chilling
- Servings: 10
- Difficulty: Easy
- Calories: Approximately 390 kcal per serving
- Important Tool: Heavy bottomed saucepan
- Best For: Family gatherings, parties, weekend desserts
- Course: Dessert
- Cuisine: Southern American
- Category: Desserts
Nutrition Information
Approximate values per serving:
- Calories: 390 kcal
- Protein: 6 g
- Carbohydrates: 51 g
- Fat: 19 g
- Fiber: 2 g
- Sugar: 32 g
- Sodium: 160 mg
- Serving Size: Approximately 1 cup
- Servings Per Recipe: 10
Bananas provide potassium and small amounts of dietary fiber, while milk contributes calcium and protein. The homemade pudding contains sugar and cream, so this dessert is best enjoyed in moderate portions.
Nutrition values are estimates and may vary depending on the brands of biscuits, milk, cream, and serving sizes.
Ingredients
For the Homemade Vanilla Pudding
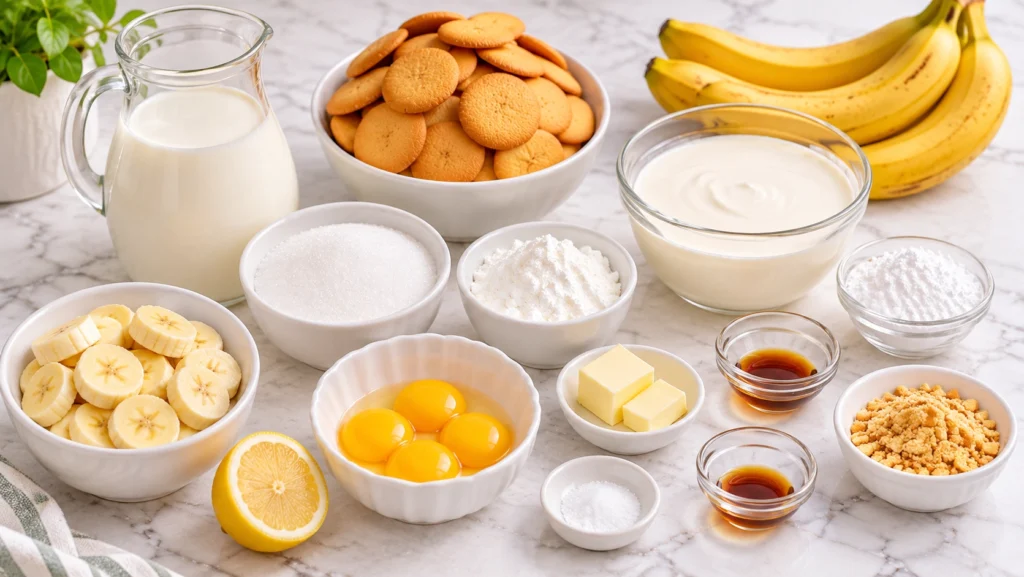
- 3 cups (720 ml) whole milk
- 3/4 cup (150 g) granulated sugar
- 1/3 cup (40 g) cornstarch
- 4 large egg yolks (approximately 70 g)
- 2 tablespoons (28 g) unsalted butter
- 2 teaspoons (10 ml) vanilla extract
- 1/4 teaspoon (1.5 g) salt
For the Banana and Wafer Layers
- 4 medium ripe bananas (approximately 480 g peeled)
- 1 box (approximately 300 g) vanilla wafer cookies
- 1 tablespoon (15 ml) fresh lemon juice, optional
For the Whipped Cream Topping
- 1 1/2 cups (360 ml) cold heavy whipping cream
- 3 tablespoons (24 g) powdered sugar
- 1 teaspoon (5 ml) vanilla extract
For the Garnish
- 1 medium banana (approximately 120 g peeled), sliced just before serving
- 6 vanilla wafer cookies (approximately 25 g), crushed
Ingredient Notes: Choose ripe bananas with yellow skins and a few brown spots. They should taste sweet but remain firm enough to slice. Use full fat milk for the creamiest pudding, although 2% milk can work with a slightly lighter texture. Select vanilla wafers made with suitable ingredients, and use alcohol free vanilla flavoring if preferred.
Tip: Avoid overly ripe bananas with very soft flesh because they can become mushy after chilling.
Equipment Needed
- Heavy bottomed saucepan: Prevents the pudding from scorching while cooking.
- Silicone whisk: Keeps the custard smooth and prevents lumps.
- Fine mesh strainer: Removes any small cooked egg particles from the pudding.
- Heatproof mixing bowl: Holds the finished custard while cooling.
- 9 by 9 inch glass baking dish: Provides enough space for neat dessert layers.
- Offset spatula: Spreads the pudding and whipped cream evenly.
Practical Tip: Use a heavy bottomed saucepan over medium heat rather than a thin pan. It distributes heat more evenly and reduces the chance of burning the milk mixture.
Preparation
Measure the milk, sugar, cornstarch, butter, and vanilla before starting. Separate the egg yolks into a heatproof bowl and whisk them lightly. Place the whipping cream in the refrigerator until needed, and prepare a clean mixing bowl for the topping. Keep the bananas whole until you are ready to assemble the dessert.
Choose a 9 by 9 inch glass dish or a similar 2.5 quart serving dish. Arrange the vanilla wafers nearby and make room in the refrigerator for chilling. Since the custard needs time to cool before layering, prepare it first and keep the other ingredients ready.
Step by Step Instructions
1. Combine Dry Ingredients
Whisk the sugar, cornstarch, and salt together in a heavy bottomed saucepan. Gradually add the milk, whisking until smooth.
2. Heat Milk Mixture
Cook over medium heat for 5 to 7 minutes, stirring continuously, until the mixture begins to steam and thicken slightly. Do not let it boil vigorously.
3. Temper Egg Yolks
Slowly whisk about 1 cup (240 ml) of the hot milk mixture into the egg yolks. Pour the warmed yolks back into the saucepan while whisking constantly.
Chef’s Note: Whisk the hot milk into the yolks slowly so the eggs warm evenly before going back into the pan.
4. Thicken Vanilla Custard
Continue cooking over medium heat, stirring continuously, until the pudding reaches a gentle bubble and becomes thick enough to coat a spoon. Maintain gentle bubbling for 1 minute, then remove from heat and stir in the butter and vanilla.
5. Cool The Pudding
Strain the custard into a clean bowl, cover its surface directly with food safe wrap, and cool for about 30 minutes. Refrigerate if necessary until the pudding is no longer warm, stirring briefly before assembly.
Chef’s Note: A shallow heatproof bowl helps the pudding cool more quickly. Wait until it is cool before layering.
6. Build Dessert Layers
Arrange half the vanilla wafers in the bottom of the dish, followed by half the sliced bananas and half the pudding. Repeat with the remaining wafers, bananas, and pudding, then refrigerate while preparing the topping.
Chef’s Note: Slice the bananas just before layering and cover each layer completely with pudding.
7. Finish And Chill
Whip the cold cream, powdered sugar, and vanilla until medium peaks form, then spread over the pudding. Cover and refrigerate for at least 3 hours, then garnish with fresh banana slices and crushed wafers immediately before serving.
Expert Tips & Tricks
- Choose firm bananas: Slightly spotted yellow bananas offer the best balance of sweetness and structure.
- Whisk continuously: I once allowed the custard to sit unattended for a minute, and it developed small lumps at the bottom. Continuous stirring prevents this.
- Chill thoroughly: Give the dessert at least 3 hours in the refrigerator so the wafers soften properly.
- Prepare ahead: Make the custard one day in advance and refrigerate it separately before assembling.
- Keep cream cold: Chilled heavy cream whips faster and holds its shape better.
- Save preparation time: Arrange the wafers and prepare the serving dish while the custard cools.
- Protect the topping: Keep the finished dessert covered so the whipped cream does not absorb refrigerator odors.
Common Mistakes & Troubleshooting
Pudding becomes lumpy: This usually happens when the heat is too high or the eggs are added too quickly. Cook over medium heat and temper the yolks gradually. If lumps appear, immediately strain the warm pudding through a fine mesh sieve.
Custard remains runny: Insufficient cooking can prevent the cornstarch from thickening properly. Keep stirring until the mixture bubbles gently and becomes noticeably thick. If it remains thin, return it to the heat and cook briefly while whisking.
Bananas turn brown: Banana slices darken when exposed to air. Slice them immediately before layering and cover them completely with pudding. A tiny amount of lemon juice can slow browning, but too much may change the flavor.
Whipped cream becomes grainy: Overwhipping causes the cream to separate. Stop beating when medium peaks hold their shape. If it becomes slightly grainy, gently fold in a tablespoon of cold cream to improve the texture.
Wafers stay too crunchy: The dessert has not chilled long enough or the biscuits are unusually thick. Refrigerate for at least 3 hours. For softer layers, allow the pudding to rest overnight.
Dessert becomes watery: Very ripe bananas, excess moisture, or extended storage can cause liquid to collect in the dish. Use firm bananas and properly thickened custard. If a little moisture develops, serve with a large spoon rather than stirring the layers together.
Storage Instructions
- Room Temperature: Keep the dessert outside the refrigerator for no longer than 2 hours.
- Refrigerator: Store covered at 40°F (4°C) or colder for up to 3 days.
- Freezer: Freezing the fully assembled dessert is not recommended because bananas become watery and custard can separate.
- Reheating: Do not reheat. Serve chilled directly from the refrigerator.
- Make Ahead: Prepare the custard up to 2 days ahead, then assemble the dessert the day before serving.
- My storage tip: Cover the pudding tightly and add fresh banana garnish only when you are ready to serve.
Variations & Substitutions
- Mild or kid friendly: Use extra vanilla wafers and a little less sugar in the whipped cream topping.
- Vegetarian: This egg-and-dairy version suits many vegetarian diets. Choose suitable biscuits, or use the egg-free variation if preferred.
- Gluten free: Replace standard vanilla wafers with certified gluten free vanilla cookies.
- Other substitutions: Use coconut milk for part of the whole milk to add a tropical flavor, or replace vanilla wafers with plain butter biscuits.
- Chocolate variation: Add a thin layer of mini chocolate chips between the banana and pudding layers.
- Individual portions: Assemble the dessert in small glass cups for convenient party servings.
Serving Suggestions
Banana pudding tastes best chilled and pairs beautifully with simple drinks and light desserts.
- Drinks: Serve with iced coffee, cold milk, silky matcha latte, or lightly sweetened tea.
- Brunch spread or Sides: Pair with fresh berries, sliced strawberries, or a fresh and colorful fruit bowl.
- Sauces or dips: Add a small drizzle of caramel sauce or melted chocolate for extra richness.
- Garnishes: Sprinkle with crushed vanilla wafers, toasted coconut, or finely chopped nuts.
- Meal combinations: Serve after grilled chicken, a family lunch, or a weekend barbecue.
Meal Prep Tip: I prefer preparing individual dessert cups when serving a large group. They are easier to portion, keep the layers attractive, and eliminate the need to scoop from a shared dish.
Frequently Asked Questions
Can I make banana pudding two days before a party?
Yes, but the best approach is to prepare the vanilla custard two days ahead and assemble the dessert closer to serving time. Store the custard in an airtight container with food safe wrap touching its surface. Assemble the banana and wafer layers the evening before your party, then refrigerate overnight. This gives the biscuits enough time to soften while keeping the bananas fresher. Add the final banana garnish shortly before guests arrive.
Why does homemade banana pudding sometimes taste like scrambled eggs?
An eggy taste or small cooked egg pieces usually means the yolks were heated too quickly. When hot milk is poured directly into cold yolks, the proteins can coagulate before blending smoothly. Temper the eggs by slowly whisking in a small amount of hot milk first. Then return the mixture to the saucepan and cook gently while stirring. If small pieces form, strain the pudding immediately. Properly prepared custard should taste creamy and strongly of vanilla.
Can I make banana pudding without eggs or instant pudding mix?
Yes, you can prepare a simple egg free vanilla pudding using milk, sugar, cornstarch, butter, and vanilla. Increase the cornstarch slightly to approximately 1/2 cup (60 g) for 3 cups of milk, then cook until the mixture thickens and bubbles gently. Continue stirring for about 1 minute before removing it from the heat. The texture will be slightly different from egg based custard, but it still works beautifully with bananas and vanilla wafers.
How long should banana pudding chill before serving?
Banana pudding needs at least 3 hours in the refrigerator after assembly, although 4 to 6 hours gives the wafers more time to soften. During chilling, the biscuits absorb moisture from the custard and develop a tender, cake like texture. The pudding should also feel completely cold and hold soft layers when scooped. If you prefer a firmer dessert with well developed flavors, refrigerate it overnight and garnish immediately before serving.
Is banana pudding better with fresh whipped cream or whipped topping?
Fresh whipped cream gives the dessert a lighter texture and a richer dairy flavor, while prepared whipped topping generally holds its shape longer. For a homemade dessert, I prefer freshly whipped cream because it balances the sweetness of the bananas and custard. If the dessert will sit on a buffet, stabilized whipped cream can be more practical. Whichever topping you choose, keep the pudding refrigerated until serving and return leftovers to the refrigerator promptly.
Conclusion
A good banana pudding depends on three simple things: properly thickened custard, sweet but firm bananas, and enough chilling time for the wafers to soften. When those elements come together, the dessert develops a wonderful balance of creamy filling, tender biscuits, and fresh fruit.
I especially enjoy serving this recipe in a clear glass dish because the layers make it look inviting without any complicated decoration. If you are preparing it for guests, keep a few extra wafers and one fresh banana aside for the final garnish. That small finishing touch makes the dessert look freshly prepared, even when you assembled it the night before.
For more Desserts recipes like this one, browse more ideas on my Pinterest.:
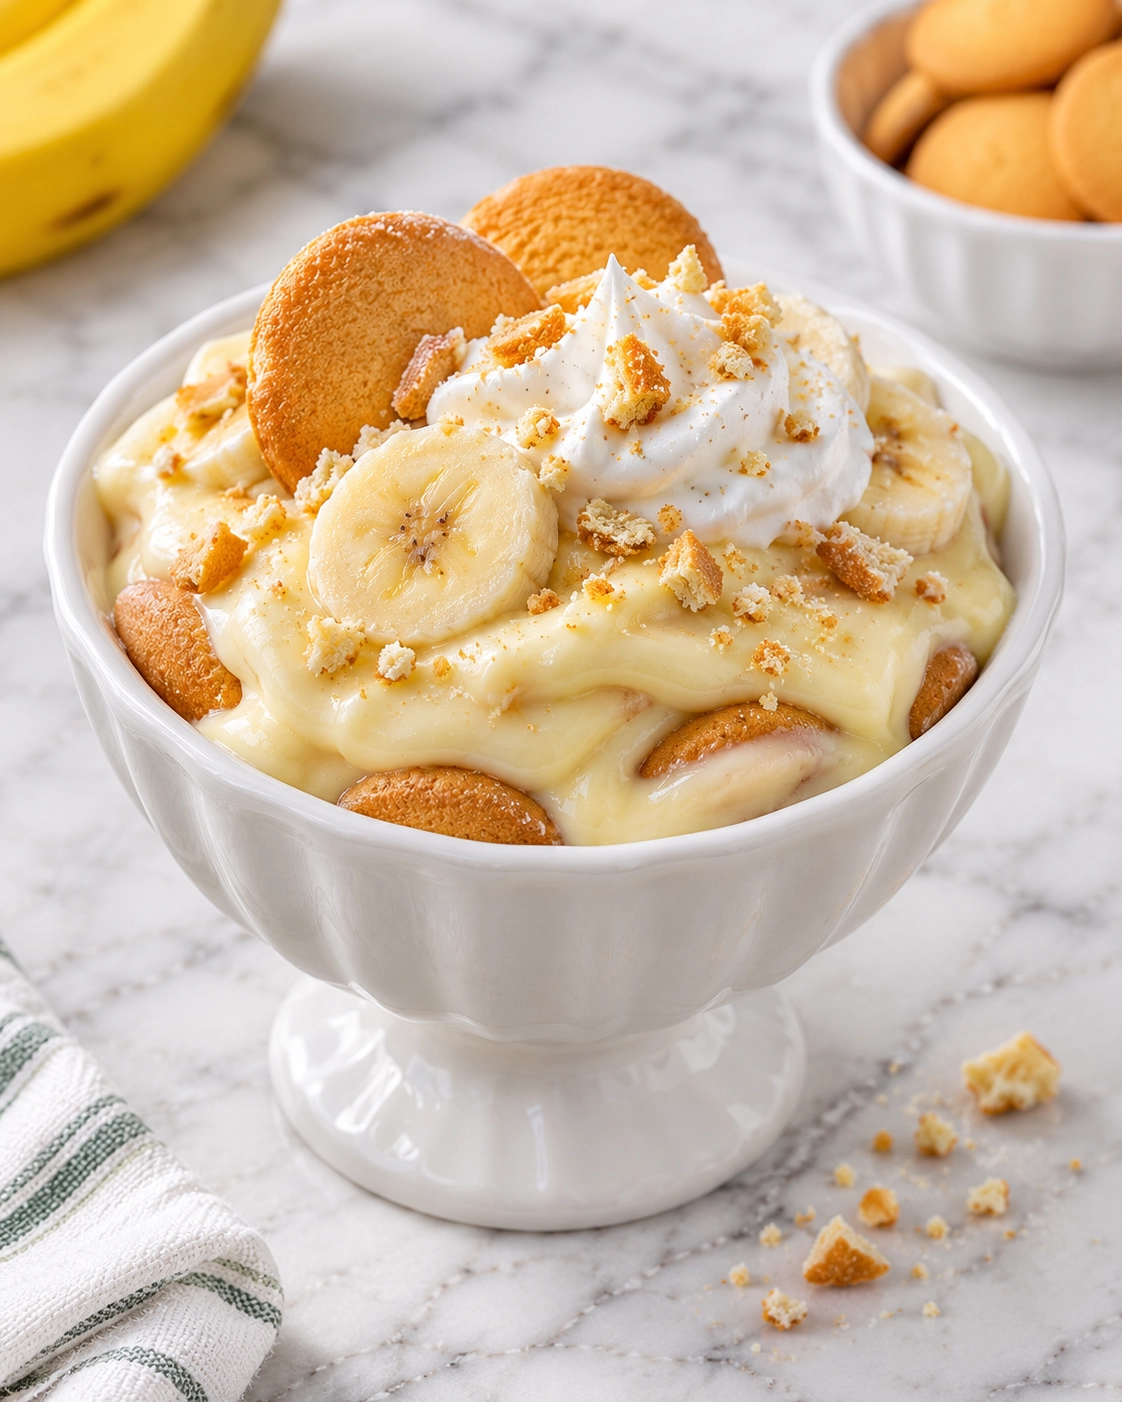

Easy Homemade Banana Pudding with Vanilla Wafers
Ingredients
Equipment
Method
- Whisk the sugar, cornstarch, and salt together in a heavy bottomed saucepan. Gradually add the milk, whisking until smooth.
- Cook over medium heat for 5 to 7 minutes, stirring continuously, until the mixture begins to steam and thicken slightly. Do not let it boil vigorously.
- Slowly whisk about 1 cup (240 ml) of the hot milk mixture into the egg yolks. Pour the warmed yolks back into the saucepan while whisking constantly.
- Continue cooking over medium heat, stirring continuously, until the pudding reaches a gentle bubble and becomes thick enough to coat a spoon. Maintain gentle bubbling for 1 minute, then remove from heat and stir in the butter and vanilla.
- Strain the custard into a clean bowl, cover its surface directly with food safe wrap, and cool for about 30 minutes. Refrigerate if necessary until the pudding is no longer warm, stirring briefly before assembly.
- Arrange half the vanilla wafers in the bottom of the dish, followed by half the sliced bananas and half the pudding. Repeat with the remaining wafers, bananas, and pudding, then refrigerate while preparing the topping.
- Whip the cold cream, powdered sugar, and vanilla until medium peaks form, then spread over the pudding. Cover and refrigerate for at least 3 hours, then garnish with fresh banana slices and crushed wafers immediately before serving.
Notes
- Choose ripe but firm bananas for the best texture.
- Stir the custard continuously to prevent lumps.
- Chill overnight for softer vanilla wafer layers.
- Use cold heavy cream for a fluffy topping.