Fried Chicken Wings

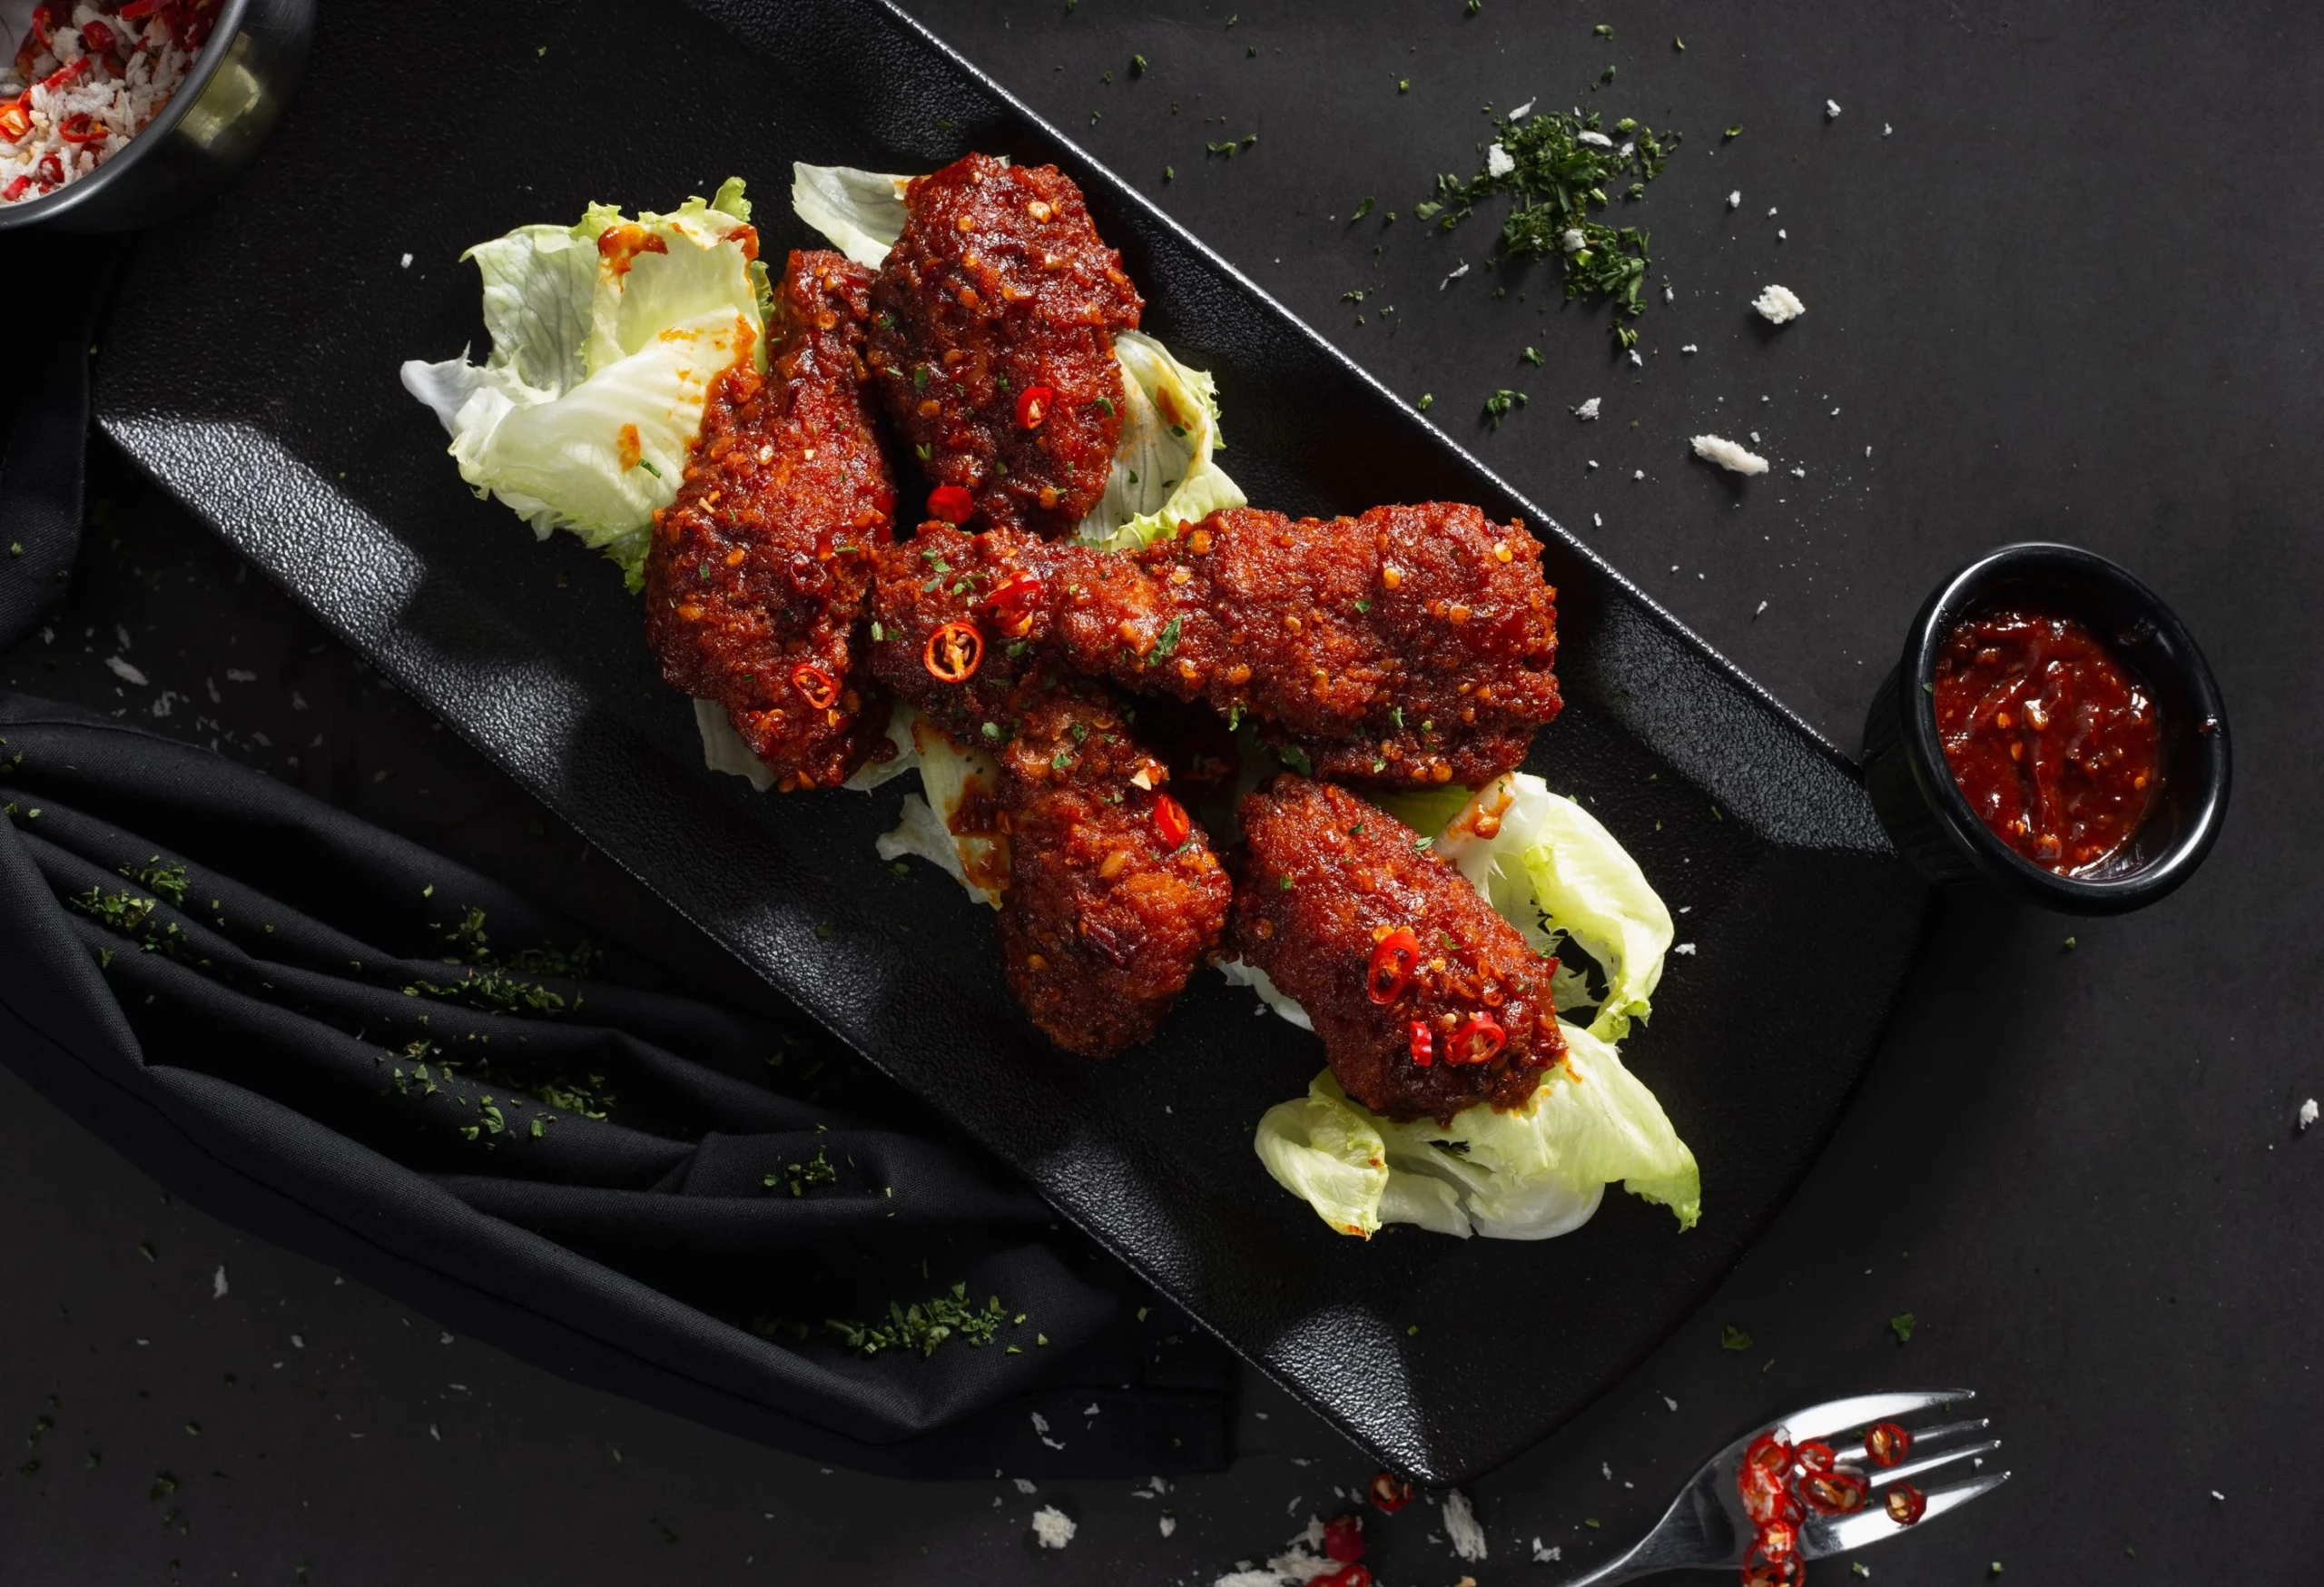
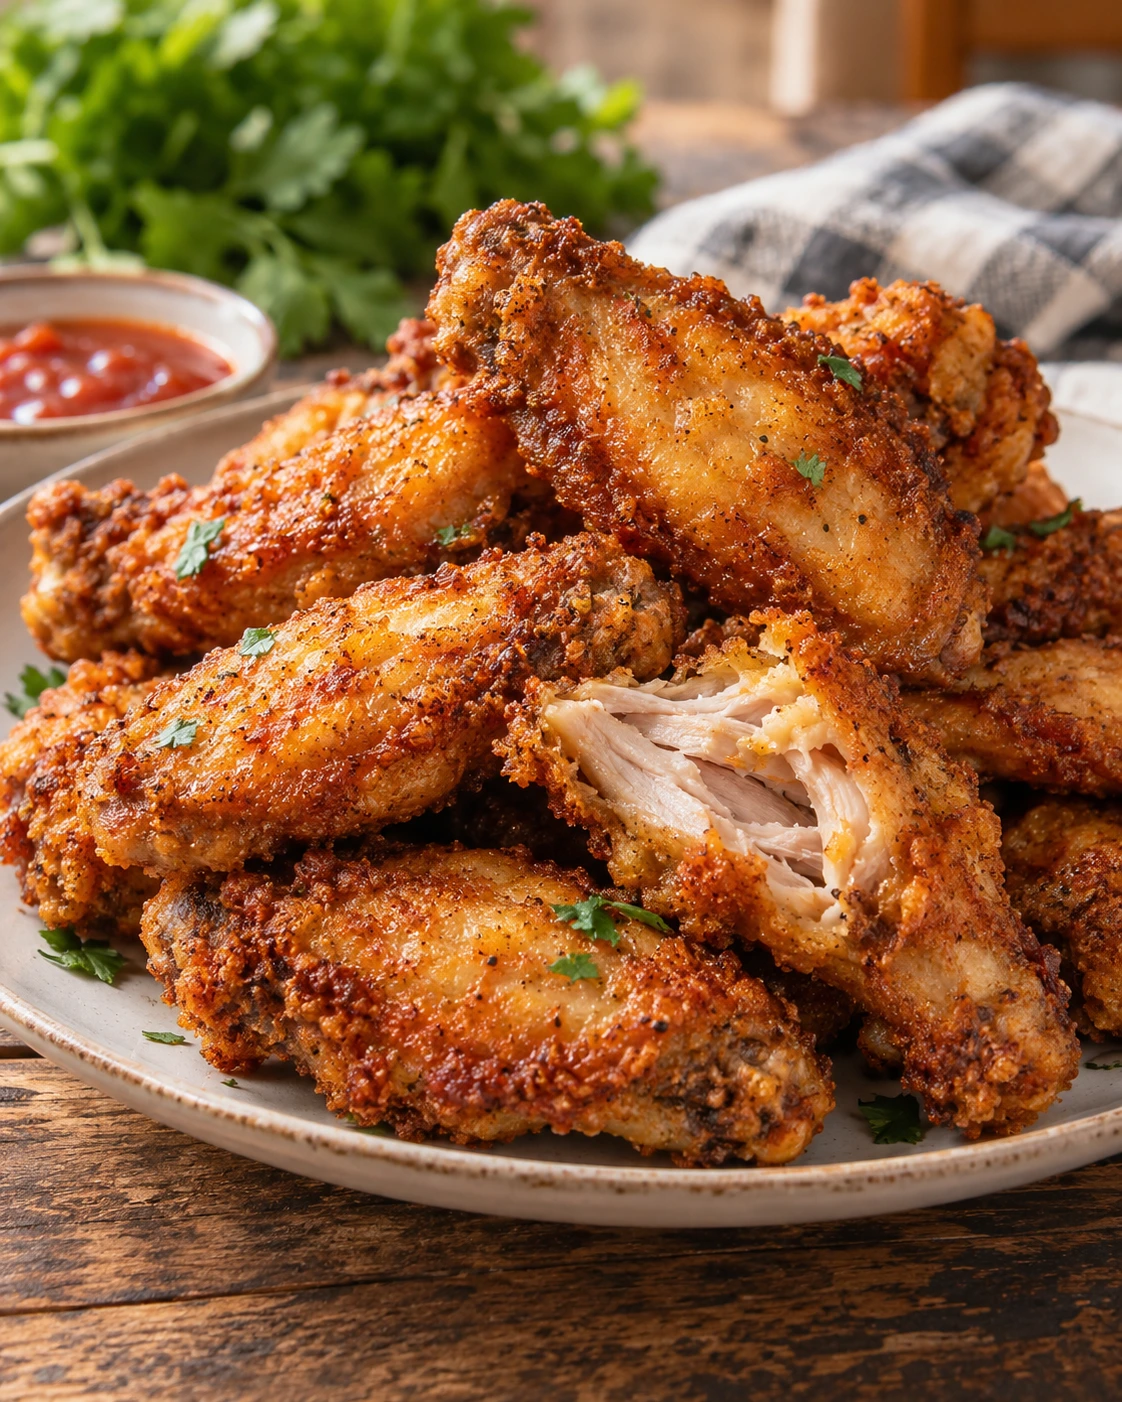
That first bite through a shatteringly crisp coating into juicy chicken underneath is exactly why homemade wings beat takeout every single time. Fried Chicken Wings turn a simple buttermilk soak and seasoned flour dredge into a batch of golden, crunchy wings ready faster than delivery could ever arrive.
I started making these fried chicken wings at home after one too many soggy orders of takeout wings, and the difference was immediate. A quick buttermilk dip followed by a well seasoned flour coating gives these wings a crunch that holds up even after they cool slightly, which is more than I can say for most restaurant versions. Once you taste that first crispy, juicy bite straight from your own kitchen, ordering wings out starts to feel like settling for less.
Crispy Chicken Wings
Why You’ll Love This Recipe
- Ready in just 30 minutes, faster than most delivery orders
- Shatteringly crispy coating that holds up even after cooling slightly
- Juicy, tender chicken underneath every crunchy bite
- Perfect for game day, parties, or a fun weeknight dinner
- Naturally customizable, from mild to fiery depending on your sauce
- No fancy equipment needed, just a pot and a thermometer
Quick Information
- Prep Time: 15 minutes
- Cook Time: 15 minutes
- Total Time: 30 minutes
- Servings: 4 (about 12 wings)
- Difficulty: Easy
- Calories: 320 per serving
- Important Tool: A deep pot or Dutch oven for frying
- Best For: Game day, parties, or a fun weeknight dinner
- Course: Appetizer
- Cuisine: American
Nutrition Information
- Calories: 320
- Protein: 22g
- Carbohydrates: 14g
- Fat: 20g
- Fiber: 1g
- Sugar: 1g
- Sodium: 580mg
- Serving Size: 3 wings
- Servings Per Recipe: 4
Most of the protein in this dish comes directly from the chicken, making these fried wings more filling than you might expect for finger food. The fat content reflects the oil absorbed during frying, which can be reduced slightly by draining the wings well on a wire rack after cooking.
Nutrition information is an estimate calculated from standard ingredient values and will vary based on specific brands, oil absorption, and portion sizes used.
Ingredients
For the Wings
- 12 chicken wings, split into flats and drumettes
- 1 cup buttermilk
- 1/2 teaspoon hot sauce, optional
For the Coating
- 1 1/2 cups all purpose flour
- 1/4 cup cornstarch
- 1 teaspoon salt
- 1/2 teaspoon black pepper
- 1 teaspoon paprika
- 1 teaspoon garlic powder
- 1/2 teaspoon onion powder
- 1/4 teaspoon cayenne pepper, optional
For Frying
- 4 cups vegetable oil, for frying
Ingredient Notes: A brief buttermilk soak, even just 15 to 20 minutes, tenderizes the chicken and helps the flour coating adhere more evenly. Cornstarch mixed into the flour is what gives the coating its extra crisp, shatter like texture compared to flour alone.
Callout Box — Ingredient Tip: For the crispiest possible coating, dredge the wings twice, dipping them back into the buttermilk and flour a second time before frying, which builds a noticeably thicker, crunchier crust.
Equipment Needed
- Deep pot or Dutch oven – holds the oil at a steady temperature for even frying
- Shallow dish – for dredging the wings in the seasoned flour mixture
- Tongs – for safely lowering and turning the wings in hot oil
- Wire rack – drains excess oil while keeping the coating crisp
- Kitchen thermometer – confirms the oil and chicken have reached the right temperatures
Practical Tip: Setting up your buttermilk, flour, and frying station in a straight line before you start makes the whole dredging process faster and far less messy.
Preparation
Before you start, pat the chicken wings dry with paper towels, since excess moisture keeps the buttermilk and flour from sticking evenly. Whisk the buttermilk and hot sauce together in a bowl, and combine the flour, cornstarch, and all the seasonings in a separate shallow dish.
Set up your frying station with a wire rack over a baking sheet nearby, so the wings have somewhere to drain and rest right after they come out of the oil.
Step by Step Instructions
- Soak the wings. Dip the chicken wings into the buttermilk mixture, coating them fully.
- Dredge in flour. Remove each wing, letting excess buttermilk drip off, then coat thoroughly in the seasoned flour mixture, pressing gently so it adheres.
- Double dredge, if desired. For extra crunch, dip the floured wings back into the buttermilk and then the flour a second time.
- Heat the oil. Heat the vegetable oil in a deep pot to 375°F (190°C).
- Fry in batches. Carefully lower the wings into the hot oil in small batches, frying for 8 to 10 minutes, until deeply golden and cooked through.
- Check for doneness. Confirm the internal temperature has reached 165°F (74°C) at the thickest part of the wing.
- Drain on a wire rack. Remove the wings with tongs and place them on a wire rack to drain, rather than paper towels.
- Serve immediately. Toss in your favorite sauce, if using, and serve right away while still hot and crispy.
Chef’s Note: Draining chicken wings on a wire rack rather than paper towels keeps the bottom of the coating from steaming and turning soggy while they rest.
Chef’s Note: Always confirm doneness with a thermometer rather than relying on color alone, since a deeply golden coating can sometimes form before the chicken is fully cooked through.
Chef’s Note: Fry in small batches of 4 to 5 wings at a time, since overcrowding the pot drops the oil temperature and leads to greasy, unevenly cooked wings.
Expert Tips & Tricks
- Pat the chicken wings completely dry first. The first time I skipped this step, my flour coating slid right off in the oil, so now I always take an extra minute with paper towels before dredging.
- Double dredge for extra crunch. Dipping the wings back into buttermilk and flour a second time builds a noticeably thicker, crunchier crust than a single coating.
- Keep the oil temperature steady. Use a thermometer and adjust your burner as needed between batches, since the oil temperature drops each time you add wings.
- Fry in small batches. Crowding the pot leads to greasy wings, so patience with smaller batches pays off in the final texture.
- Season the flour generously. The coating is your main opportunity for flavor, so do not be shy with the salt, paprika, and garlic powder.
- Toss in sauce right before serving. Waiting until the last moment to add sauce keeps the coating crispy for as long as possible.
- Drain on a wire rack, not paper towels. This small swap makes a real difference in keeping the bottom of the coating crisp instead of soggy.
Common Mistakes & Troubleshooting
Coating falls off in the oil: This usually happens when the chicken wings were not patted dry enough before dredging, or the flour was not pressed on firmly. Dry the wings thoroughly first, and press the flour coating onto each wing before it goes into the oil.
Greasy, soggy wings: Oil that is too cool when the wings go in causes them to absorb oil instead of frying quickly. Use a thermometer to confirm the oil has reached 375°F before adding any wings, and let it recover between batches.
Burnt outside, raw inside: Oil that is too hot browns the coating within a couple of minutes while the chicken underneath stays undercooked. Lower the heat slightly and always confirm doneness with a thermometer rather than relying on color.
Coating turns soggy after frying: Resting fried chicken wings on paper towels traps steam underneath the coating, softening it as they cool. Use a wire rack instead, which allows air to circulate on all sides.
Uneven cooking between batches: Frying too many wings at once drops the oil temperature and leaves some pieces darker or less cooked than others. I learned this after cramming an entire batch into the pot at once, so now I always fry in smaller rounds and let the oil come back up to temperature first.
Storage Instructions
- Room Temperature: Best served immediately; do not leave out longer than 2 hours.
- Refrigerator: Store in an airtight container for up to 4 days.
- Freezer: Freeze cooked wings in a single layer, then transfer to a freezer bag, for up to 3 months.
- Reheating: Reheat in an air fryer or oven at 375°F (190°C) for 8 to 10 minutes to restore crispness, since microwaving makes the coating soft.
- Make Ahead: Season the flour mixture and trim the wings up to a day in advance, storing each separately until ready to fry.
- My storage tip: I always reheat leftover wings in the air fryer instead of the microwave, since it brings back nearly all of that original crispy texture in just a few minutes.
Variations & Substitutions
- Spicy version: Add extra cayenne pepper to the flour mixture and toss the finished wings in your favorite hot sauce for real heat.
- Mild, kid friendly version: Skip the cayenne pepper entirely and toss the finished wings in a mild honey or barbecue sauce instead.
- Vegetarian option: Use the same buttermilk and seasoned flour coating on thick cauliflower florets for a plant based version of the same crispy bite.
- Gluten free version: Substitute the all purpose flour with a 1:1 gluten free flour blend, keeping the cornstarch the same.
- Other substitutions: Try baking or air frying instead of deep frying for a lighter version, adjusting cook time to about 20 to 25 minutes at 400°F, flipping halfway through.
Serving Suggestions
These fried chicken wings are a complete snack on their own, but a few classic pairings round things out.
- Dips: Ranch or blue cheese dressing for dipping alongside the wings
- Veggies: Celery and carrot sticks for a fresh, crunchy contrast
- Sides: A side of crispy fries or roasted asparagus if you want something a little lighter
- Sauces: Extra hot sauce or barbecue sauce on the side for dipping
- Meal combinations: Pair with other appetizers for a full game day spread
Callout Box — Meal Prep Tip: I often prep the buttermilk soak and seasoned flour the night before a party, so all that is left to do the next day is dredge and fry right before guests arrive.
Frequently Asked Questions
Can I make fried chicken wings ahead of time?
You can season the flour mixture and trim the wings up to a day in advance, storing them separately in the refrigerator until you are ready to fry. That said, these wings truly taste best served immediately after frying, while the coating is at its crispiest. I would avoid frying them too far ahead of when you plan to eat, since the texture is best fresh.
Why is my coating not staying crispy?
A coating that turns soft usually comes down to resting the fried wings on paper towels, which traps steam underneath and softens the crust as it cools. Use a wire rack instead of paper towels, and serve the wings as soon as possible after frying for the best texture. Tossing them in sauce right before serving, rather than letting them sit in sauce, also helps.
Can I bake or air fry instead of deep frying?
Yes, both methods work well if you want a lighter version of this recipe. For baking, arrange the coated wings on a wire rack over a baking sheet and bake at 400°F for about 25 minutes, flipping halfway through. An air fryer works similarly at 380°F for about 20 to 22 minutes, shaking the basket partway through for even browning.
How do I know when the chicken wings are fully cooked?
The most reliable way is checking the internal temperature with a thermometer, which should read 165°F (74°C) at the thickest part of the wing. Visually, the coating should be deeply golden brown, though color alone is not always a reliable indicator of doneness. If you are frying a large batch, check a few different wings rather than assuming they all finished at exactly the same rate.
Why do my fried wings turn out greasy instead of crispy?
Greasy wings almost always mean the oil was not hot enough when the wings went in, causing them to absorb oil rather than fry quickly. Use a thermometer to confirm your oil has reached 375°F before adding any wings, and let the temperature recover between batches rather than adding a new batch immediately. Draining on a wire rack instead of paper towels after frying also helps keep excess oil from sitting against the coating.
Conclusion
Fried Chicken Wings prove that the best version of this classic snack is often the one made in your own kitchen, with a crunch and juiciness that takeout rarely matches. What keeps me making these at home is how quickly they come together, especially once the dredging station is set up and the oil is at temperature. Make a batch for your next game day or family dinner, and do not be surprised when the plate empties faster than you expected.
For more easy appetizer and game day recipes like this one, follow along on Pinterest at MyRecipesDiary.
Fried Chicken Wings
Ingredients
Equipment
Method
- Dip wings in buttermilk mixture.
- Dredge in seasoned flour, pressing to coat; double dredge for extra crunch if desired.
- Heat oil to 375°F in a deep pot.
- Fry wings in batches 8 to 10 minutes until golden and internal temp reaches 165°F.
- Drain on a wire rack, not paper towels.
- Toss in sauce, if using, and serve immediately.
Notes
- Pat the wings completely dry before dredging so the coating adheres properly.
- Double dredge for an extra thick, crunchy crust.
- Drain fried wings on a wire rack instead of paper towels to keep the coating crisp.
- A deep pot or Dutch oven holds heat more evenly than a shallow pan, which helps maintain a steady frying temperature.