Eskimo Pie Popsicles Recipe

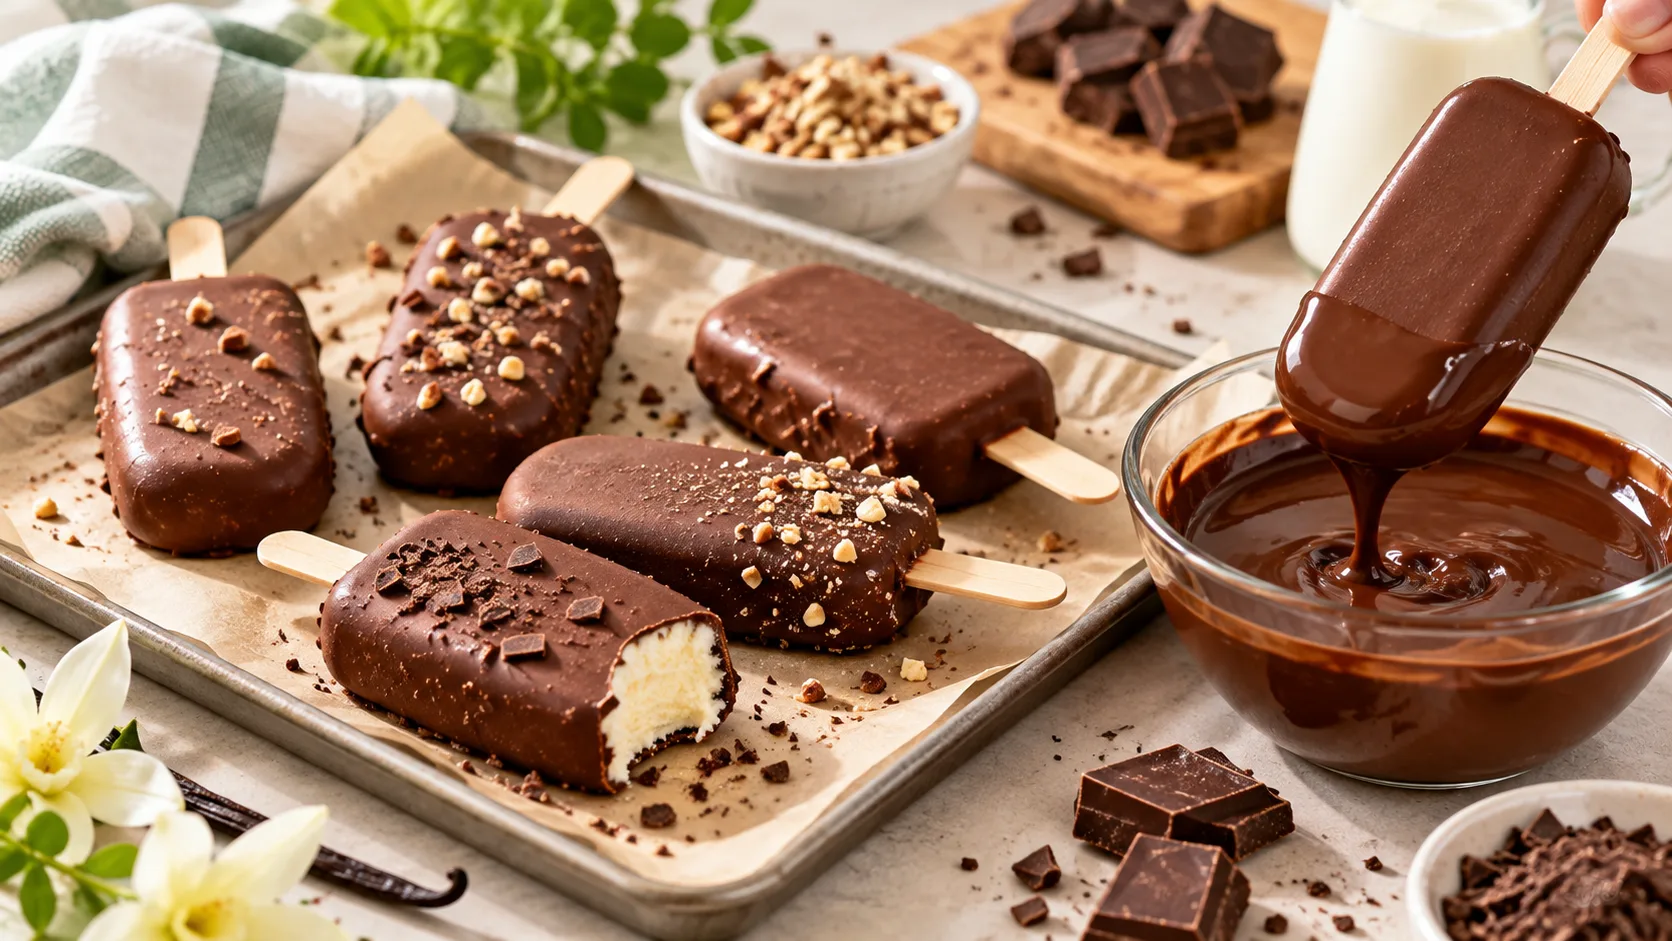
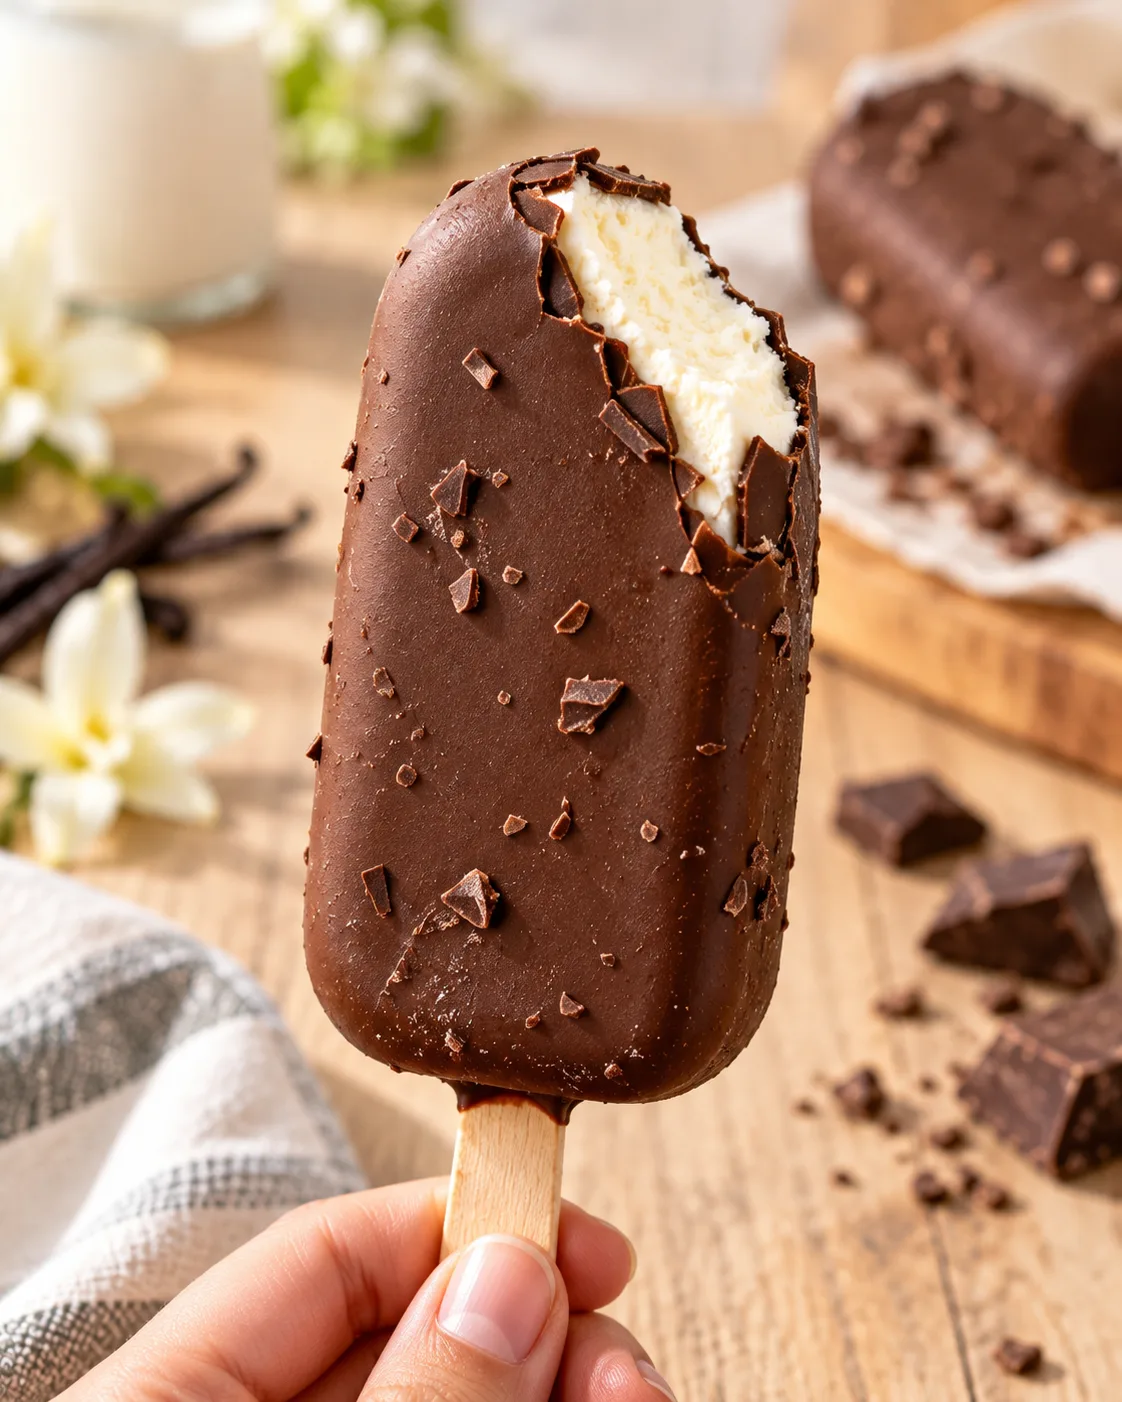
That satisfying crack of a thin chocolate shell giving way to creamy vanilla ice cream underneath is exactly what makes this treat so hard to stop eating after just one. Eskimo Pie Popsicles Recipe recreates that classic chocolate covered ice cream bar at home using just four ingredients, no candy thermometer or special equipment required.
I started making these after realizing how simple the shell actually is to recreate, since the real trick is nothing more than melted chocolate thinned with a little coconut oil, which hardens into that signature crisp coating within seconds of touching frozen ice cream. Now these show up in my freezer every summer, ready for hot afternoons when a regular scoop of ice cream just will not cut it. Once you taste that first snap of chocolate followed by cold, creamy vanilla, you will understand why this simple combination has stayed a favorite for generations.
Copycat Eskimo Pie Popsicles
Why You’ll Love This Recipe
- Just 4 ingredients, all of which are easy to find at any grocery store
- That signature crisp shell, with a satisfying snap on the very first bite
- No special equipment needed, beyond basic popsicle molds and sticks
- Freezer friendly, so you can keep a batch on hand for weeks
- Easy to customize with different toppings or chocolate types
Quick Information
- Prep Time: 15 minutes
- Freeze Time: 4 hours
- Total Time: 4 hours 15 minutes
- Servings: 8 popsicles
- Difficulty: Easy
- Calories: 210 per popsicle
- Important Tool: Popsicle molds with sticks
- Best For: Hot summer days, kids’ snacks, or an easy homemade freezer treat
- Course: Dessert
- Cuisine: American
- Category: Frozen Dessert
Nutrition Information
- Calories: 210
- Protein: 3g
- Carbohydrates: 20g
- Fat: 13g
- Fiber: 1g
- Sugar: 16g
- Sodium: 40mg
- Serving Size: 1 popsicle
- Servings Per Recipe: 8
Most of the calories and fat in these popsicles come from the chocolate coating and full fat ice cream, both of which contribute to that rich, indulgent bite. Choosing a lower sugar ice cream or a dark chocolate coating are simple ways to bring the sugar content down slightly without losing the classic flavor.
Nutrition information is an estimate calculated from standard ingredient values and will vary based on specific brands and portion sizes used.
Ingredients
For the Popsicles
- 4 cups vanilla ice cream, slightly softened
- 8 popsicle sticks
For the Chocolate Shell
- 2 cups (350g) semisweet chocolate chips
- 2 tablespoons coconut oil
Ingredient Notes: Coconut oil is what gives the chocolate shell its signature quick hardening snap, so avoid skipping it or swapping it for butter, which will not set the same way. Use a full fat vanilla ice cream for the creamiest texture, since lower fat versions can turn icy rather than smooth once frozen solid.
Callout Box — : This recipe is naturally friendly when made with a gelatin free vanilla ice cream. Check your ice cream’s label for gelatin as a stabilizer, and choose a brand that lists none, since gelatin sourcing varies by product.
Equipment Needed
- Popsicle molds – shapes and holds the ice cream while it freezes solid
- Popsicle sticks – anchors each popsicle for easy dipping and eating
- Microwave safe bowl or double boiler – melts the chocolate and coconut oil smoothly
- Parchment lined baking sheet – catches drips and prevents dipped popsicles from sticking as they set
- Freezer space – needed for both the initial freeze and the final chocolate setting step
Practical Tip: Chill your popsicle molds in the freezer for a few minutes before filling them, which helps the ice cream firm up faster and reduces melting while you work.
Preparation
Before you start, let your vanilla ice cream sit at room temperature for about 5 minutes, just enough to soften slightly for easy scooping without fully melting. Have your popsicle molds and sticks ready nearby, since ice cream softens quickly once it comes out of the freezer.
Line a baking sheet with parchment paper and clear a flat space in your freezer, since you will need room for both the initial mold freezing and the tray of dipped popsicles afterward.
Step by Step Instructions
- Fill the molds. Scoop the slightly softened vanilla ice cream into popsicle molds, pressing gently to remove air pockets and filling to just below the top.
- Insert the sticks. Insert a popsicle stick into the center of each mold, standing it upright.
- Freeze until solid. Freeze the filled molds for at least 4 hours, or until completely solid all the way through.
- Melt the chocolate shell. Combine the chocolate chips and coconut oil in a microwave safe bowl and heat in 30 second bursts, stirring between each, until fully melted and smooth.
- Release the popsicles. Run the outside of the molds briefly under warm water to loosen the popsicles, then gently pull each one out by the stick.
- Dip in chocolate. Working quickly, dip each frozen popsicle into the melted chocolate mixture, turning to coat evenly, and let the excess drip off for a few seconds.
- Set on parchment. Place each dipped popsicle onto the parchment lined baking sheet as soon as the chocolate begins to harden.
- Freeze to finish. Return the tray to the freezer for 10 to 15 minutes to fully set the chocolate shell before serving.
Chef’s Note: Make sure the popsicles are completely frozen solid before dipping, since a soft popsicle will not hold its shape and can slide right off the stick into the chocolate.
Chef’s Note: Work quickly once the popsicles come out of the freezer, since the ice cream begins softening the moment it hits room temperature air.
Chef’s Note: The chocolate shell should harden within about 10 to 15 seconds of touching the frozen popsicle, giving you that classic audible snap when you know it has set correctly.
Expert Tips & Tricks
- Use fully frozen popsicles. The first time I tried dipping popsicles that were only mostly frozen, the shell slid right off in the chocolate bowl, so now I always freeze for the full 4 hours minimum.
- Keep the chocolate warm but not hot. If the chocolate mixture starts to firm up while you are dipping, reheat it in 10 second bursts to keep it pourable.
- Work in small batches. Dip two or three popsicles at a time and keep the rest in the freezer, since ice cream softens quickly once exposed to room temperature.
- Add toppings immediately. If you want sprinkles or chopped nuts, add them right after dipping, before the chocolate shell has a chance to harden.
- Chill your molds first. A few minutes in the freezer before filling helps the ice cream set faster and reduces melting during the filling process.
- Make a double batch. Since these keep well in the freezer for weeks, doubling the recipe means treats are ready whenever the craving hits.
- Save time with pre-softened ice cream. Take the ice cream out just long enough to scoop easily, rather than letting it fully soften, which keeps the whole process faster overall.
Common Mistakes & Troubleshooting
Chocolate shell cracks or falls off: This almost always happens when the popsicle was not fully frozen before dipping. Freeze for a full 4 hours or longer, and check that the center feels completely solid before attempting to dip.
Shell does not harden properly: Skipping the coconut oil, or using too little of it, leaves the chocolate soft and sticky instead of crisp. Stick to the 2 tablespoon amount, since the oil is what gives the coating its quick set and characteristic snap.
Popsicles stick in the mold: Pulling directly on the stick without loosening the mold first can break the stick free of the popsicle. Run the outside of the mold under warm water for a few seconds before attempting to remove it.
Ice cream melts too fast while dipping: Working too slowly, or dipping too many popsicles out of the freezer at once, gives the ice cream time to soften and slip off the stick. Dip in small batches of two or three and keep the rest frozen until you are ready.
Messy, off center sticks: Inserting sticks into ice cream that is too soft lets them lean or slide sideways as the mold freezes. I learned this after rushing a batch and ending up with half the sticks tilted at odd angles, so now I always let the ice cream firm up in the mold for a few minutes before checking that each stick stands upright.
Storage Instructions
- Room Temperature: Do not leave popsicles out longer than 10 to 15 minutes, since they will begin melting quickly.
- Refrigerator: Not recommended, as the freezer is required to keep these solid.
- Freezer: Store in an airtight container or wrapped individually in wax paper for up to 2 weeks.
- Reheating: Not applicable, as these are served frozen.
- Make Ahead: The entire recipe is essentially a make ahead treat, since it needs several hours in the freezer before serving regardless of timing.
- My storage tip: I always wrap each popsicle individually in wax paper before storing them together in a container, which keeps them from sticking to each other in the freezer.
Variations & Substitutions
- Spiced version: Stir a small pinch of cayenne pepper or cinnamon into the melted chocolate for a warm, subtly spiced Mexican hot chocolate inspired twist.
- Mild, kid friendly version: Roll freshly dipped popsicles in rainbow sprinkles before the shell sets for a fun, colorful treat kids love.
- Dairy free version: Use a dairy free vanilla ice cream alternative along with dairy free chocolate chips to make the entire recipe plant based.
- Naturally gluten free: This recipe contains no gluten as written, provided your ice cream and chocolate chips are labeled gluten free.
- Other substitutions: Swap semisweet chocolate for dark or white chocolate chips for a different flavor profile, or roll the dipped popsicles in chopped peanuts or crushed graham crackers for added crunch.
Serving Suggestions
Eskimo pie popsicles are a complete treat on their own, but a few extras can make them even more fun to serve.
- Toppings: Chopped peanuts, shredded coconut, or crushed graham crackers pressed into the wet chocolate shell
- Drizzles: A light drizzle of caramel or extra melted chocolate over the top just before serving
- Pairings: Serve alongside a cold glass of lemonade or Avocado Smoothie on a hot afternoon
- Presentation: Serve on a tray lined with crushed ice for a fun summer party presentation
- Meal combinations: Pair with fresh berries on the side for a lighter take on dessert
Callout Box — Meal Prep Tip: I always make a double batch on the first hot weekend of summer, since these keep so well in the freezer that we are still enjoying them weeks later without any extra effort.
Frequently Asked Questions
Can I make eskimo pie popsicles ahead of time?
Yes, these are actually meant to be made ahead, since they need at least 4 hours in the freezer before dipping and another short freeze afterward to set the chocolate shell. Once finished, they store well in the freezer for up to 2 weeks, making them a great treat to prep in advance. I usually make a batch a day or two before I know I will want them.
Why does my chocolate shell crack or fall off the popsicle?
This typically happens when the popsicle was not fully frozen before dipping, causing the shell to lose its grip as the ice cream softens. Always freeze the popsicles for a full 4 hours or longer, checking that the center feels completely solid before dipping. A properly frozen popsicle gives the chocolate something firm and cold to set against instantly.
Can I use a dairy free ice cream for this recipe?
Absolutely, a dairy free vanilla ice cream alternative works well in place of regular ice cream, and pairing it with dairy free chocolate chips keeps the entire recipe plant based. The texture may be slightly different depending on the brand, but the overall process and result stay very similar. This swap is an easy way to make the recipe work for more dietary needs.
How long do I need to freeze the popsicles before dipping?
Plan on at least 4 hours in the freezer, though overnight freezing gives even more reliable results if you have the time. The popsicles need to be completely solid all the way through, not just firm on the outside, or the chocolate shell will not hold properly. Testing the center with a light touch is the easiest way to confirm they are ready.
Why won’t my chocolate coating harden on the popsicles?
A coating that stays soft or sticky instead of setting with a snap usually means the coconut oil was left out or reduced too much. Coconut oil is essential here, since it is what allows the melted chocolate to firm up almost instantly against the cold ice cream. If your shell still will not set, double check that your popsicles were fully frozen before dipping, since a slightly soft popsicle also slows down the hardening process.
Conclusion
Eskimo Pie Popsicles Recipe turns a handful of simple ingredients into a treat with real nostalgia built into every bite, minus any need for special equipment or complicated techniques. What makes this one worth keeping in your freezer all summer is how forgiving the process is once you understand the two main rules, fully frozen ice cream and a coconut oil thinned chocolate shell. Make a batch this weekend and you will have a treat ready to pull out the moment the weather heats up.
For more easy frozen treats and dessert recipes like this one, follow along on Pinterest at MyRecipesDiary.

Eskimo Pie Popsicles Recipe
Ingredients
Equipment
Method
- Scoop softened ice cream into popsicle molds and insert sticks.
- Freeze for at least 4 hours, until completely solid.
- Melt chocolate chips and coconut oil together until smooth.
- Release popsicles from molds using warm water.
- Dip each popsicle into the melted chocolate, coating evenly.
- Place on parchment paper and freeze 10 to 15 minutes to set the shell.
Notes
- Freeze popsicles fully solid, at least 4 hours, before dipping for the best results.
- Do not skip the coconut oil, since it is what gives the shell its signature quick hardening snap.
- Work in small batches while dipping to keep the ice cream from softening too much.
- Chill your popsicle molds briefly before filling to help the ice cream set faster and reduce melting.