Ultimate Apple Pie Recipe

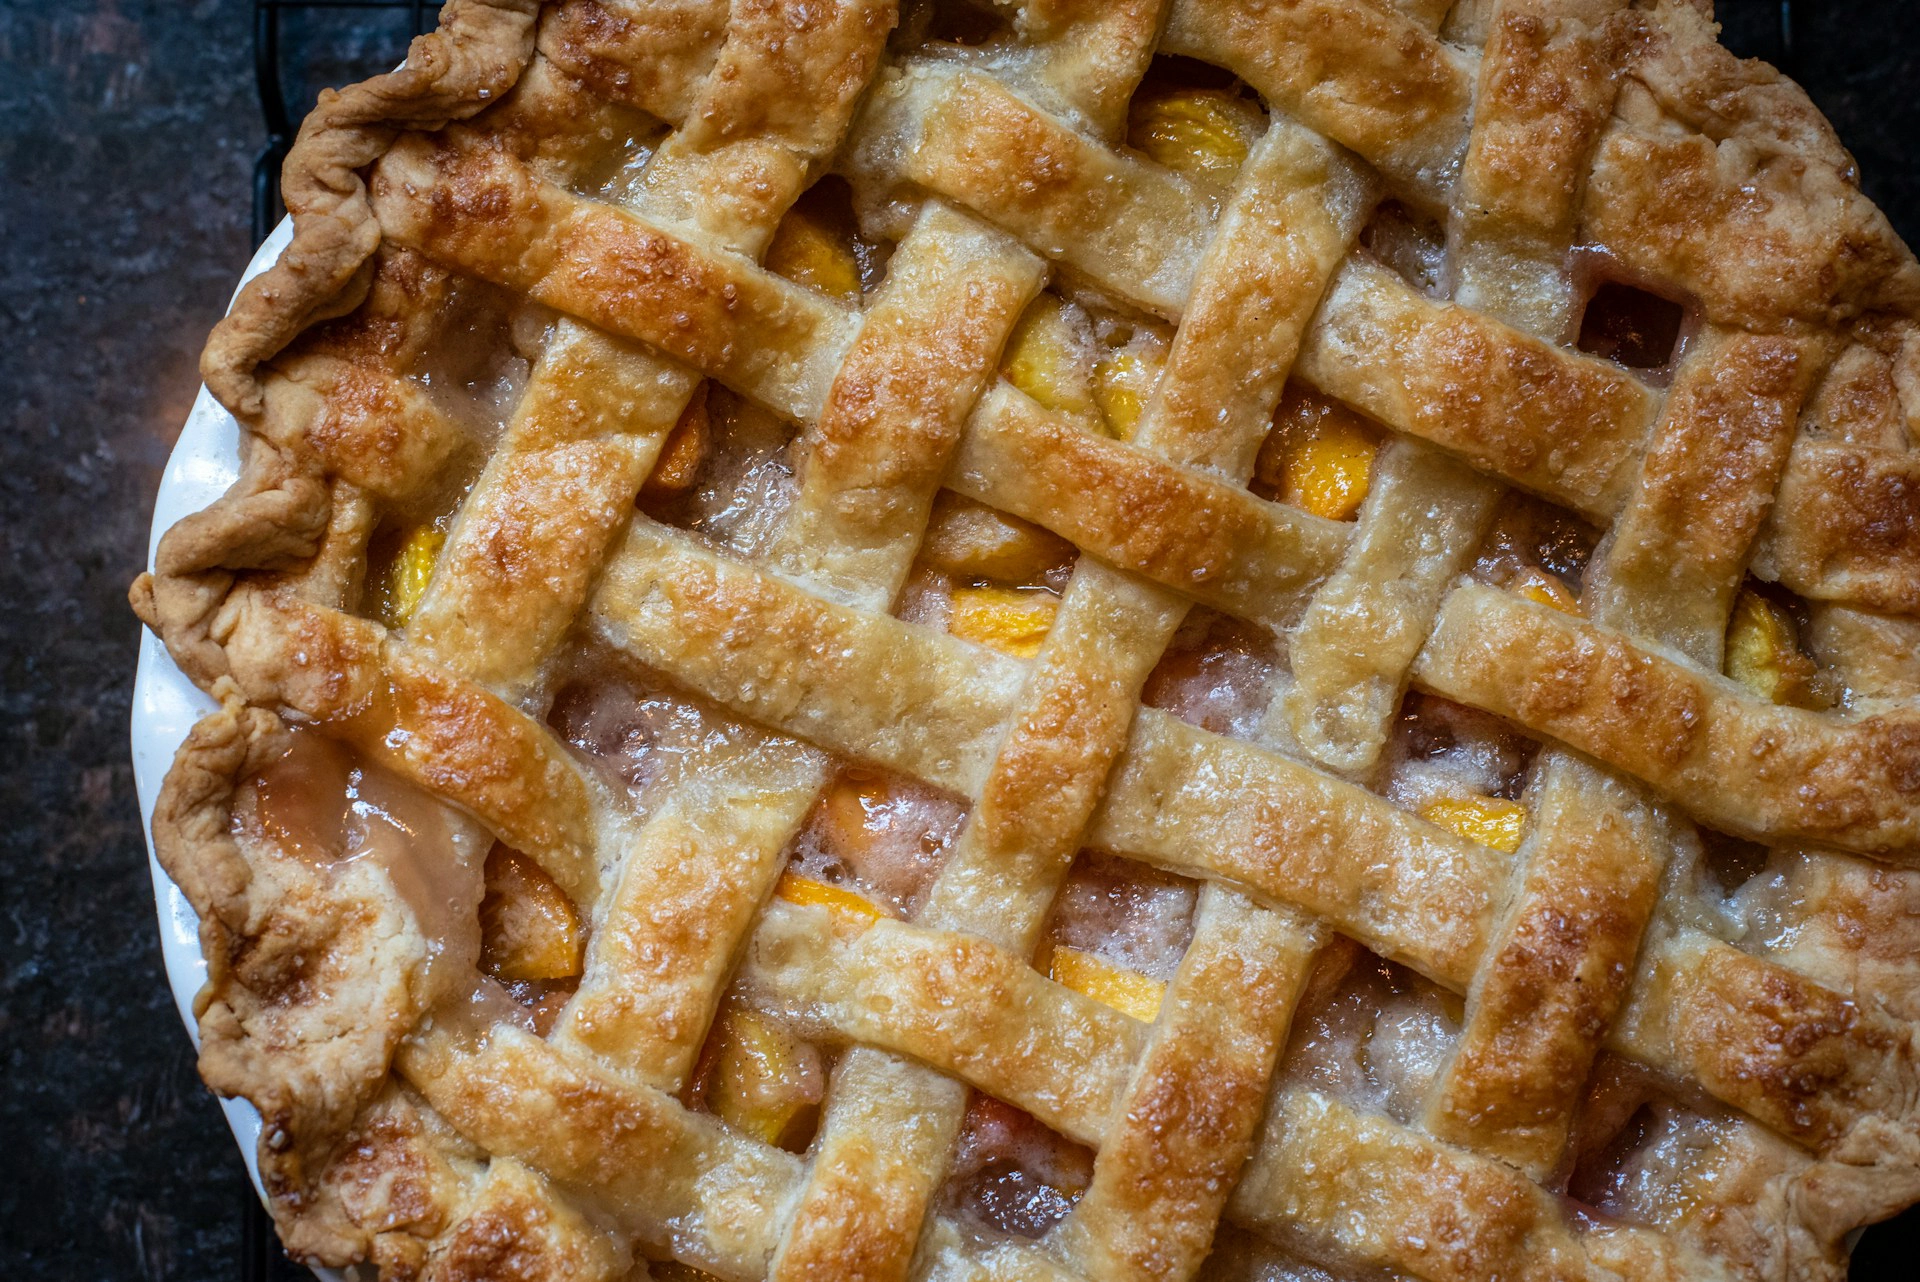
A golden, flaky crust crackling under the fork, tender cinnamon apples that hold their shape, and a thick, glossy syrup that stays inside the slice, not on the plate, is what a great apple pie delivers. This Apple Pie recipe uses an all butter crust and a simple trick for the filling, so every slice cuts clean.
My first pies were heartbreaking. The bottom crust turned pale and wet, and a big gap opened between the apples and the top crust as the fruit shrank in the oven. After nine test bakes, I fixed both problems the same way: let the apples sit in sugar for 30 minutes, drain them, and simmer the juices into a syrup before the apple pie goes in.
That one extra step is what makes this homemade apple pie different. The filling is already thick, the apples shrink less, and the crust bakes crisp on a hot baking sheet. The dough takes about 15 minutes to make and chills while the apples rest. My dad, who has strong opinions about pie, asked for a second slice and then asked who made it.
Table of Contents
Why You’ll Love This Apple Pie Recipe
- Flaky all butter crust that bakes golden and stays crisp under the filling
- Thick, glossy filling that slices clean instead of running across the plate
- No soggy bottom, thanks to a preheated baking sheet on the lower rack
- Tender apples that hold their shape, because you drain and simmer the juices first
- Make ahead friendly, with dough that keeps 2 days in the fridge and a pie that freezes unbaked
- Simple pantry spices, with no special tools beyond a pie plate and a rolling pin
Quick Information
- Prep Time: 40 minutes
- Chill Time: 1 hour
- Cook Time: 1 hour 5 minutes
- Cool Time: 3 hours
- Total Time: About 5 hours 45 minutes, mostly hands off
- Servings: 8
- Difficulty: Medium
- Calories: 550 per serving
- Important Tool: A 9 inch deep dish pie plate
- Best For: Thanksgiving, holidays, Sunday dinners, or potlucks
- Course: Dessert
- Cuisine: American
- Category: Desserts & Baking
Nutrition Information
- Calories: 550
- Protein: 5g
- Carbohydrates: 75g
- Fat: 26g
- Fiber: 3g
- Sugar: 37g
- Sodium: 370mg
- Serving Size: 1 slice (about 1/8 of the pie)
- Servings Per Recipe: 8
This apple pie is a rich holiday dessert, with most of the calories coming from the butter crust and the sugar. The apples add a little fiber, and a thinner slice with plain yogurt or a scoop of vanilla ice cream makes a satisfying portion.
Nutrition information is an estimate calculated from standard ingredient values and will vary based on specific brands and portion sizes used.
Ingredients
For the Butter Crust
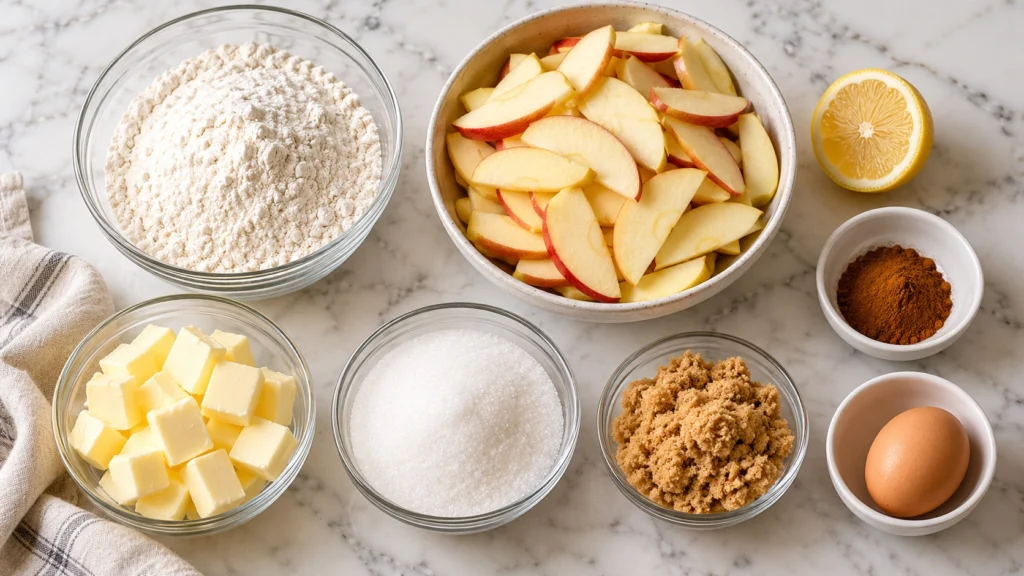
- 2 1/2 cups (315g) all purpose flour, plus more for dusting
- 1 tablespoon granulated sugar
- 1 teaspoon fine salt
- 1 cup (226g) cold unsalted butter, cut into 1/2 inch cubes
- 1 teaspoon apple cider vinegar
- 6 to 8 tablespoons (90 to 120ml) ice water
For the Apple Filling
- 3 pounds (1.4kg) firm apples, about 6 to 7 medium, such as Granny Smith and Honeycrisp, peeled, cored, and sliced 1/4 inch thick
- 1/2 cup (100g) granulated sugar
- 1/4 cup (50g) packed light brown sugar
- 1 tablespoon fresh lemon juice
- 1/4 teaspoon fine salt
- 3 tablespoons (24g) cornstarch
- 1 1/2 teaspoons ground cinnamon
- 1/4 teaspoon ground nutmeg
- 1 teaspoon alcohol free vanilla extract
- 2 tablespoons (28g) unsalted butter
For the Egg Wash
- 1 large egg
- 1 tablespoon whole milk
- 1 tablespoon coarse sugar, for sprinkling
For Serving
- Vanilla ice cream or lightly sweetened whipped cream
Ingredient Notes: Use half tart and half sweet firm apples, because Granny Smith keeps its shape and Honeycrisp adds sweetness. The apple cider vinegar relaxes the gluten, which makes the dough easier to roll and the crust more tender. Use real butter and keep it cold, since the small butter pieces melt in the oven and create the flaky layers.
Tip: Freeze the butter cubes for 15 minutes before you start. Cold butter is the biggest difference between a flaky crust and a dense one.
Equipment Needed
- 9 inch deep dish pie plate: lets you check the bottom crust for browning
- Pastry cutter or food processor: cuts cold butter into the flour without warming it
- Rimmed baking sheet: crisps the bottom crust and catches drips
- Vegetable peeler: peels the apples quickly
- Parchment paper: keeps the dough from sticking while you roll
- Instant read thermometer: confirms the filling has reached 200°F
Practical Tip: Use a glass or ceramic pie plate if you can. You can see through glass to check that the bottom crust is golden before you take the pie out.
Preparation
Place a rimmed baking sheet on the lowest oven rack and preheat the oven to 425°F (220°C). The hot sheet gives the bottom crust a strong head start.
Measure the ice water into a cup with a few ice cubes. Peel, core, and slice the apples, then keep them in a large bowl so they are ready to toss with the sugar. Have the spices and cornstarch measured before you start.
Step by Step Instructions
- Make the dough. Whisk the flour, sugar, and salt, then cut in the cold butter until pea sized pieces remain. Sprinkle in the vinegar and ice water, 1 tablespoon at a time, until the dough holds together when pinched.
- Chill the dough. Divide the dough into two discs, one slightly larger, then wrap and chill for at least 1 hour. The dough should feel firm and cool when pressed.
- Rest the apples. Toss the apple slices with both sugars, lemon juice, and salt, then let them sit for 30 minutes. Juice will pool at the bottom of the bowl as the apples soften.
- Cook the juices. Drain the apples over a saucepan, add the 2 tablespoons butter, and simmer the juices for 5 to 6 minutes, until syrupy enough to coat a spoon. Toss the apples with the cornstarch, cinnamon, nutmeg, and vanilla, then stir in the syrup. Pro tip: this step is what stops the gap from forming under the top crust.
- Roll the bottom crust. Roll the larger disc on a floured surface into a 12 inch round about 1/8 inch thick. Ease it into the pie plate and trim the overhang to 1 inch.
- Fill the pie. Pile the apples into the crust, mounding them slightly in the center, and pour in any syrup left in the bowl.
- Add the top crust. Roll the second disc into a 12 inch round, lay it over the apples, and fold the edges under. Crimp the rim and cut 5 small slits in the top.
- Bake. Whisk the egg with the milk, brush it over the crust, and sprinkle with coarse sugar. Set the pie on the hot baking sheet, bake at 425°F for 20 minutes, then reduce to 375°F and bake 40 to 45 minutes more, until deep golden and thick bubbles rise through the slits. Pro tip: tent the edges with foil if they brown too fast.
- Cool completely. Let the pie cool on a wire rack for at least 3 hours, until the center is just warm. Slice with a sharp knife and serve.
Expert Tips & Tricks
- Keep everything cold. Warm butter melts into the flour and gives a tough, cracker like crust, so chill the dough again if it softens while you roll.
- Learn from my mistake. The first time I made this, I skipped draining the apples and baked it on the top rack. The bottom stayed pale and the juice leaked over the edge onto the oven floor.
- Mix your apples. A blend of tart and sweet firm apples gives a filling with both flavor and structure.
- Use the hot baking sheet. It sends heat straight to the bottom crust, so it browns instead of steaming.
- Make ahead. Wrap the dough and refrigerate it for up to 2 days, or freeze it for up to 3 months and thaw overnight in the fridge.
- Store it loosely covered. Cover the cooled pie with a loose tent of foil, not an airtight lid, so the crust does not turn soft.
- Save time. Let the apples rest in the sugar while the dough chills, so both jobs finish at the same time.
Common Mistakes & Troubleshooting
Soggy bottom crust: A cold oven, a low rack, or too much liquid in the filling leaves the bottom pale and wet. Bake on a preheated sheet on the lowest rack and drain the apples first. If it still comes out soft, slide slices onto a hot skillet for 2 minutes to crisp the bottom.
Gap under the top crust: Raw apples shrink as they bake, and the top crust stays in place. Resting, draining, and simmering the juices shrinks the fruit before baking. Mound the apples slightly in the center to help.
Runny filling: Too little cornstarch, or slicing the pie while it is still warm, makes the juices run. Measure the cornstarch carefully and wait the full 3 hours before cutting. If it is already runny, chill the slice for an hour and serve it cold.
Tough crust: Overworking the dough or adding too much water makes the crust chewy. Stop mixing when the dough just holds together, and add water slowly. Rest the dough for a full hour so the gluten relaxes.
Edges burn before the center bubbles: Dark edges mean the crust is exposed too long to direct heat. Tent the rim with foil after 20 minutes, and keep baking until the filling bubbles thickly through the slits.
Storage Instructions
- Room Temperature: Keep the cooled pie loosely covered for up to 2 days.
- Refrigerator: Store covered for up to 5 days.
- Freezer: Wrap the baked, fully cooled pie tightly in plastic wrap and foil and freeze for up to 2 months. Thaw it overnight in the refrigerator.
- Reheating: Warm slices on a baking sheet at 325°F for 10 minutes, or reheat a whole pie at 350°F for 15 to 20 minutes, loosely tented with foil.
- Make Ahead: Make the dough up to 2 days ahead, or bake the whole pie the day before and reheat it before serving.
- My storage tip: I reheat slices in a toaster oven at 325°F for 8 minutes, which re-crisps the crust better than a microwave ever could.
Variations & Substitutions
- Warm spiced version: Add 1/4 teaspoon ground ginger and 1/4 teaspoon cardamom to the filling for a deeper flavor.
- Mild, kid friendly version: Use only Honeycrisp apples, reduce the cinnamon to 1 teaspoon, and skip the nutmeg.
- Vegetarian version: The recipe is already vegetarian, since the crust uses only butter.
- Gluten free version: Use a 1:1 gluten free baking flour blend for the crust, and add 1/2 teaspoon of xanthan gum if the blend does not include it.
- Other substitutions: Replace the top crust with a crumb topping made from 1 cup flour, 1/2 cup brown sugar, and 1/2 cup cold butter, or weave the top crust into a lattice.
Serving Suggestions
Apple pie is best served warm, with something cold and creamy beside it.
- Garnishes: Vanilla ice cream, whipped cream, or a drizzle of caramel sauce
- Drinks: Hot coffee, black tea, or warm apple cider
- Dessert tables: Set beside a blueberry cake and a plate of coconut cookies for a spread with fruit and crunch
- Cozy mornings: Pair a leftover slice with a pan of homemade monkey bread for a cinnamon lover’s brunch table
- Meal combinations: Explore more dessert and baking recipes for other crowd pleasers
Meal Prep Tip: I bake the pie the day before a holiday and warm it in a 350°F oven for 15 minutes before serving, so the crust is crisp and the house smells wonderful.
Frequently Asked Questions
Can I freeze apple pie unbaked and bake it later?
Yes, apple pie freezes beautifully unbaked, and it is one of the best make ahead tricks. Assemble the pie without the egg wash, freeze it uncovered on a baking sheet until solid, about 3 hours, then wrap it in plastic wrap and foil for up to 3 months. Do not thaw. Brush with egg wash and bake from frozen at 425°F for 20 minutes, then 375°F for 65 to 75 minutes.
Why do my apples turn mushy in apple pie?
Mushy apples usually come from soft varieties or slices cut too thin. Use firm, tart apples such as Granny Smith, and mix in a sweeter firm type like Honeycrisp or Braeburn. Slice them 1/4 inch thick, and avoid Red Delicious or McIntosh, which break down into sauce. Letting the apples sit in sugar for 30 minutes also draws out water first, so they hold their shape in the oven and give an apple pie with clear, tender slices.
Can I use flour or tapioca instead of cornstarch in apple pie?
Yes, you can swap the thickener. Use 1/4 cup (32g) all purpose flour in place of the 3 tablespoons of cornstarch, though the filling will look slightly cloudy. Tapioca starch works at 3 tablespoons too and gives a glossy, jammy set. Whichever you choose, toss it with the drained apples before pouring the syrup over, and bake until the filling bubbles thickly through the vents, which shows the thickener has activated in your apple pie.
Can I bake apple pie as hand pies, and how long do they take?
Yes, hand pies work well. Cut the dough into 5 inch rounds, fill each with about 3 tablespoons of the drained, thickened apples, and seal the edges with a fork. Bake at 375°F for 22 to 25 minutes, until deep golden and bubbling at the vents. They need no 425°F start because the crust is thin and cooks fast. Cool them for 15 minutes on a rack so the filling sets.
Do I really need to peel apples for apple pie?
No, but peeling gives the best texture, because the skin turns chewy and curls into tough ribbons as the apple pie bakes. If you are short on time, you can leave the skin on firm apples sliced very thin, about 1/8 inch, though the filling will look rustic and taste slightly more tart. A sturdy vegetable peeler works faster than a paring knife, and a bowl of lemon water keeps the slices from browning while you work.
Conclusion
A good apple pie does not need to be fancy. It needs a little patience, and the hardest part is waiting for the pie to cool while the kitchen smells like cinnamon and butter. That wait is what turns a loose, bubbling filling into a slice that stands up on the plate.
I baked this pie last Thanksgiving for twelve people, and not one person asked about the side dishes. By evening the plate was scraped clean, and my aunt left with the recipe scribbled on a napkin.
Make it once with your favorite apples, then tweak the spices next time. A pinch of cardamom or a crumb topping is an easy way to make this apple pie your own.
For more easy dessert and baking recipes like this one, follow along on Pinterest at MyRecipesDiary.
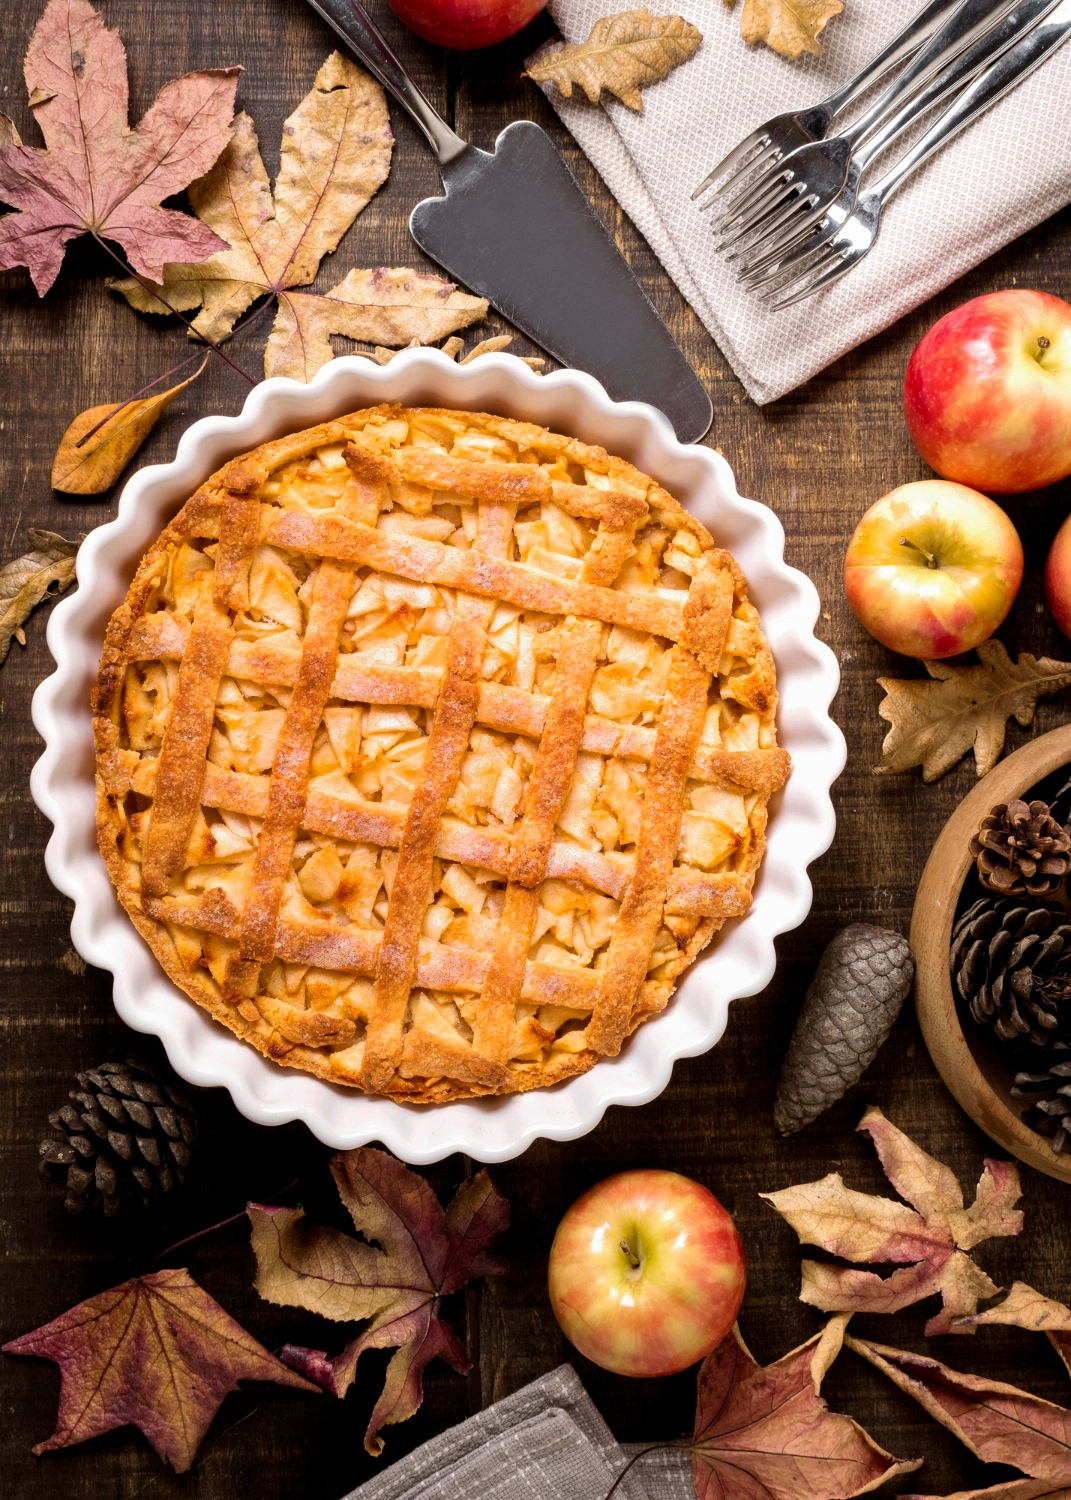

Ultimate Apple Pie Recipe
Ingredients
Equipment
Method
- Cut the butter into the flour, sugar, and salt, then add the vinegar and ice water until the dough holds together.
- Divide into two discs and chill for at least 1 hour.
- Toss the apples with both sugars, lemon juice, and salt, and rest for 30 minutes.
- Drain the apples, simmer the juices with 2 tbsp butter for 5 to 6 minutes until syrupy, then toss the apples with the cornstarch, spices, vanilla, and syrup.
- Roll the larger disc into a 12 inch round and fit it into the pie plate.
- Pile in the apples and top with the second rolled crust, then crimp and cut 5 slits.
- Brush with the egg wash, sprinkle with coarse sugar, and set on a hot baking sheet.
- Bake at 425°F for 20 minutes, then at 375°F for 40 to 45 minutes until deep golden and bubbling.
- Cool on a wire rack for at least 3 hours before slicing.
Notes
- Keep the butter cold for the flakiest crust.
- Bake on a preheated sheet on the lowest rack so the bottom crust browns.
- Cool for the full 3 hours so the filling sets and slices cleanly.
- Tent the edges with foil if they brown too fast.