Protein Bars in 6 Easy Steps for Irresistible Chewy Snacks

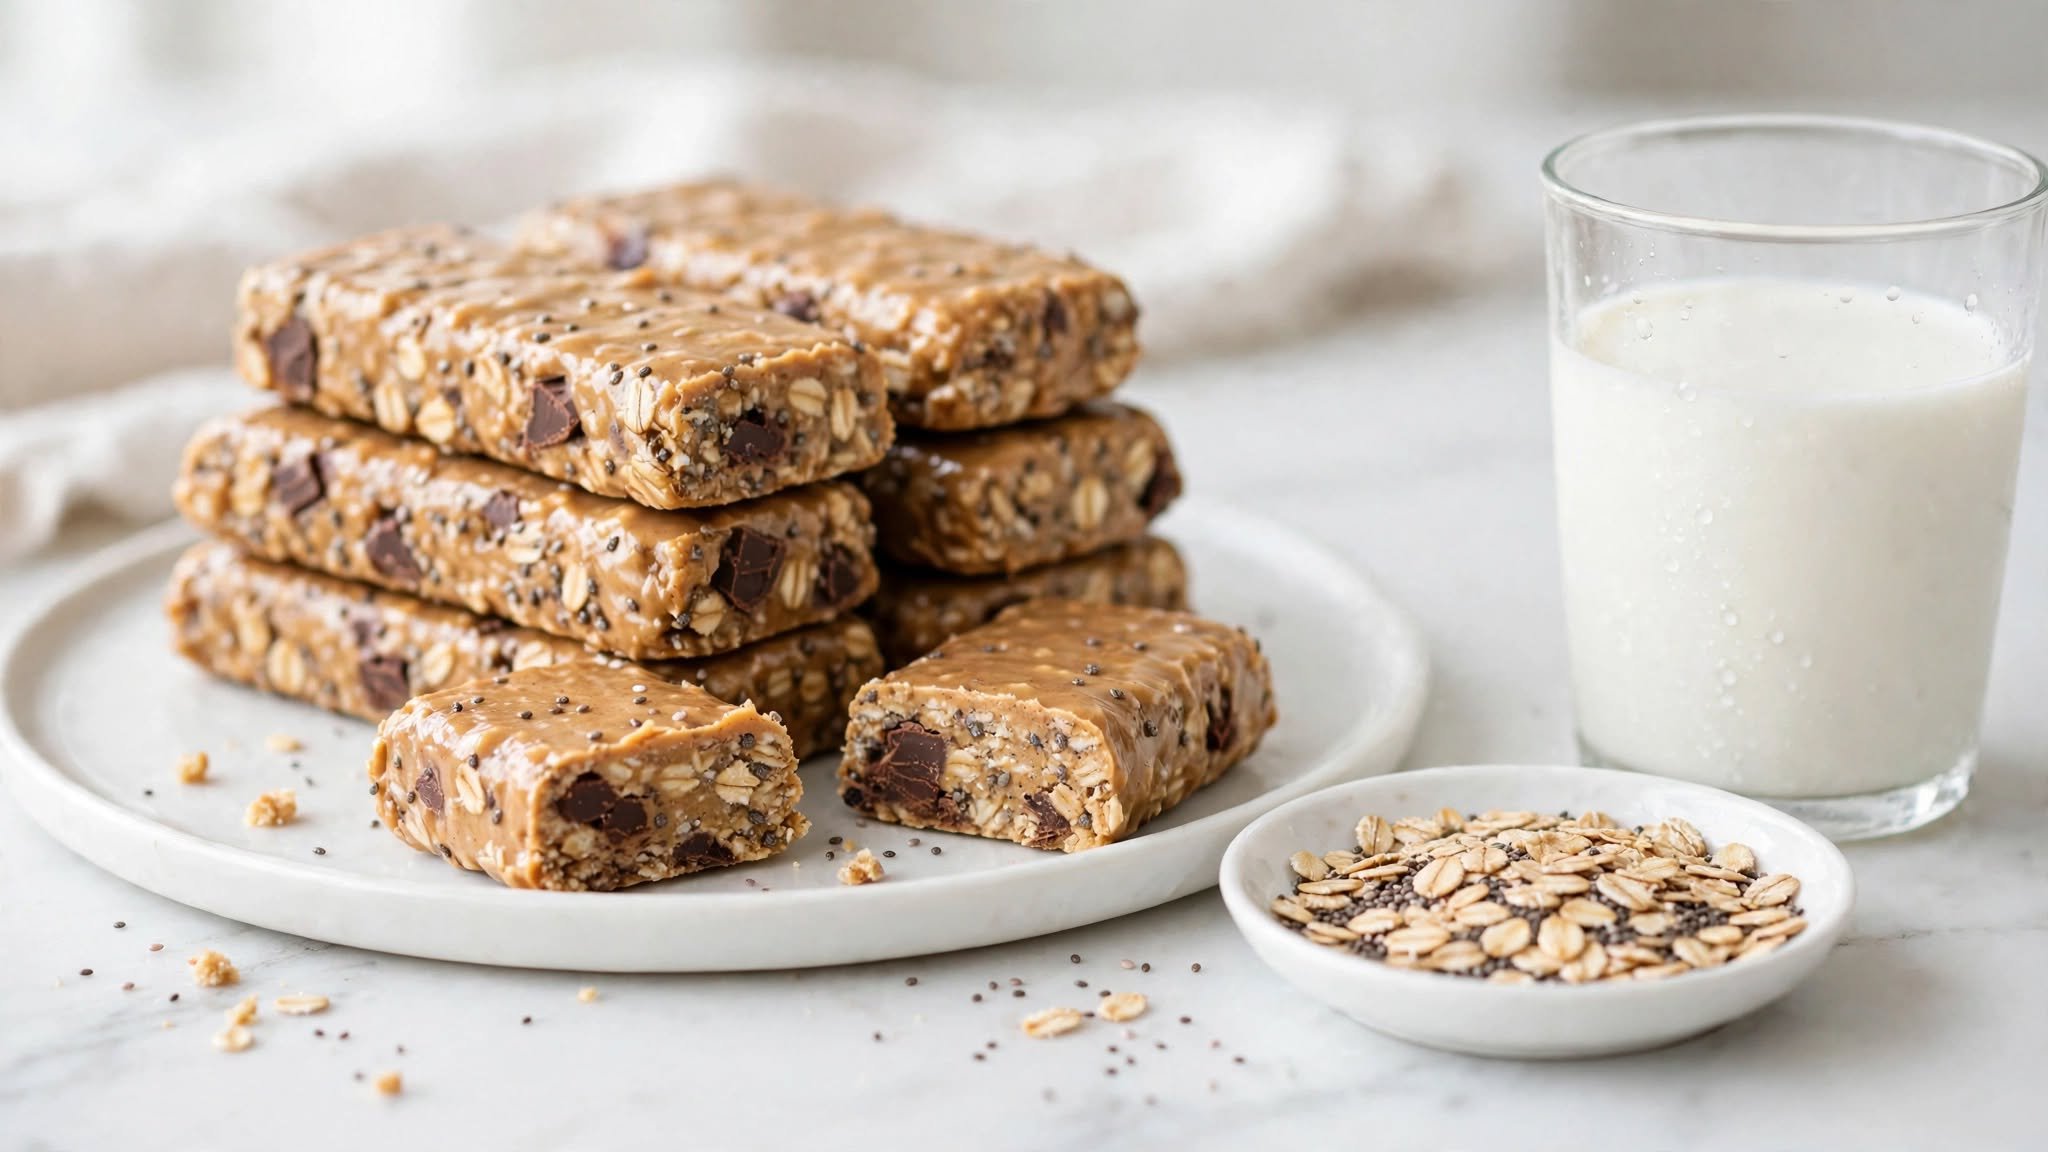
Protein bars are the snack I grab when I need something filling before a workout or a long afternoon at my desk. A good homemade bar is chewy, lightly sweet and full of peanut butter flavor, with oats and seeds giving it a satisfying bite. My first batch was a crumbly mess. I used too much protein powder and not enough binder, and the bars fell apart the moment I tried to slice them.
What makes this version different is the honey and peanut butter binder, which is warmed just enough to melt together before it hits the dry mix. I tested three ratios of protein powder to oats over two weeks, and this combination holds its shape without turning rubbery. My husband, who usually buys store bought bars, took one on a road trip and asked me to make a double batch for his office.
Table of Contents
Why You’ll Love This Protein Bars Recipe
- Chewy, sliceable texture: The warm peanut butter and honey binder holds the bars together without any baking.
- Real ingredients: Oats, seeds and protein powder replace the long ingredient list of many packaged bars.
- 15 minutes of prep: There is no oven involved, so you can mix a pan while your coffee brews. Allow another hour for chilling.
- Easy to pack: Each bar wraps individually, which makes it simple to take to school, the gym or the office.
- Make ahead friendly: The bars keep in the fridge for up to 1 week, so one batch covers your snacks for days.
Quick Information
- Prep Time: 15 minutes
- Chill Time: 1 hour
- Total Time: About 1 hour 15 minutes
- Servings: 12 bars
- Difficulty: Easy
- Calories: 210 per bar (estimated)
- Important Tool: An 8 by 8 inch baking pan and parchment paper
- Best For: Pre workout snacks, lunchbox treats, and busy weekday mornings
- Course: Snack
- Cuisine: American
- Category: Snacks
Nutrition Information
- Calories: 210
- Protein: 10g
- Carbohydrates: 22g
- Fat: 9g
- Fiber: 3g
- Sugar: 9g
- Sodium: 120mg
- Serving Size: 1 bar
- Servings Per Recipe: 12
Protein comes from the peanut butter, oats and protein powder, which together make these bars more filling than a typical granola bar. Chia seeds add fiber and omega 3 fats. Honey provides sweetness and helps hold the bars together.
Nutrition information is an estimate calculated from standard ingredient values and will vary based on specific brands and portion sizes used.
Ingredients
For the Dry Mix
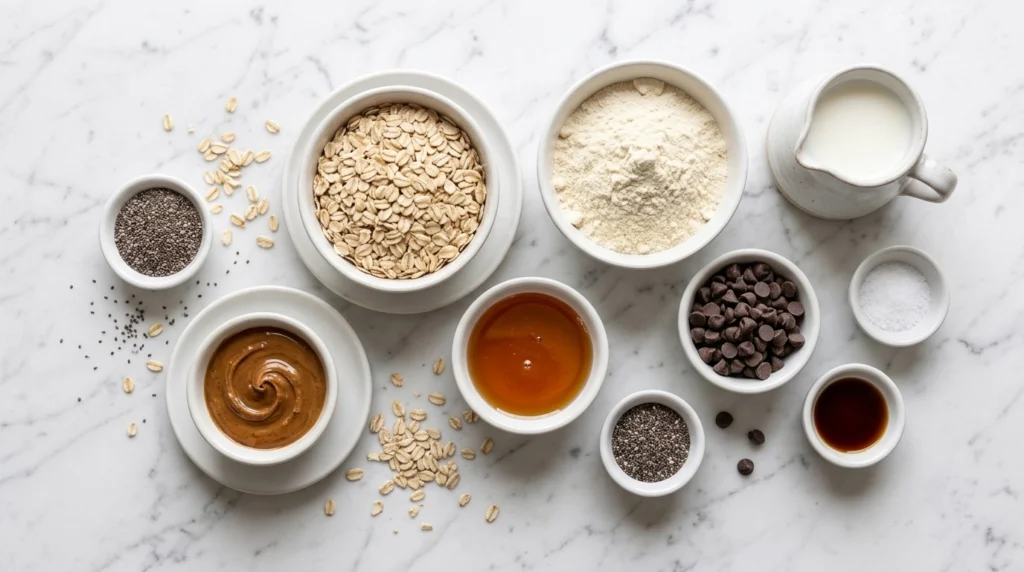
- 1 1/2 cups old fashioned rolled oats
- 1/2 cup vanilla protein powder (about 2 scoops; scoop sizes vary)
- 2 tablespoons chia seeds
- 1/4 teaspoon fine sea salt
For the Binder
- 1/2 cup creamy peanut butter
- 1/3 cup honey
- 1 teaspoon pure vanilla extract
- 2 tablespoons milk of choice, as needed
For Mixing In
- 1/3 cup dark chocolate chips (optional)
Ingredient Notes: Choose a vanilla or unflavored whey or plant protein powder that blends smoothly. Natural peanut butter with only peanuts and salt works well; stir any separated oil back in thoroughly before measuring. Honey acts as the main binder and gives the bars their chewy texture. Add milk only a spoonful at a time, since a dry mix needs just enough liquid to hold together.
Tip: Warm the peanut butter and honey for 20 seconds in the microwave until they pour easily. Stir them together so the binder coats the oats evenly.
Equipment Needed
- 8 by 8 inch baking pan: Shapes the mixture into an even layer for slicing.
- Parchment paper: Lines the pan so the bars lift out cleanly after chilling.
- Large mixing bowl: Holds the dry mix and gives you room to fold in the binder without spilling.
- Rubber spatula: Presses the mixture firmly into the pan so the bars stay compact.
- Sharp chef’s knife: Cuts clean, even bars without crumbling the edges.
Practical Tip: Press the mixture down with the back of a spatula and then with a piece of parchment on top. Firm pressing keeps the bars from falling apart when you slice them.
Preparation
Line the 8 by 8 inch pan with parchment paper, leaving a little overhang on two sides so you can lift the bars out later. Measure the oats, protein powder, chia seeds, and salt into the large bowl and whisk them together. Keep the dark chocolate chips nearby if you are adding them.
There is no oven to preheat for this recipe, so your main job is organization. Warm the peanut butter and honey together before you start, and have the milk measured and close by. Working in this order keeps the mixing fast and the texture even.
Step by Step Instructions
1. Warm the binder
Combine the peanut butter, honey, and vanilla in a microwave safe bowl and heat for 20 to 30 seconds. Stir until smooth and pourable, with no streaks of unmixed peanut butter.
Chef’s Note: Warm only until the binder pours easily. It does not need to bubble or boil.
2. Mix the dry ingredients
Whisk the oats, protein powder, chia seeds, and salt in the large bowl until evenly combined. The mixture should look uniform with no clumps of powder.
3. Combine the mixture
Pour the warm binder over the dry mix and stir with a spatula. Add milk 1 tablespoon at a time until the mixture holds together when pressed, which usually takes 1 to 2 tablespoons.
Chef’s Note: Protein powders absorb liquid differently. Test a small pinch of mixture before adding more milk; it should hold together when squeezed.
4. Fold in the chips
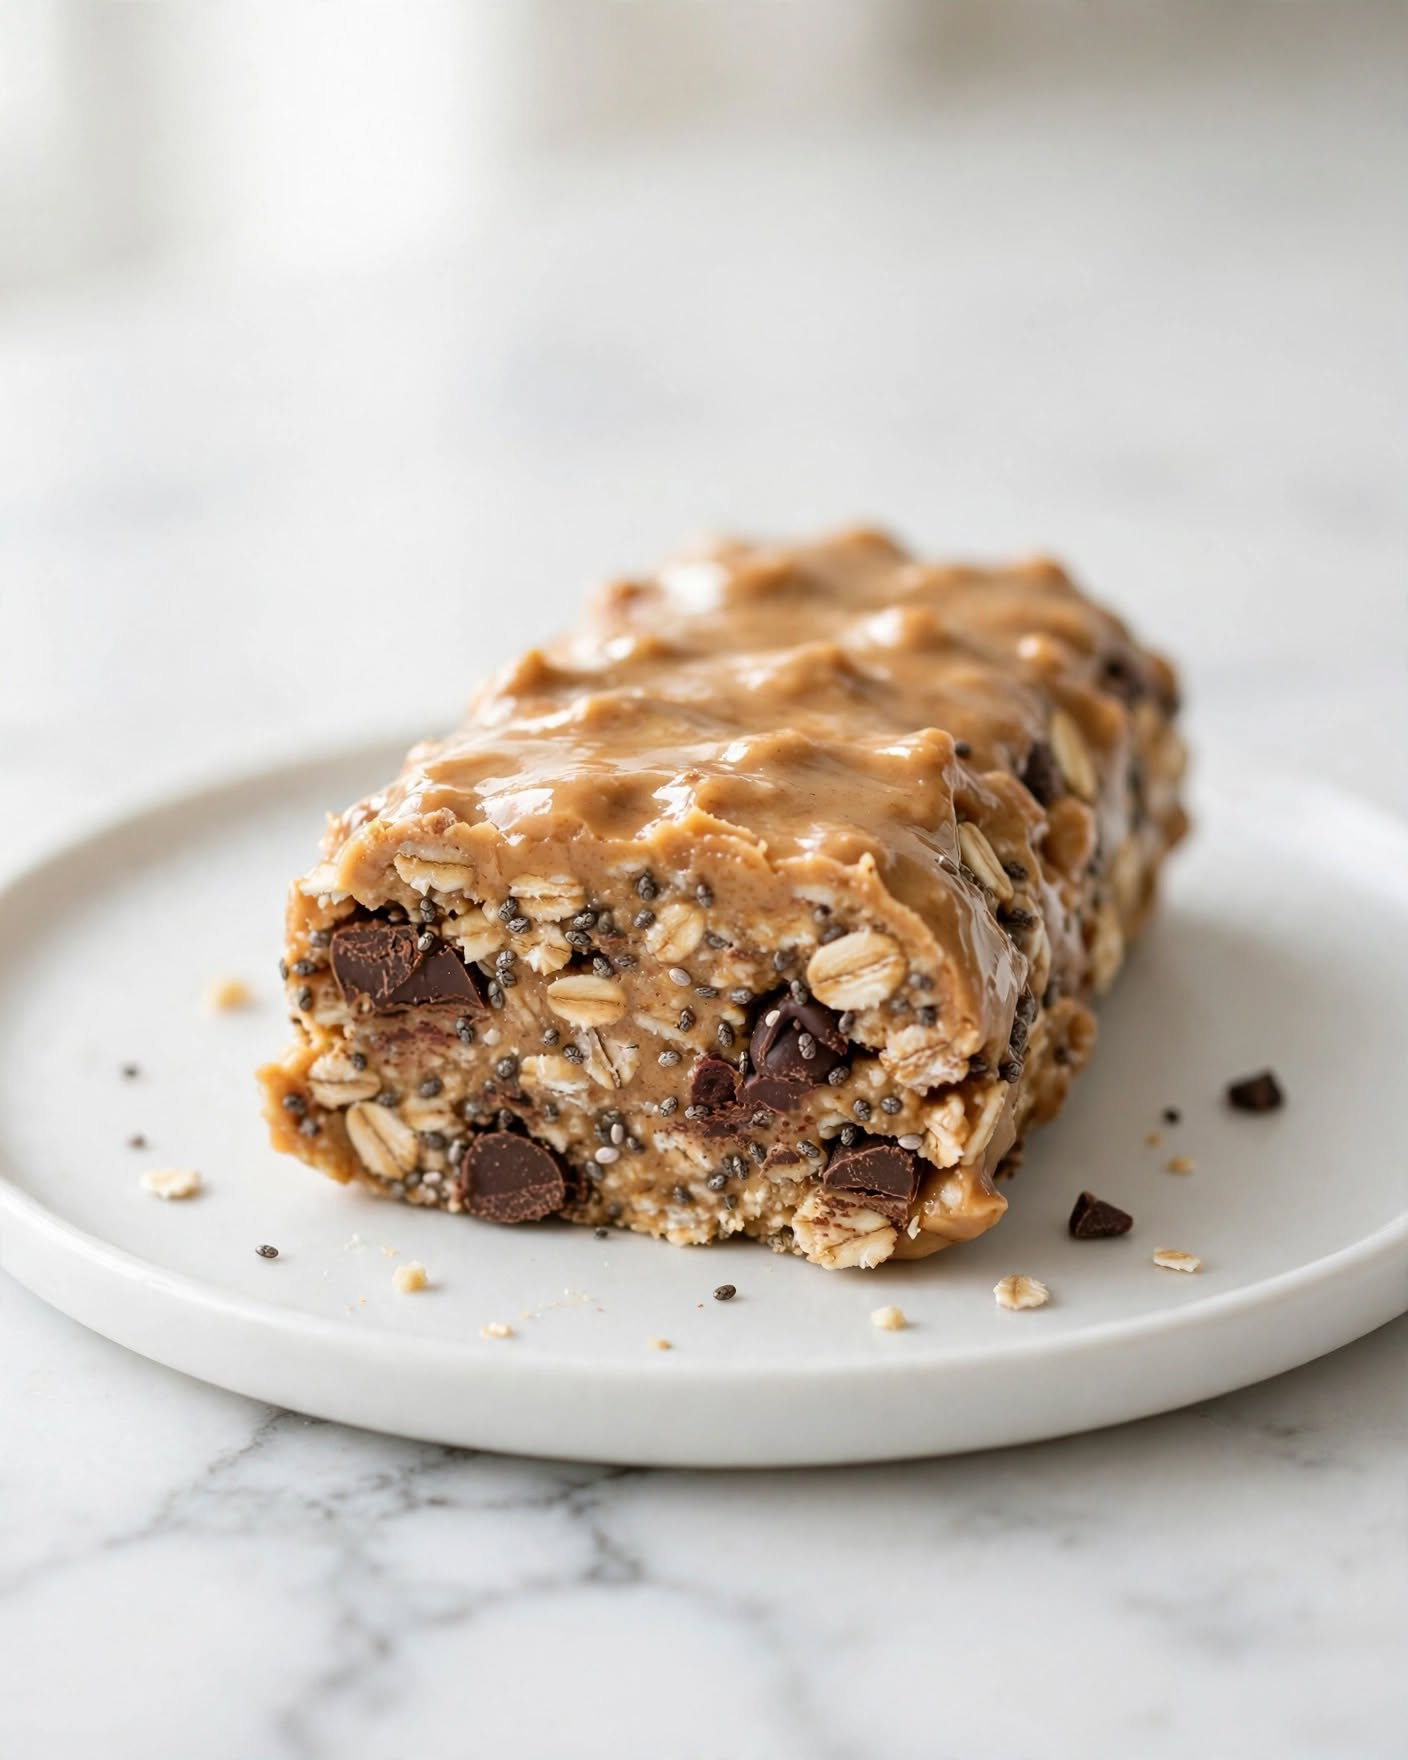
Let the mixture cool slightly, then fold in the dark chocolate chips, if using, until evenly spread through the mixture. The dough should look thick, sticky, and slightly glossy.
5. Press into the pan
Transfer the mixture to the lined pan and press it firmly into an even layer. Cover with parchment and press again until the top looks smooth and compact.
6. Chill and slice
Refrigerate for at least 1 hour until the bars feel firm to the touch. Lift them out with the parchment overhang and cut into 12 bars with a sharp knife.
Pro tip: Wipe the knife with a warm, damp cloth between cuts. The bars slice cleanly and the edges stay neat.
Expert Tips & Tricks
- Personal mistake: I once tried cutting the bars after only 20 minutes of chilling, and they crumbled into a pile. Now I always wait the full hour.
- Make ahead: Mix and press the bars into the pan up to 3 days ahead, then keep covered in the fridge and slice when ready to pack.
- Storage: Wrap each bar in parchment or plastic wrap and keep them in a sealed container in the fridge.
- Texture: Old fashioned oats give a chewier texture. Quick oats absorb liquid more readily and make softer bars.
- Flavor: Toast the oats in a dry skillet for 3 minutes before mixing, then cool them. The toasting adds a nutty, roasted taste.
- Time saving: Measure the dry ingredients in advance so the bars come together quickly.
Common Mistakes & Troubleshooting
Crumbly, falling apart bars: Too little binder or too much protein powder can leave the mix dry and loose. This happens when the scoops are packed too full or the milk is skipped. Measure the protein powder lightly, press the mixture firmly, and chill it fully. If the bars are already crumbly, add 1 tablespoon of warm honey and press them together again.
Sticky, gooey texture: Too much honey or wet peanut butter can make the bars tacky and hard to cut. Measure the honey carefully and add the milk gradually. If the bars still feel sticky after chilling, return them to the fridge for 30 minutes before slicing.
Dry, chalky taste: Some protein powders taste chalky when they are not fully mixed in. Whisk the dry mix well and stir the binder in thoroughly. A pinch of salt and a splash of vanilla help balance the flavor.
Hard, rubbery bars: Too much protein powder or very cold bars can make the texture firm. Let them sit at room temperature for 10 minutes before eating. I once left a batch in the freezer overnight, and they were too hard to bite straight from the freezer.
Oily bars: Oil separated peanut butter can leak out and leave a greasy film. Stir the peanut butter thoroughly before measuring so the oil is evenly incorporated.
Storage Instructions
- Room Temperature: Keep chilled until ready to serve. Avoid leaving milk-containing bars out for more than 2 hours, or 1 hour above 90°F.
- Refrigerator: Store the wrapped bars in an airtight container for up to 1 week.
- Freezer: Wrap each bar tightly in plastic wrap, then store in a freezer bag for up to 3 months. Thaw one bar in the fridge for about 1 hour before eating.
- Reheating: Not applicable, since these bars are served cold or at room temperature.
- Make Ahead: Mix and press into the pan up to 3 days ahead, keep covered and chilled, then slice when ready to pack.
- My storage tip: I place a sheet of parchment between the layers of bars in the container. It stops the chocolate chips from sticking together.
Variations & Substitutions
- Spicy: Add 1/4 teaspoon of cinnamon and a pinch of cayenne to the binder for a warm, slightly spiced bar.
- Mild or kid friendly: Skip the chia seeds and fold in extra chocolate chips or a few tablespoons of mini marshmallows.
- Vegetarian: This recipe is already vegetarian.
- Gluten free: Use certified gluten free oats and check the protein powder and other ingredient labels.
- Other substitutions: Swap the peanut butter for almond butter or sunflower seed butter. For a vegan version, use maple syrup, plant protein powder, plant milk and dairy-free chocolate chips; the softer binder may change the texture. Dried cranberries or chopped almonds add extra texture.
Serving Suggestions
Protein bars are a portable snack, so they pair well with simple drinks and fresh fruit that round out a quick meal.
- Drinks: A cold glass of milk, black coffee, or a green smoothie
- Brunch spread or Sides: Serve a bar with a fresh smoothie such as Creamy Mango Smoothie for breakfast on the go.
- Fresh fruit: Pair with a fresh and colorful fruit bowl for a refreshing contrast.
- Sauces or dips: A spoonful of plain Greek yogurt or a drizzle of extra peanut butter on the side
- Garnishes: A sprinkle of chia seeds, a few chocolate chips, or chopped nuts on top
- Meal combinations: Pack a bar alongside sliced apples and a hard boiled egg for a filling lunchbox snack.
For another easy snack to prep alongside these bars, try my no bake peanut butter protein balls.
Meal Prep Tip: I make a pan on Sunday evening, slice it, and wrap each bar in parchment. Each weekday morning, I grab one on my way out the door, which takes less than 30 seconds.
Frequently Asked Questions
Can I make protein bars the night before?
Yes, you can mix and press the bars the night before. Chill them overnight in the fridge so they set firmly, then slice them the next morning for clean edges. Keep the pan covered so the top does not dry out. The bars stay soft enough to bite easily, and they hold their shape well for packing. For best results, wrap each bar individually once they are cut.
Why are my protein bars too dry?
Dry protein bars usually come from too much protein powder or too little binder. Measure the powder lightly rather than packing it into the scoop, and add the milk one tablespoon at a time. Warm honey and peanut butter help the mixture stick together. If the bars are already dry, crumble the mixture into a bowl, mix in a little extra warm honey, then press firmly into the pan again before chilling.
Can I use almond butter instead of peanut butter?
Yes, almond butter works well and gives the bars a milder, slightly sweeter flavor. Use the same amount, 1/2 cup, and choose a creamy version. Almond butter can be a little thinner, so you may need to add the milk more slowly. Sunflower seed butter is another option; for allergies, check all ingredient labels and cross-contact information.
How do I know when the bars are firm enough to slice?
The bars are ready when they feel firm when pressed in the center and no longer look soft or sticky. After chilling for at least 1 hour, the edges should hold their shape. If the bars still feel soft, return them to the fridge for another 30 minutes. Cutting them with a warm, damp knife also helps prevent crumbling.
Can I freeze protein bars for later?
Yes, protein bars freeze well when wrapped individually. Place each bar in plastic wrap, then store them in a freezer bag for up to 3 months. Thaw one bar in the fridge for about 1 hour before eating, or let it soften briefly at room temperature. Freezing is a convenient way to stock up for busy weeks.
Conclusion
The best protein bars come from simple, careful steps. Warm the binder just enough to pour, press the mixture firmly, and chill it fully before slicing. Those habits matter far more than any special protein powder or fancy add in.
I packed these bars for a long hike last spring, and my friends finished the whole tray before we reached the top. One friend who usually buys store bought bars asked for the recipe and said the peanut butter flavor tasted fresher and less sweet. Hearing that from someone who reads every label made the effort feel worthwhile.
For more snack recipes like this one, browse more ideas on my Pinterest.

No Bake Protein Bars
Ingredients
Equipment
Method
- Warm the peanut butter, honey, and vanilla for 20 to 30 seconds until pourable.
- Whisk the oats, protein powder, chia seeds, and salt in a large bowl.
- Stir the binder into the dry mix, adding milk 1 tablespoon at a time until it holds together.
- Let the mixture cool slightly, then fold in the chocolate chips, if using.
- Press the mixture firmly into an even layer in a lined 8 by 8 inch pan.
- Chill for at least 1 hour, then cut into 12 bars.
Notes
- Use natural peanut butter with only peanuts and salt. Stir thoroughly before measuring.
- Add milk gradually, since too much can make the bars soft.
- Wipe the knife with a warm, damp cloth between cuts for neat edges.