Chocolate Covered Strawberries

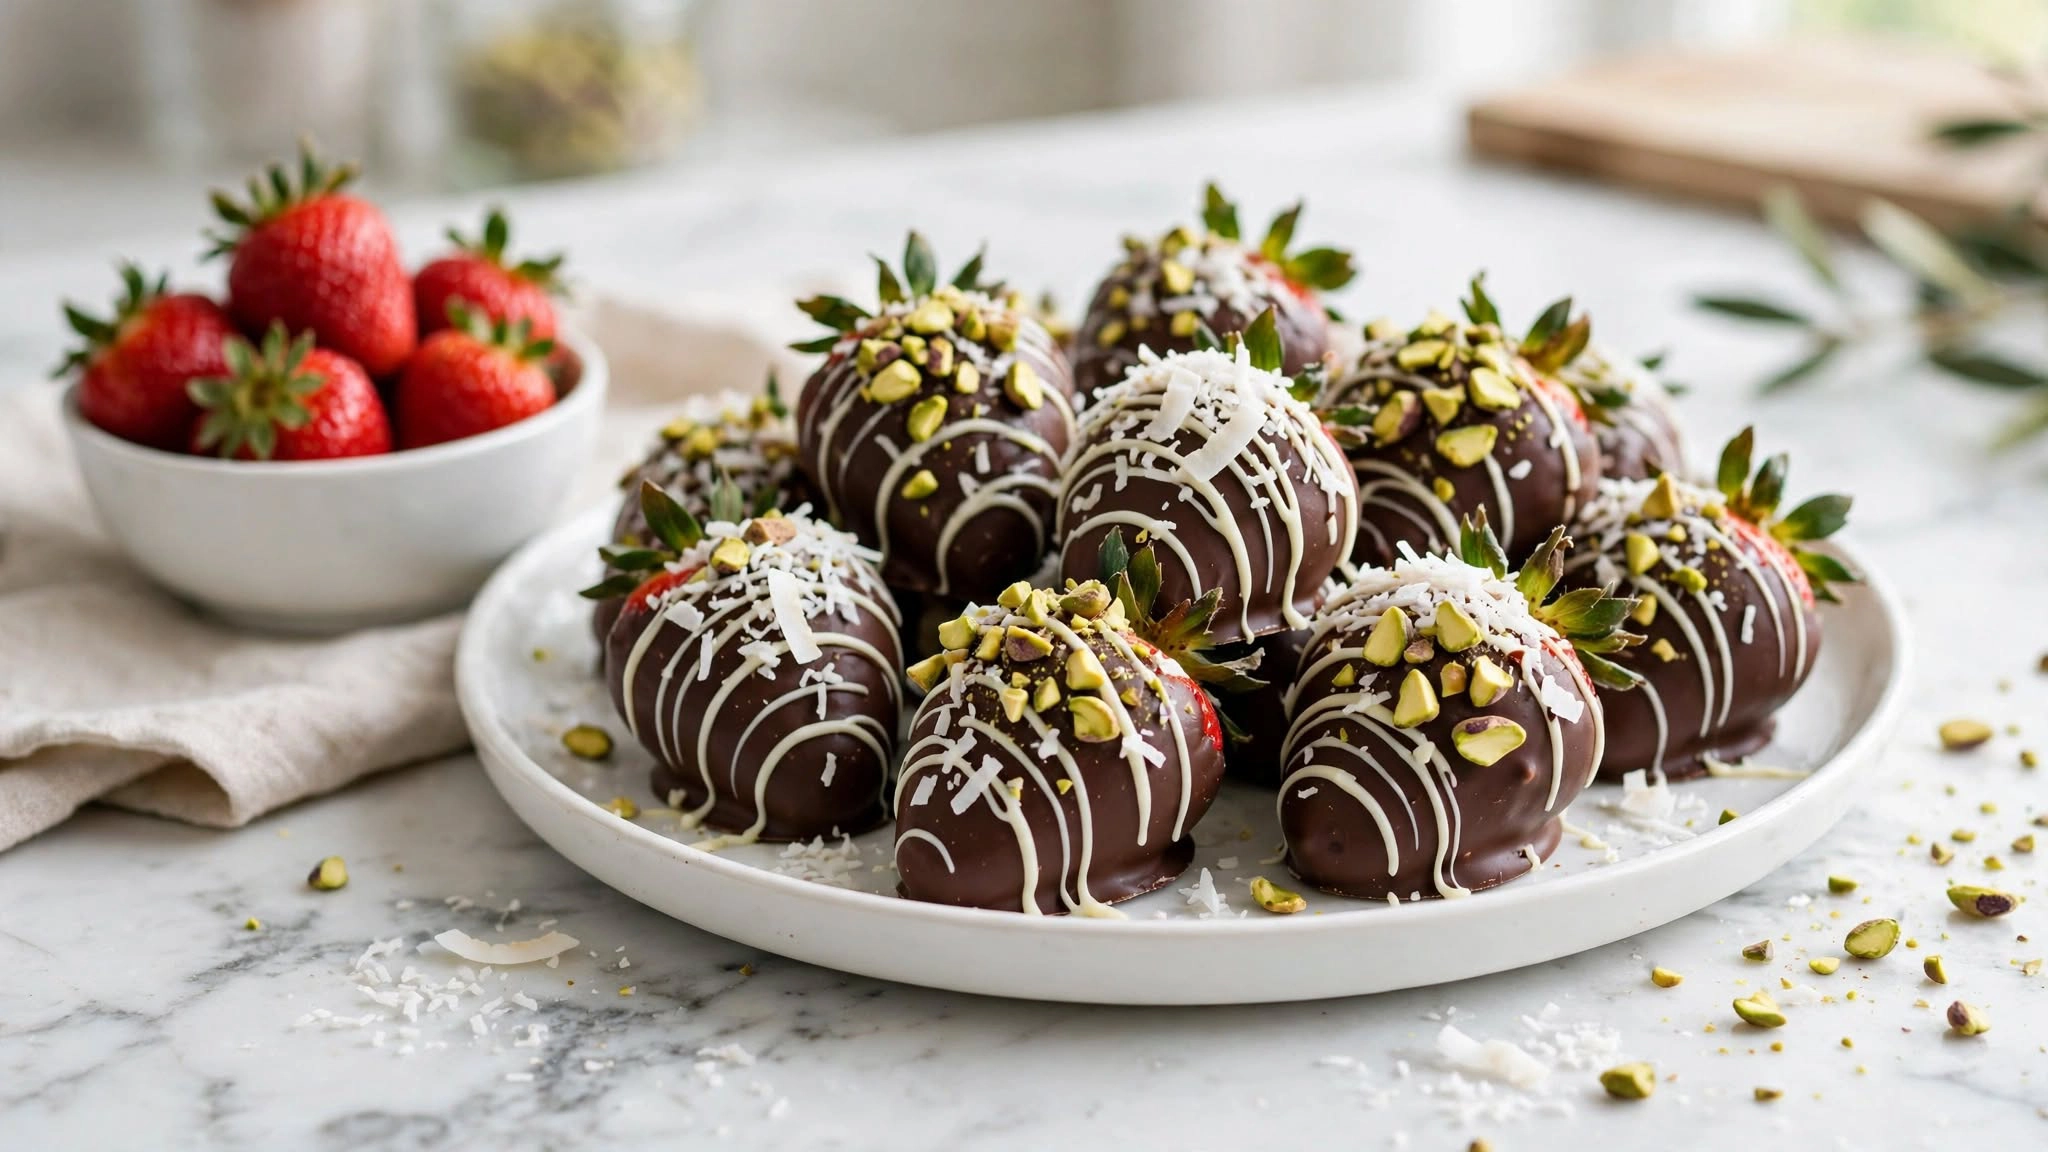
A bright red strawberry wrapped in a shiny chocolate shell that cracks softly when you bite into it looks like something from a bakery case, yet it takes about 40 minutes and almost no skill. Chocolate Covered Strawberries come down to two things done well, thoroughly dry berries and smoothly melted chocolate, and once you know that, they turn out glossy every time.
I ruined a few batches before I understood why. Chocolate that looked perfect in the bowl would slide right off the fruit, or turn thick and grainy the moment it touched a single drop of water. Now I dry every berry carefully and melt the chocolate slowly, and these chocolate covered strawberries come out bakery perfect whether I am making a dozen for a gift box or a platter for a party. They are the easiest dessert I know that still feels like a real occasion.
Table of Contents
Why You’ll Love This Recipe
- Just a few ingredients, mostly strawberries and chocolate
- Ready in about 40 minutes, including chilling time
- A glossy, snappy shell that looks professionally made
- Easy to customize with drizzles, nuts, and toppings
- Perfect for gifting, whether for Valentine’s Day, birthdays, or holidays
- No oven needed, and almost no cleanup
Quick Information
- Prep Time: 15 minutes
- Cook Time: 5 minutes
- Chill Time: 20 minutes
- Total Time: About 40 minutes
- Servings: 6 (makes about 24 berries)
- Difficulty: Easy
- Calories: 190 per serving (4 berries)
- Important Tool: A parchment lined baking sheet
- Best For: Valentine’s Day, gifting, parties, or an easy elegant dessert
- Course: Dessert
- Cuisine: American
- Category: Desserts & Baking
Nutrition Information
- Calories: 190
- Protein: 2g
- Carbohydrates: 24g
- Fat: 11g
- Fiber: 3g
- Sugar: 19g
- Sodium: 5mg
- Serving Size: 4 chocolate covered strawberries
- Servings Per Recipe: 6
The berries themselves bring fiber and vitamin C, while the chocolate supplies most of the sugar and fat. Choosing dark chocolate instead of milk chocolate is a simple way to lower the sugar a little and give the coating a richer, less sweet flavor.
Nutrition information is an estimate calculated from standard ingredient values and will vary based on specific brands, toppings, and portion sizes used.
Ingredients
For the Strawberries
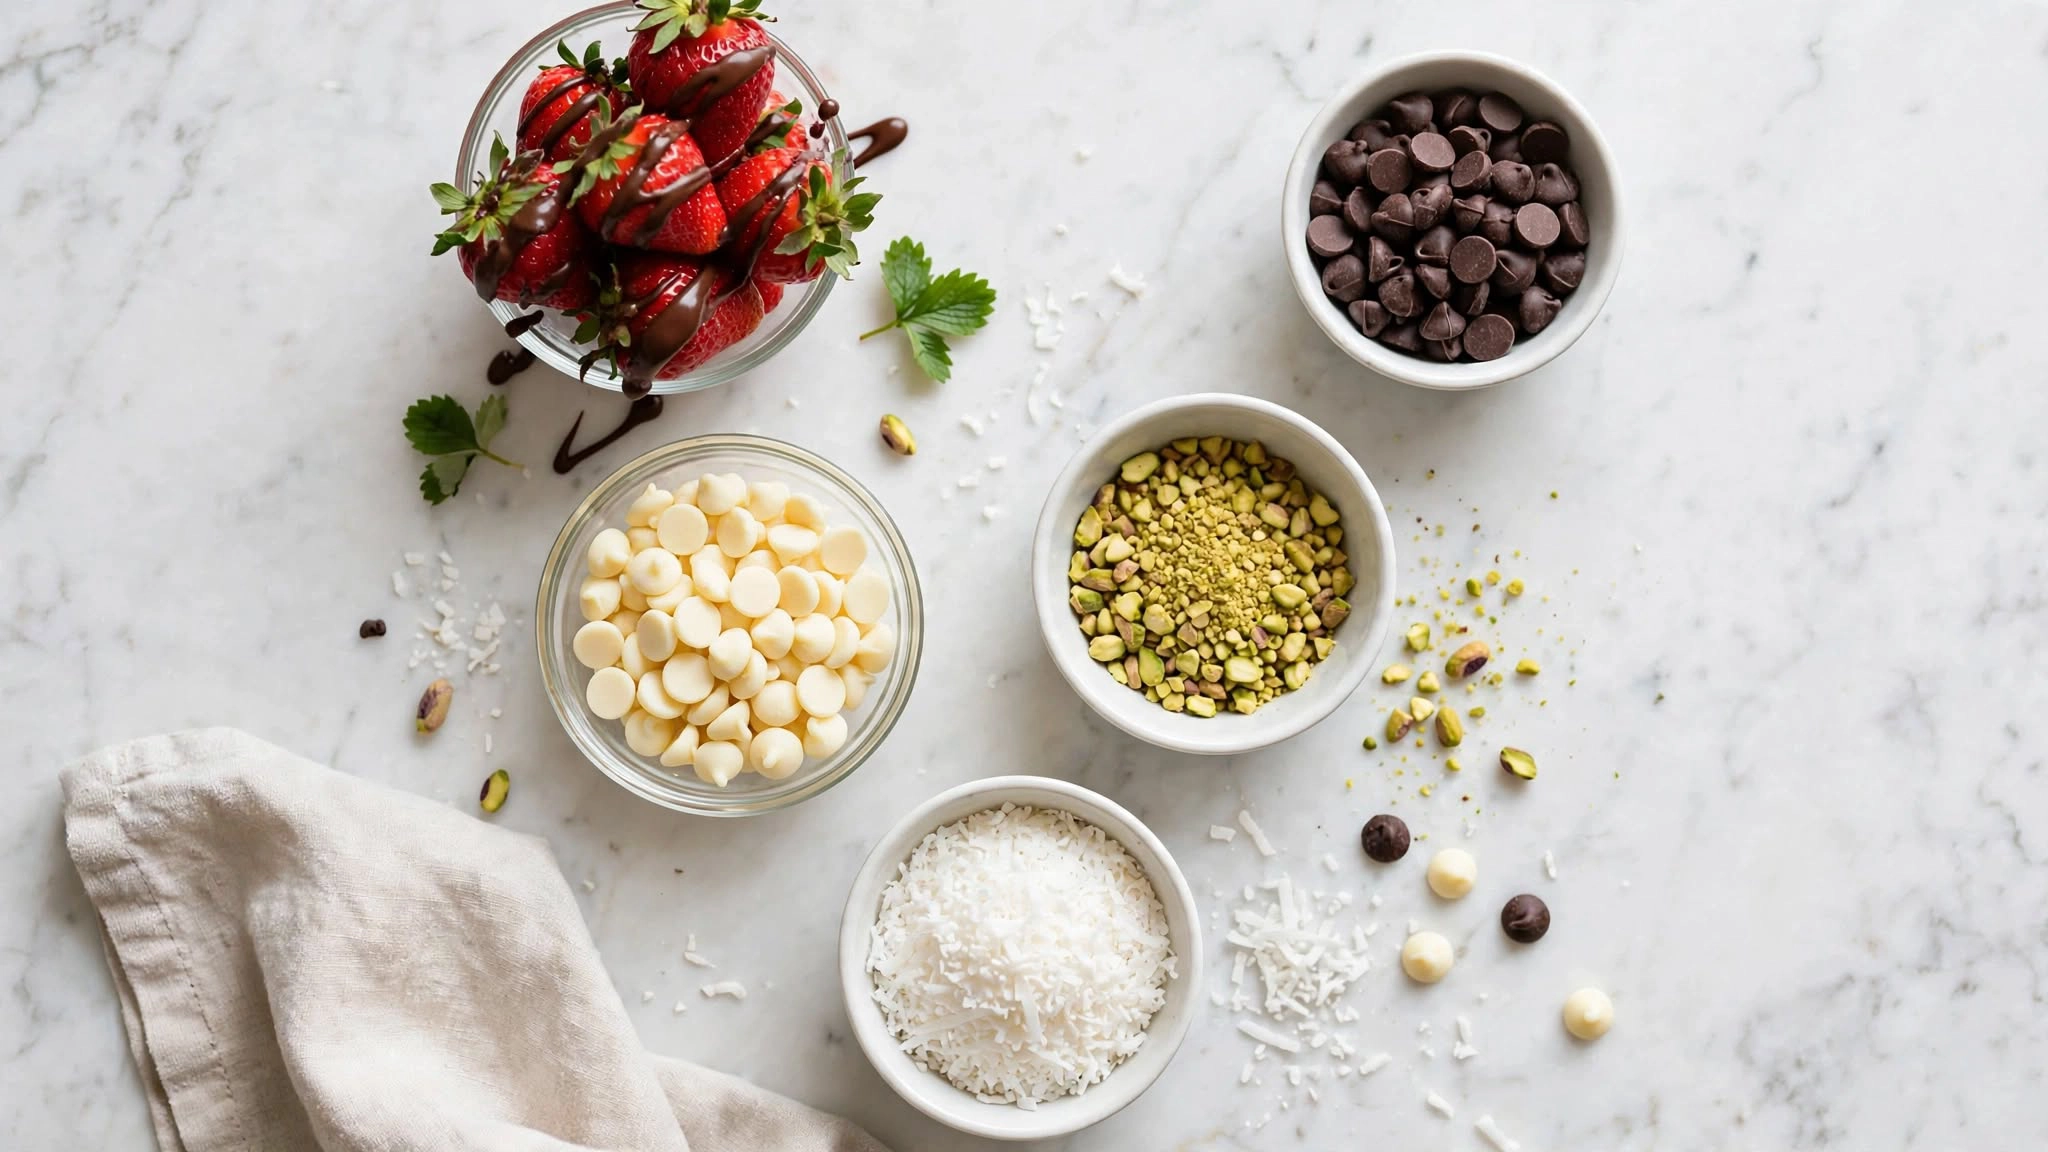
- 1 pound (450g) large fresh strawberries, with stems on
For the Chocolate Coating
- 1 3/4 cups (300g) semisweet or dark chocolate chips
- 1 teaspoon coconut oil, optional, for extra shine and easier dipping
For the Drizzle and Toppings
- 1/4 cup white chocolate chips
- 1/4 cup finely chopped pistachios or toasted almonds
- 2 tablespoons shredded unsweetened coconut
- Flaky sea salt, for sprinkling
Ingredient Notes: Choose firm, bright red strawberries with fresh green stems and no soft spots, since the best chocolate covered strawberries start with berries that hold up under a coating. Chocolate chips contain stabilizers that help them melt neatly, but a good quality chopped chocolate bar gives an even glossier finish if you have one.
Tip: Large, long strawberries are easiest to hold and dip, and they leave more room for a clean, even coating than small round berries.
Equipment Needed
- Microwave safe bowl or double boiler – melts the chocolate gently and evenly
- Baking sheet and parchment paper – gives the dipped berries a non stick place to set
- Paper towels – dries the washed strawberries thoroughly
- Small zip top bag – turns into a quick piping bag for the drizzle
Practical Tip: Use a deep, narrow bowl for the melted chocolate, since it lets you dip each berry in one smooth motion instead of spooning chocolate over it.
Preparation
Wash the strawberries gently under cool water and leave the stems on. Lay them on a double layer of paper towels and pat each one dry, then let them air dry for another 15 to 20 minutes, since any moisture left on the surface will make the chocolate slip or seize.
Line a baking sheet with parchment paper, and set out your toppings in small bowls so you can add them while the chocolate is still wet.
Step by Step Instructions
- Dry the berries completely. Pat every strawberry with a paper towel, then let them sit until they feel dry to the touch. Even a single drop of water can make melted chocolate stiffen and turn grainy, and it also keeps the coating from clinging to the fruit.
- Melt the chocolate. Place the chocolate chips and coconut oil in a microwave safe bowl and heat in 30 second bursts, stirring well after each one, for about 1 1/2 to 2 minutes. Stop heating when only a few small lumps remain and stir until they melt on their own, since overheated chocolate turns thick and dull instead of glossy.
- Dip each strawberry. Hold a berry by the stem, dip it into the chocolate, and give it a gentle swirl. Lift it out and let the excess drip back into the bowl, then drag the bottom lightly against the rim so no puddle forms at the base.
- Add toppings right away. Set each dipped strawberry on the parchment and sprinkle with chopped nuts, coconut, or flaky salt immediately. The chocolate begins to set within a minute or two, and toppings only stick while the coating is still wet.
- Drizzle the white chocolate. Melt the white chocolate in 20 second bursts until smooth, spoon it into a small zip top bag, snip a tiny corner, and drizzle in thin lines over the dipped berries.
- Chill until set. Refrigerate the baking sheet for 15 to 20 minutes, until the chocolate feels firm and no longer tacky when you touch it.
Expert Tips & Tricks
- Dry the berries thoroughly. The first time I dipped berries that were still slightly damp, the chocolate slid off in sheets, so now I always dry them twice.
- Start with room temperature berries. Cold strawberries straight from the fridge collect condensation, which leaves the chocolate dull and patchy.
- Melt slowly and stir often. Short bursts of heat keep the chocolate smooth and shiny instead of scorched.
- Add coconut oil for a thinner coating. A small spoonful makes the melted chocolate flow more easily and sets with a pleasant snap.
- Tilt the bowl to dip. When the chocolate gets shallow, tilt the bowl so you can still coat each berry in one pass.
- Work in small batches. Dip a few berries and top them right away rather than dipping all of them before adding toppings.
- Make them close to serving. These chocolate covered strawberries taste best the same day, when the berries are still firm and juicy.
Common Mistakes & Troubleshooting
Chocolate turns thick and grainy: This is called seizing, and it happens when even a tiny amount of water touches melted chocolate. Dry the berries and every utensil completely, and avoid covering the bowl with a lid that can drip condensation inside.
Coating slides off the berries: Damp or cold strawberries are the most common cause. Dry them thoroughly and let them come to room temperature before dipping, so the chocolate has a dry surface to cling to.
Dull, streaky finish: Overheating the chocolate, or cooling it too quickly in a very cold place, can leave a chalky, dull look. Melt gently, stop heating while a few lumps remain, and let the berries set at a cool temperature.
Chocolate too thick to coat evenly: A very thick coating usually means the chocolate has cooled or contains no added fat. Stir in a teaspoon of coconut oil and warm it for 10 seconds, then try again.
Berries weeping juice: Strawberries release moisture as they sit, which can make the coating look wet and soft. I learned to make them within a few hours of serving, because they simply taste and look best fresh.
Storage Instructions
- Room Temperature: Do not leave them out longer than 2 hours, especially in a warm kitchen.
- Refrigerator: Store in a single layer in an airtight container lined with a paper towel for up to 24 hours.
- Freezer: Freezing is not recommended, since thawed strawberries turn soft and watery.
- Reheating: Not applicable, as these are served chilled or at cool room temperature.
- Make Ahead: Wash, dry, and refrigerate the strawberries a day ahead on paper towels, then bring them to room temperature and dip on the day you plan to serve.
- My storage tip: I keep the finished berries in one layer rather than stacking them, because stacked berries stick together and the coating can crack when you separate them.
Variations & Substitutions
- Warm spiced version: Stir a pinch of cinnamon and a tiny pinch of cayenne into dark chocolate for a subtly spiced take on chocolate covered strawberries.
- Mild, kid friendly version: Use milk chocolate and top with crushed cookies or mini chocolate chips instead of nuts.
- Vegan version: Use dairy free dark chocolate chips, and make the drizzle with dairy free white chocolate or melted peanut butter.
- Gluten free version: This recipe is naturally gluten free, as long as your toppings and chocolate are labeled gluten free.
- Other substitutions: Dip banana slices, dried apricots, or pretzel rods the same way, or roll the dipped berries in crushed freeze dried strawberries for a pretty pink finish.
Serving Suggestions
Chocolate covered strawberries are easy to present in a few different ways.
- Gift boxes: Arrange in a single layer in a small box lined with parchment
- Dessert boards: Serve on a platter beside fresh fruit and a few cookies
- Drinks: Pair with sparkling juice, coffee, or hot tea
- Dessert tables: Add alongside strawberry shortcake or chocolate cupcakes for a bigger spread
- Celebrations: Set next to red velvet cake for a Valentine’s Day or anniversary table
Meal Prep Tip: I wash and dry the strawberries the night before and store them on paper towels in the fridge, so dipping day takes under 30 minutes of actual work.
Frequently Asked Questions
Can I make chocolate covered strawberries ahead of time?
You can, though they are at their best within a few hours of dipping. Wash and dry the berries a day ahead and keep them in the fridge on paper towels, then dip them on the day you plan to serve. Fully finished berries keep in an airtight container in the refrigerator for up to 24 hours, though the strawberries will release a little juice.
Why did my chocolate seize when I dipped the strawberries?
Seizing happens when even a small amount of water touches melted chocolate, which turns it thick, stiff, and grainy. Make sure every strawberry, bowl, and spoon is completely dry, and avoid steam from a double boiler reaching the chocolate. If it seizes, stirring in a teaspoon of coconut oil sometimes loosens it enough to use.
Can I use chocolate chips instead of a chocolate bar?
Yes, chocolate chips work well for this recipe because they hold their shape and melt smoothly. For the shiniest finish, add a teaspoon of coconut oil, or use a good quality chopped chocolate bar. Candy melts also work if you want brightly colored coatings, though the flavor is milder than real chocolate.
How long does it take for the chocolate to set?
At room temperature the coating starts to firm up within a few minutes, and about 15 to 20 minutes in the refrigerator makes it fully set and snappy. You will know it is ready when the chocolate feels firm and no longer sticks to your finger when lightly touched.
Why is my chocolate coating sliding off the strawberries?
Most of the time, the berries were still damp or were too cold from the refrigerator. Dry them thoroughly and let them reach room temperature before dipping. A coating that is too thin or too hot can also slide, so let the melted chocolate cool for a minute or two until it flows slowly rather than runs.
Conclusion
Chocolate Covered Strawberries prove that an elegant dessert does not need to be complicated, only careful in two places, drying the fruit and melting the chocolate gently. The reward is a glossy shell and a juicy berry that looks far fancier than the effort suggests. Make a batch for your next celebration or gift box, and these chocolate covered strawberries will quickly become the treat people ask you to bring.
For more easy dessert and baking recipes like this one, follow along on Pinterest at MyRecipesDiary.
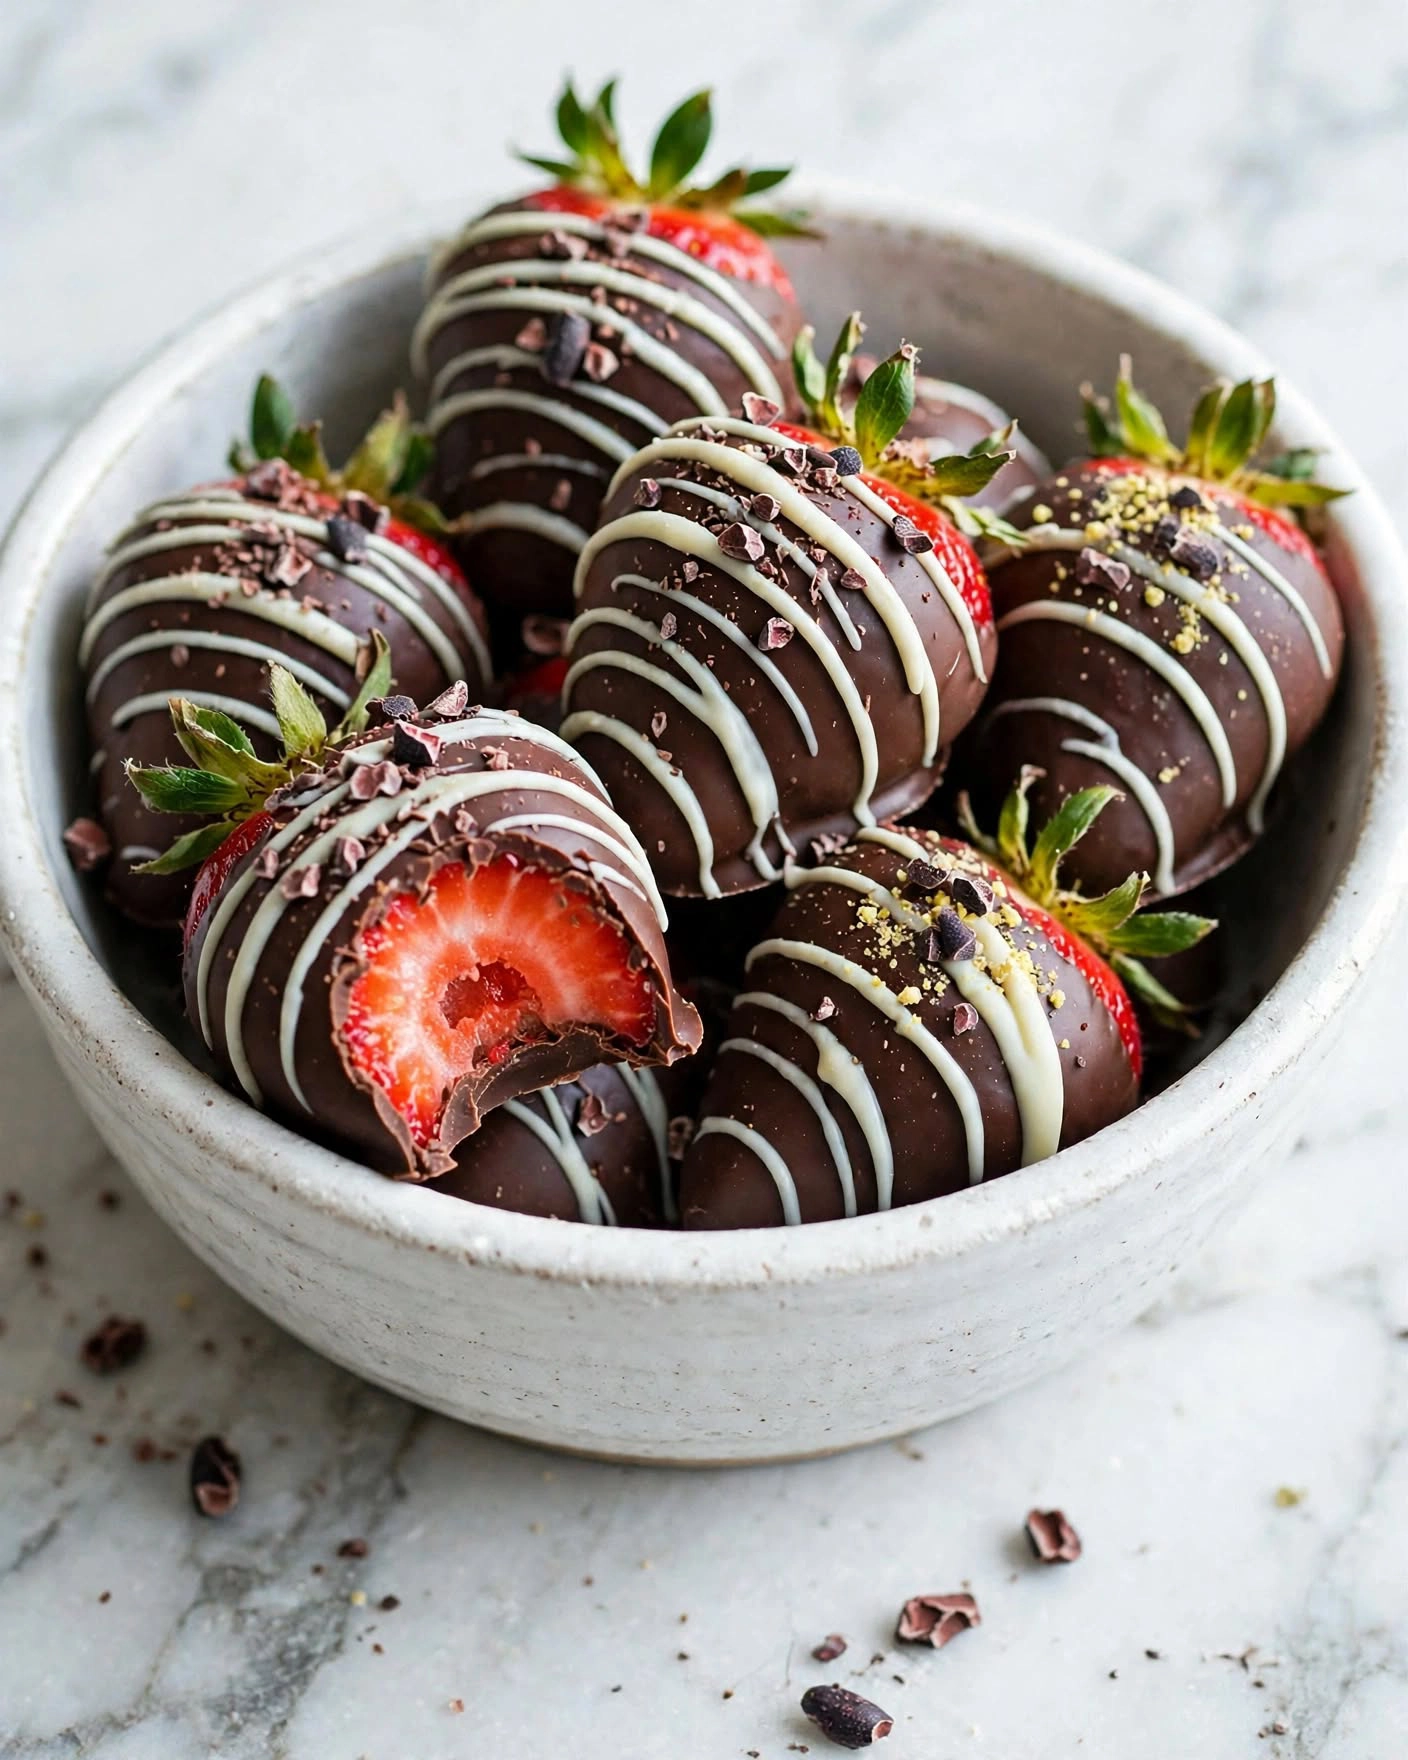

Chocolate Covered Strawberries
Ingredients
Equipment
Method
- Wash strawberries and dry them completely; let sit 15 to 20 minutes.
- Melt chocolate chips and coconut oil in 30 second bursts, stirring until smooth.
- Dip each berry by the stem, swirl, and let the excess drip off.
- Place on parchment and add toppings immediately.
- Melt white chocolate and drizzle in thin lines.
- Chill 15 to 20 minutes until firm.
Notes
- Let the berries reach room temperature so they do not collect condensation.
- Stop heating the chocolate while a few lumps remain, then stir until smooth.
- Add toppings right after dipping, while the chocolate is still wet.
- A deep, narrow bowl makes it easier to dip each berry in one clean motion.