Cake Pops Recipe Makes 30 Magical Birthday Treats

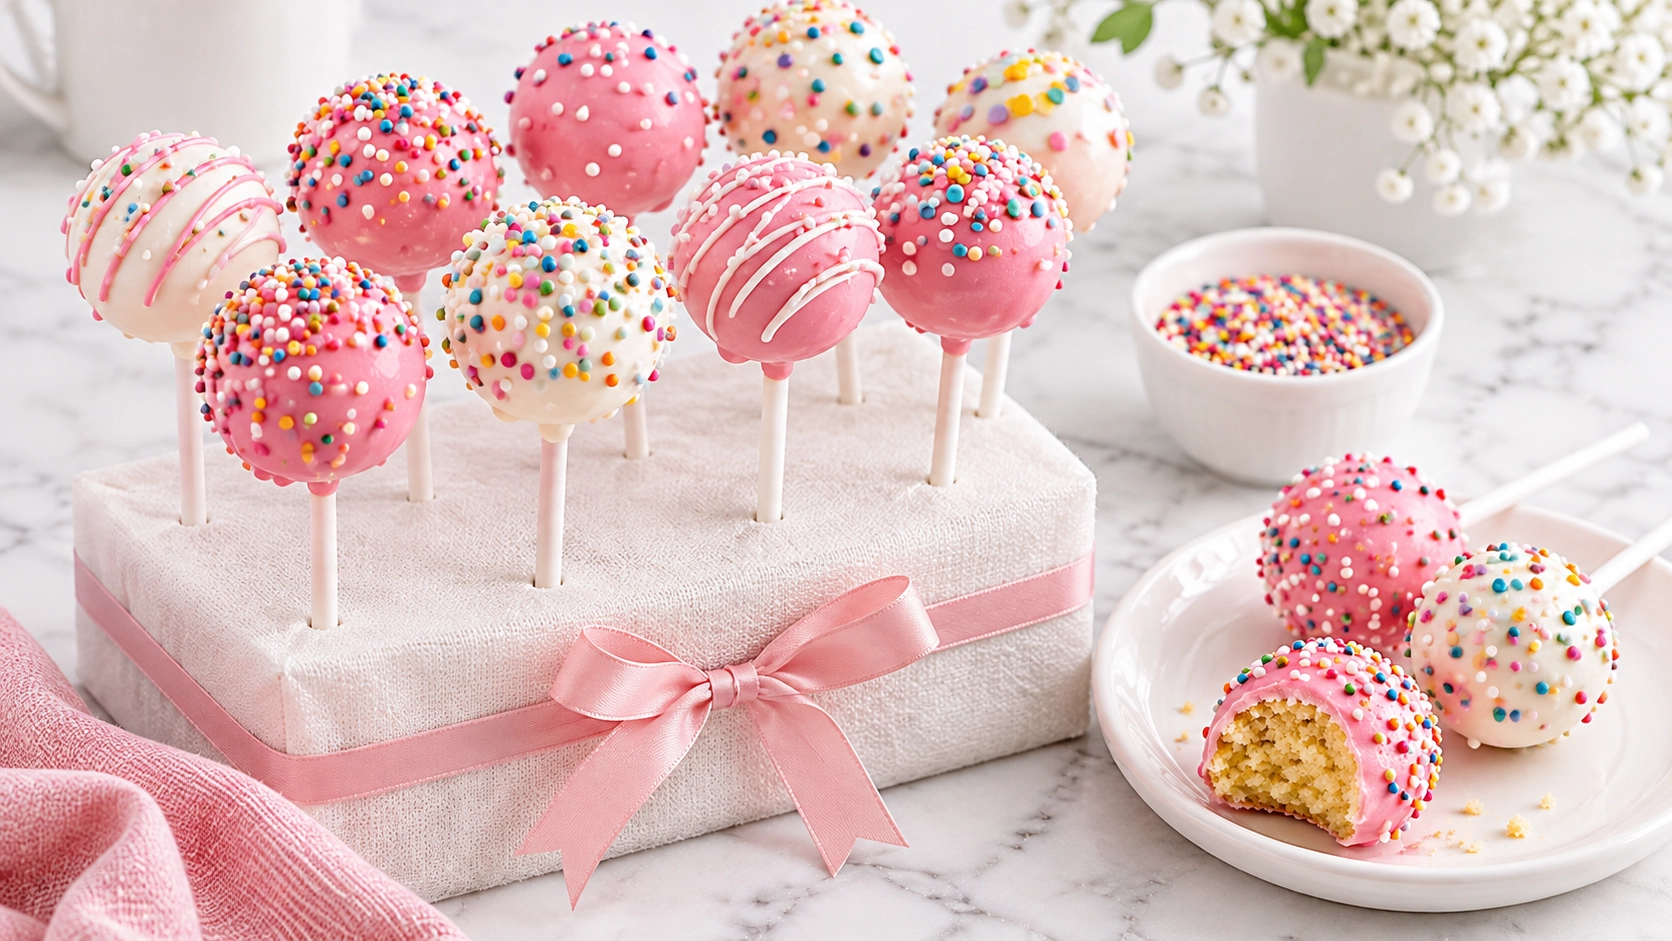
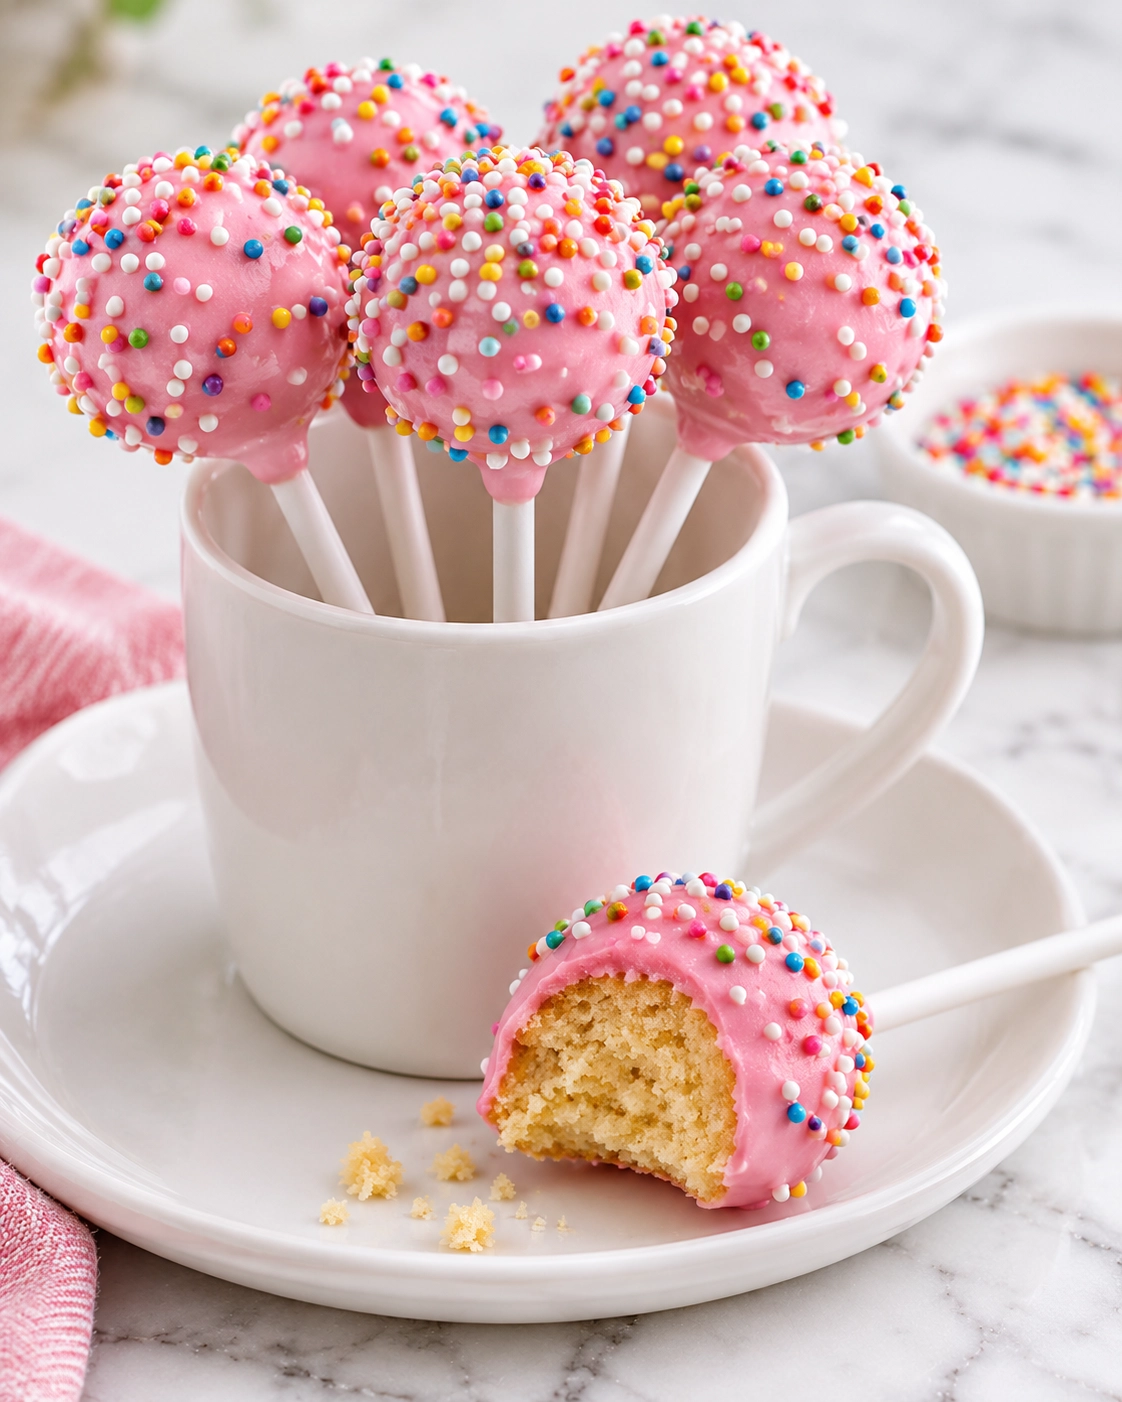
A tray of cake pops, each a smooth round of moist vanilla cake in a glossy candy shell, topped with a spill of rainbow sprinkles, turns any party table into something that looks professionally made. This cake pops recipe makes treats that are soft, sweet, and bite sized, with a thin crisp coating that cracks just enough when you bite in.
My first batch was a disaster. The coating cracked as it dried, the balls slid off the sticks into the melted candy, and the centers were so heavy and gummy they tasted like raw dough. After seven test batches, I found three fixes: a light hand with the frosting, an anchor dip for every stick, and chilling the balls in the fridge, not the freezer.
What makes this version different is the from scratch cake. A tender butter cake crumbles into fine, dry crumbs, so it needs only a little buttercream to hold together, and the pops taste like cake, not frosting. It needs one pan and one bowl. My niece, who normally picks the sprinkles off every dessert, ate three pops and asked me to make a birthday batch.
Table of Contents
Why You’ll Love This Cake Pops Recipe
- Moist, tender centers that taste like real cake, not dense frosting
- Smooth, crack free coating from a measured anchor dip and a thinned candy shell
- Make ahead friendly, since the cake keeps 2 days and the shaped balls keep 3 days
- Easy to serve a crowd, with 30 pops from one 9 inch cake
- Simple pantry ingredients, with one pan, one bowl, and no special tools beyond sticks
- Easy to customize, with any color, flavor, or sprinkle you like
Quick Information
- Prep Time: 40 minutes
- Cook Time: 28 to 32 minutes
- Cool Time: 1 hour
- Chill Time: 30 minutes
- Decorate and Set Time: About 55 minutes, including the stick-anchor chill
- Total Time: About 3 hours 40 minutes, mostly hands off
- Servings: 30 pops
- Difficulty: Medium
- Calories: 160 per pop
- Important Tool: A tall narrow cup for dipping and 6 inch lollipop sticks
- Best For: Birthdays, baby showers, bake sales, holiday trays, or party favors
- Course: Dessert
- Cuisine: American
- Category: Desserts & Baking
Nutrition Information
- Calories: 160
- Protein: 2g
- Carbohydrates: 19g
- Fat: 9g
- Fiber: 0g
- Sugar: 16g
- Sodium: 70mg
- Serving Size: 1 cake pop (about 35g with coating)
- Servings Per Recipe: 30
These cake pops are a sweet treat, with most of the calories coming from the butter, sugar, and candy coating. A single pop is a small portion, and using dark melting wafers trims a little sweetness.
Nutrition information is an estimate calculated from standard ingredient values and will vary based on specific brands and portion sizes used.
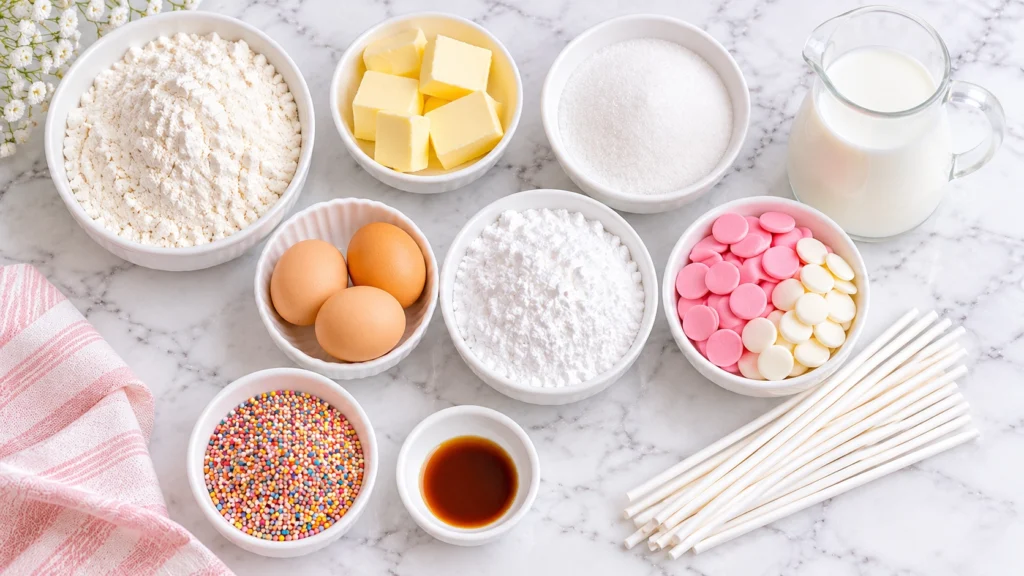
Ingredients
For the Vanilla Cake
- 1 1/2 cups (190g) all purpose flour
- 1 1/2 teaspoons baking powder
- 1/4 teaspoon fine salt
- 1/2 cup (113g) unsalted butter, softened
- 3/4 cup (150g) granulated sugar
- 2 large eggs, at room temperature
- 2 teaspoons alcohol free vanilla extract
- 1/2 cup (120ml) whole milk, at room temperature
For the Buttercream Binder
- 4 tablespoons (57g) unsalted butter, softened
- 1 cup (120g) powdered sugar, sifted
- 1 tablespoon (15ml) whole milk
- 1/2 teaspoon alcohol free vanilla extract
- Pinch of fine salt
For the Coating
- 12 ounces (340g) white or colored candy melts
- Refined coconut oil, only if recommended by the coating manufacturer
- 30 lollipop sticks, 6 inches long
For Decorating
- 1/2 cup (about 80g) sprinkles, nonpareils, or crushed freeze dried strawberries
Ingredient Notes: Use candy melts or melting wafers, not chocolate chips, since they flow smoothly and set with a clean snap. I tested this with Wilton candy melts and Kerrygold butter, and both gave a smooth coating and a rich crumb. Refined coconut oil thins the coating without adding a coconut taste.
Tip: Use fine, dry crumbs for the dough. Moist, clumpy crumbs soak up too much frosting and make the pops heavy.
Equipment Needed
- 6 inch lollipop sticks: hold the pops steady through dipping and drying
- Tall narrow microwave safe cup: lets you dip each pop straight down in one smooth motion
- Small cookie scoop: portions even balls so every pop looks the same
- Fine mesh sieve: breaks the cooled cake into fine, even crumbs
- Foam block or box with poked holes: stands the pops upright while they dry
- Digital kitchen scale: weighs the dough so the pops are all 24 grams
Practical Tip: Use a cup just wider than a pop and deep enough to cover it, about 4 inches tall. A deep cup lets you dip the whole pop at once, so the coating is smooth and there are no seams.
Preparation
Set the butter, eggs, and milk on the counter for 1 hour. Heat the oven to 350°F (175°C) with the rack in the center, and grease and line a 9 inch square pan with parchment.
Line a baking tray with parchment for the shaped balls, and set up a foam block for drying. Measure the candy melts, coconut oil, and sprinkles, and keep a small bowl of extra sprinkles within reach.
Step by Step Instructions
1. Bake the cake
Heat the oven to 350°F, grease and line the pan, and whisk the flour, baking powder, and salt. Beat the butter and sugar for 3 minutes until pale, beat in the eggs and vanilla, then alternate the flour mixture and milk, mixing on low until smooth. Pour into the pan and bake 28 to 32 minutes, until golden and a toothpick shows a few dry crumbs.
2. Cool completely
Cool the cake in the pan for 15 minutes, then on a wire rack for 45 minutes, until cool to the touch. A warm cake turns gummy when it meets frosting.
3. Make the buttercream
Beat the butter for 2 minutes until pale, then beat in the powdered sugar, milk, vanilla, and salt for 2 more minutes, until smooth and fluffy.
4. Mix the dough
Crumble the cake through a fine mesh sieve into a large bowl until it looks like fine, even crumbs, then stir in 1/3 cup of the buttercream. Add more 1 tablespoon at a time, until the mixture holds together when squeezed.
Chef’s Note: Squeeze a small portion before adding more frosting. Stop when it holds together without feeling greasy.
5. Shape and chill
Scoop 24g balls, about 1 tablespoon each, roll them smooth between your palms, and set them on the lined tray. Refrigerate for 30 minutes, until firm but not frozen.
6. Melt the coating and anchor the sticks
Melt the candy coating in a tall microwave-safe cup according to its package directions, stirring frequently. Use a manufacturer-recommended thinner only if needed. Let it cool until fluid and barely warm. Dip 1/2 inch of each stick into the coating, push it halfway into a ball, and refrigerate the tray for 10 minutes until the anchor sets.
Chef’s Note: Let the coating cool until fluid and barely warm before dipping the chilled balls.
7. Dip and decorate
Dip each chilled pop straight down into the coating in one smooth motion, covering it right to the stick, then lift it out. Rotate it slowly and tap your wrist gently, not the stick, until the extra coating drips off and the surface looks glossy, then add sprinkles at once.
Chef’s Note: Test one pop first, then dip in small batches while the remaining centers stay chilled.
8. Set and serve
Stand the pops upright in the foam block and leave them at room temperature for 15 to 20 minutes, until the coating looks matte and feels fully dry. Move them to the fridge for 10 minutes for a firm set.
Expert Tips & Tricks
- Start with less frosting. You can always add more, but you cannot take it back out, and a dough that is slightly dry rolls better than one that is wet.
- Learn from my mistake. My second batch went into the freezer until the balls were rock hard, and every shell cracked within the hour as the centers warmed. A short fridge chill fixed it.
- Anchor every stick. The dab of coating on the stick glues the ball in place, which stops it from sliding when it hits the warm coating.
- Thin the coating. A little coconut oil makes it fluid, so it drips off in a thin, even layer instead of piling up in a thick shell.
- Make ahead. Bake the cake up to 2 days ahead and wrap it tightly, or shape the balls up to 3 days ahead and keep them chilled.
- Store the pops sealed. A closed container in the fridge protects the shells from moisture and fridge odors.
- Save time. Dip 6 pops at a time while the rest stay in the fridge, so the balls never warm up and soften.
Common Mistakes & Troubleshooting
Coating cracks as it dries: Balls that are too cold, or frozen, expand as they warm and split the shell. Chill the balls only until firm, about 30 minutes in the fridge, and let them sit for 5 minutes before dipping. Dab melted coating over any crack with a clean finger and add a sprinkle.
Pops slide down or fall off the stick: Skipping the anchor dip, heavy balls, or too much frosting makes them slip. Dip each stick tip in coating and chill it 10 minutes, and keep the balls to 24g. If a pop falls, dip it without a stick as a cake truffle.
Thick, lumpy coating: Overheated candy melts, or a drop of water, makes the coating seize and thicken. Melt at 50 percent power in 30 second bursts, and use a manufacturer-recommended thinner only if needed. Never add water, since it makes the coating seize for good.
Oily spots on the shell: Too much frosting, or a warm kitchen, lets oil seep through the coating. I added 3/4 cup of buttercream to my first batch, and the pops looked greasy by morning. Use 1/3 to 1/2 cup, and chill the finished pops.
Beads of moisture and dimples: Taking cold pops straight into warm air makes condensation that dulls the shell. Let chilled pops come to room temperature in a closed container for 30 minutes before you open it.
Storage Instructions
- Room Temperature: Store in an airtight container in a single layer for up to 2 days, in a cool room below 70°F.
- Refrigerator: Keep in an airtight container for up to 5 days, and let them sit sealed for 30 minutes before serving.
- Freezer: Freeze undipped balls for up to 3 months, or dipped pops for up to 1 month, in a single layer. Thaw overnight in the fridge in a sealed container.
- Reheating: Not applicable, since cake pops are served at room temperature. Let chilled pops sit for 15 minutes before serving.
- Make Ahead: Bake the cake up to 2 days ahead, and shape the balls up to 3 days ahead, then dip them on the day.
- My storage tip: I freeze undipped balls in a zip top bag, so I can dip a dozen fresh pops whenever a party appears.
Variations & Substitutions
- Warm spiced version: Add 1 teaspoon ground cinnamon and 1/4 teaspoon cardamom to the cake for a cozy flavor.
- Spicy version: Use the chocolate cake swap, add 1/4 teaspoon cayenne and 1/2 teaspoon cinnamon, and coat in dark melting wafers.
- Mild, kid friendly version: Fold 1/4 cup of rainbow sprinkles into the batter for a funfetti cake, and coat in a bright pastel color.
- Vegetarian version: The recipe is already vegetarian, though some sprinkles contain confectioner’s glaze or gelatin, so check the label.
- Gluten free version: Use a 1:1 gluten free baking flour blend with xanthan gum, and bake 2 to 3 minutes longer.
- Chocolate version: Replace 1/4 cup of the flour with unsweetened cocoa powder, and add 2 tablespoons of milk.
- Boxed cake mix shortcut: Bake one 15.25 ounce box as directed, cool it, crumble it, and mix with 3/4 cup of frosting for about 45 pops.
Serving Suggestions
Cake pops are best served at room temperature, standing upright on a stand or in a jar of sugar.
- Garnishes: Sprinkles, crushed freeze dried strawberries, or a drizzle of contrasting melted candy
- Party display: Stand the pops in a foam block wrapped in fabric or in a jar filled with sugar
- Drinks: Cold milk, hot tea, or a Matcha Latte for a creamy pairing
- Dessert tables: Set beside an Oreo cheesecake and an Apple Pie for a spread with three textures
- Party favors: Wrap each pop in a clear cellophane bag with a ribbon
- Meal combinations: Explore more dessert and baking recipes for other celebration favorites
Meal Prep Tip: I bake the cake and shape the balls 2 days before a party, then dip the pops the night before, so the day itself is easy.
Frequently Asked Questions
How do I transport cake pops to a party without them tumbling?
Stand the pops upright in a foam block set inside a box, or poke holes in a sturdy cardboard box lid and push the sticks through, then cover loosely with a cake box or clear bag. Secure the box on a flat surface in an air-conditioned vehicle and protect it from heat and direct sunlight. Chill the pops for 15 minutes before leaving so the coating is firm. Carry any extra sprinkles separately, so your cake pops arrive neat.
Why are my cake pops too sweet?
Cake pops taste sweeter than cake because the frosting and the candy coating both add sugar. Use only 1/3 to 1/2 cup of buttercream, add a pinch of salt to the cake and the frosting, and coat the pops in a thin layer. Dark or semisweet melting wafers also taste less sweet than white ones. A little lemon zest in the cake brightens everything, so your cake pops taste balanced, not sugary.
Can I use chocolate chips or almond bark instead of candy melts?
Yes, with a small adjustment. Almond bark melts and sets just like candy melts, so use it in the same amount. Chocolate chips contain stabilizers that keep them thick, so stir 1 tablespoon of refined coconut oil into 12 ounces of chips, and melt gently at 50 percent power. Couverture chocolate needs tempering for a snap. Candy melts are the easiest choice for cake pops, but chips work well with thinning.
How long do I bake the cake in other pans?
This batter fills one 9 inch square pan. It also fits an 8 inch round pan, 2 inches deep, baked 30 to 35 minutes, or makes 18 cupcakes baked 18 to 22 minutes. For a 9 by 13 inch pan, double the recipe and bake 28 to 32 minutes. Look for a golden top and a toothpick with a few dry crumbs, then cool fully before crumbling for your cake pops.
How many cake pops does a boxed cake mix make?
A standard 15.25 ounce boxed cake mix, baked as directed and mixed with about 3/4 cup of frosting, makes 40 to 48 cake pops when you roll 1 tablespoon sized balls. This homemade recipe makes about 30 pops from a single 9 inch cake. Use a scale if you want even pops, aiming for 24 grams each, and plan on 12 ounces of candy melts for every 30 pops, so your cake pops coat evenly.
Conclusion
The best cake pops are the ones you stop fussing over. A smooth coating and a clean round shape come from patience and a steady hand, but the real lesson is that a messy first pop still tastes wonderful, and the second one always looks better.
I made three dozen for a baby shower last spring, and the stand was empty before the toast. The guests traded sprinkles at the table, and the host asked me to write the frosting ratio on the back of a napkin.
Make a batch once as written, then try your own colors. Pastel coatings in spring or red and green in December turn these cake pops into a tradition every season.
For more easy dessert and baking recipes like this one, follow along on Pinterest at MyRecipesDiary.

Cake Pops Recipe
Ingredients
Equipment
Method
- Heat the oven to 350°F, grease and line the pan, and whisk the flour, baking powder, and salt. Beat the butter and sugar for 3 minutes until pale, beat in the eggs and vanilla, then alternate the flour mixture and milk, mixing on low until smooth. Pour into the pan and bake 28 to 32 minutes, until golden and a toothpick shows a few dry crumbs.
- Cool the cake in the pan for 15 minutes, then on a wire rack for 45 minutes, until cool to the touch. A warm cake turns gummy when it meets frosting.
- Beat the butter for 2 minutes until pale, then beat in the powdered sugar, milk, vanilla, and salt for 2 more minutes, until smooth and fluffy.
- Crumble the cake through a fine mesh sieve into a large bowl until it looks like fine, even crumbs, then stir in 1/3 cup of the buttercream. Add more 1 tablespoon at a time, until the mixture holds together when squeezed.
- Scoop 24g balls, about 1 tablespoon each, roll them smooth between your palms, and set them on the lined tray. Refrigerate for 30 minutes, until firm but not frozen.
- Melt the candy coating in a tall microwave-safe cup according to its package directions, stirring frequently. Use a manufacturer-recommended thinner only if needed. Let it cool until fluid and barely warm. Dip 1/2 inch of each stick into the coating, push it halfway into a ball, and refrigerate the tray for 10 minutes until the anchor sets.
- Dip each chilled pop straight down into the coating in one smooth motion, covering it right to the stick, then lift it out. Rotate it slowly and tap your wrist gently, not the stick, until the extra coating drips off and the surface looks glossy, then add sprinkles at once.
- Stand the pops upright in the foam block and leave them at room temperature for 15 to 20 minutes, until the coating looks matte and feels fully dry. Move them to the fridge for 10 minutes for a firm set.
Notes
- Use only enough buttercream for a play dough texture.
- Follow the coating manufacturer’s directions for thinning and keep water out of the coating.
- Dip in small batches so the balls stay cold.