Classic Red Velvet Cake Recipe

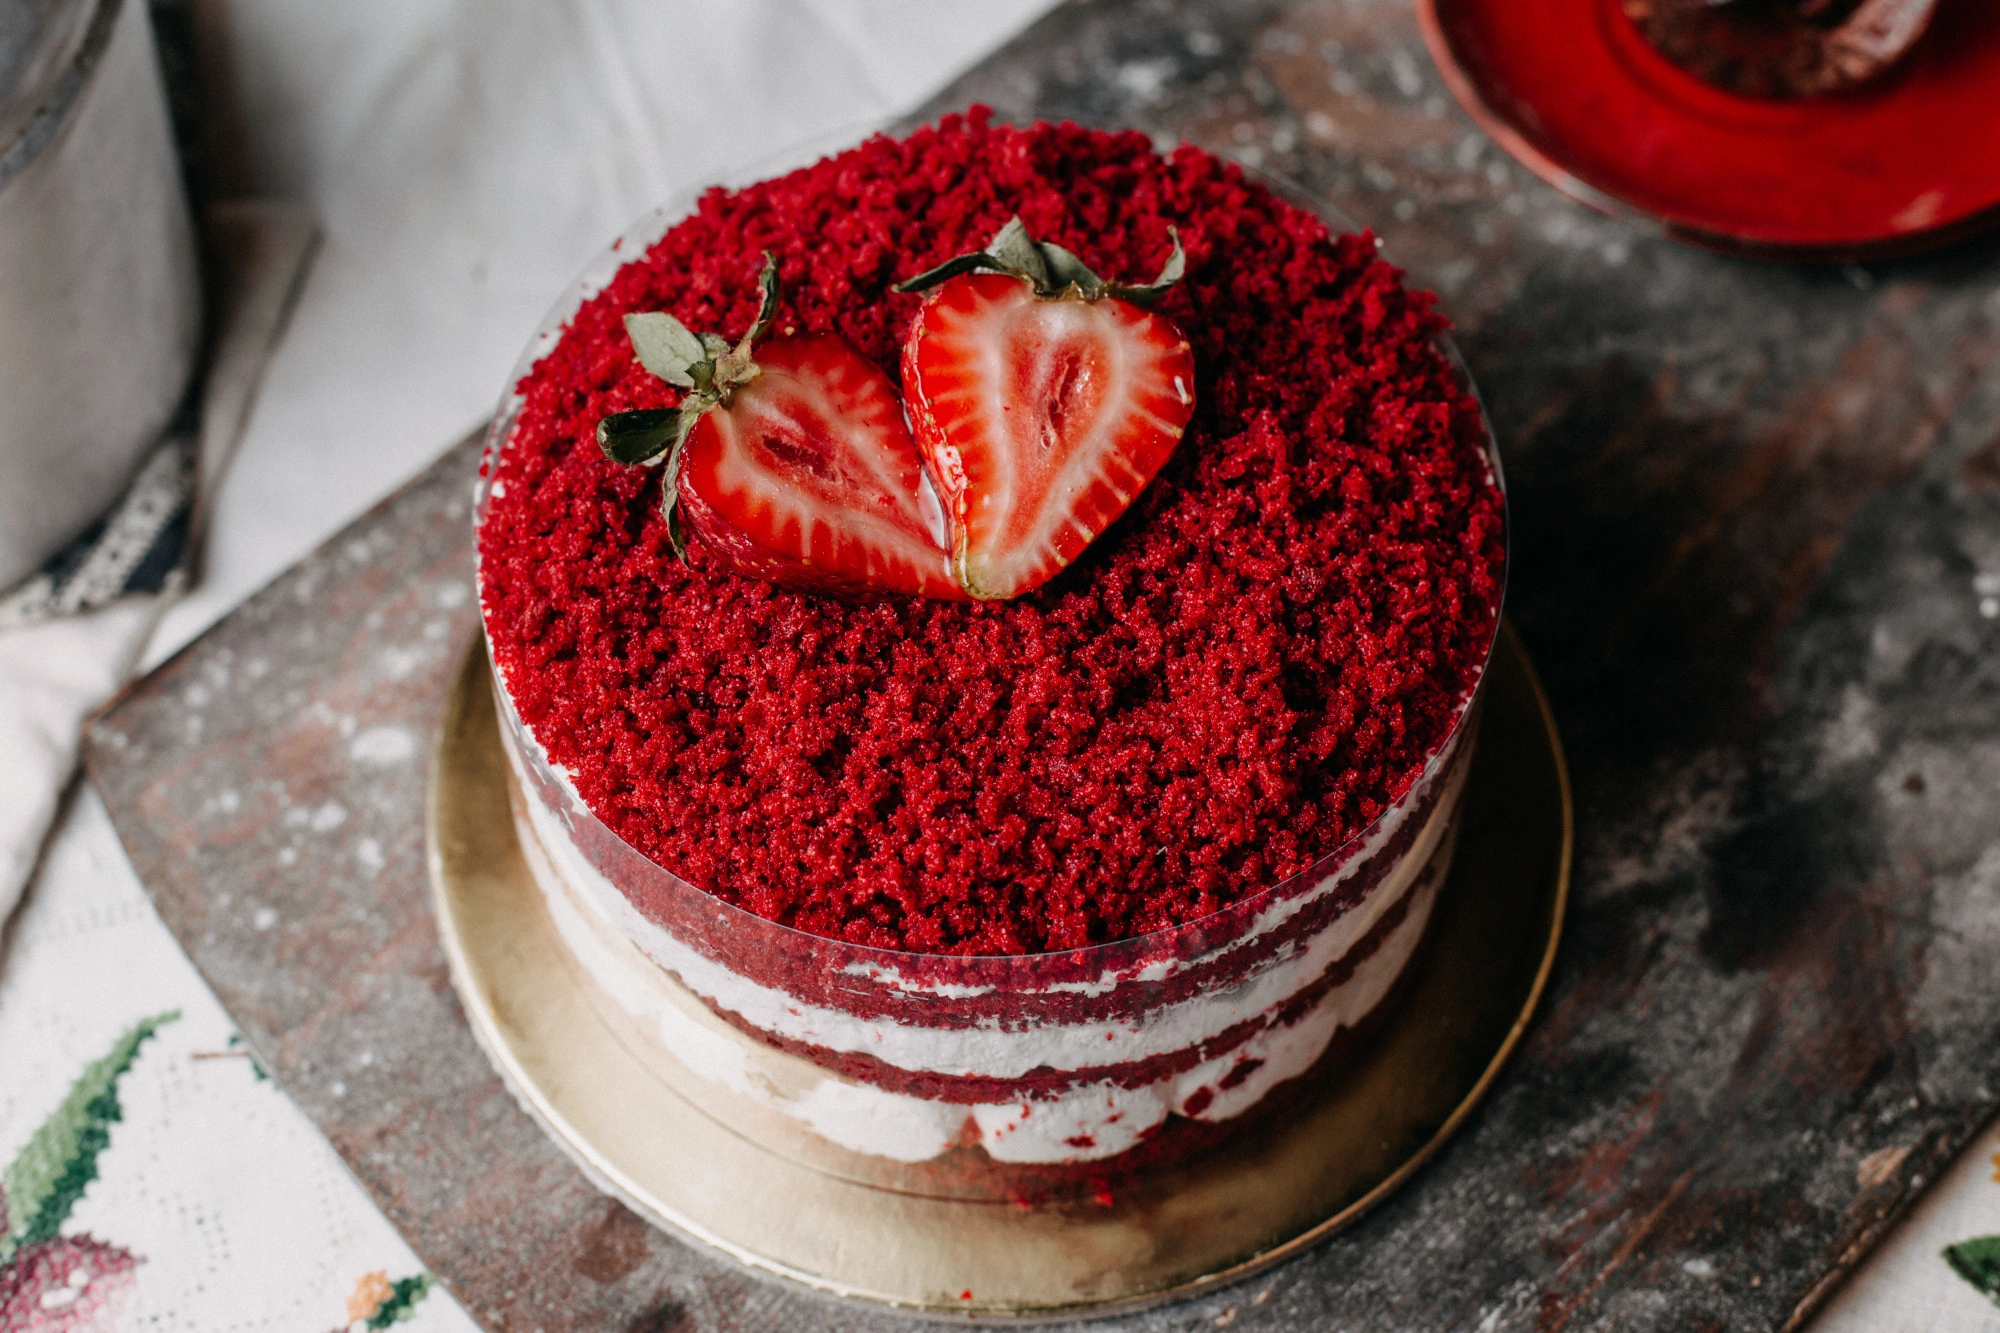
A cake this dramatic in color, with a tender, faintly cocoa flavored crumb hiding under swoops of tangy cream cheese frosting, earns its place at the top of nearly every celebration dessert table. Red Velvet Cake layers a soft, buttermilk based batter with a rich frosting that balances the cake’s subtle sweetness perfectly, creating one of those red velvet desserts people request by name.
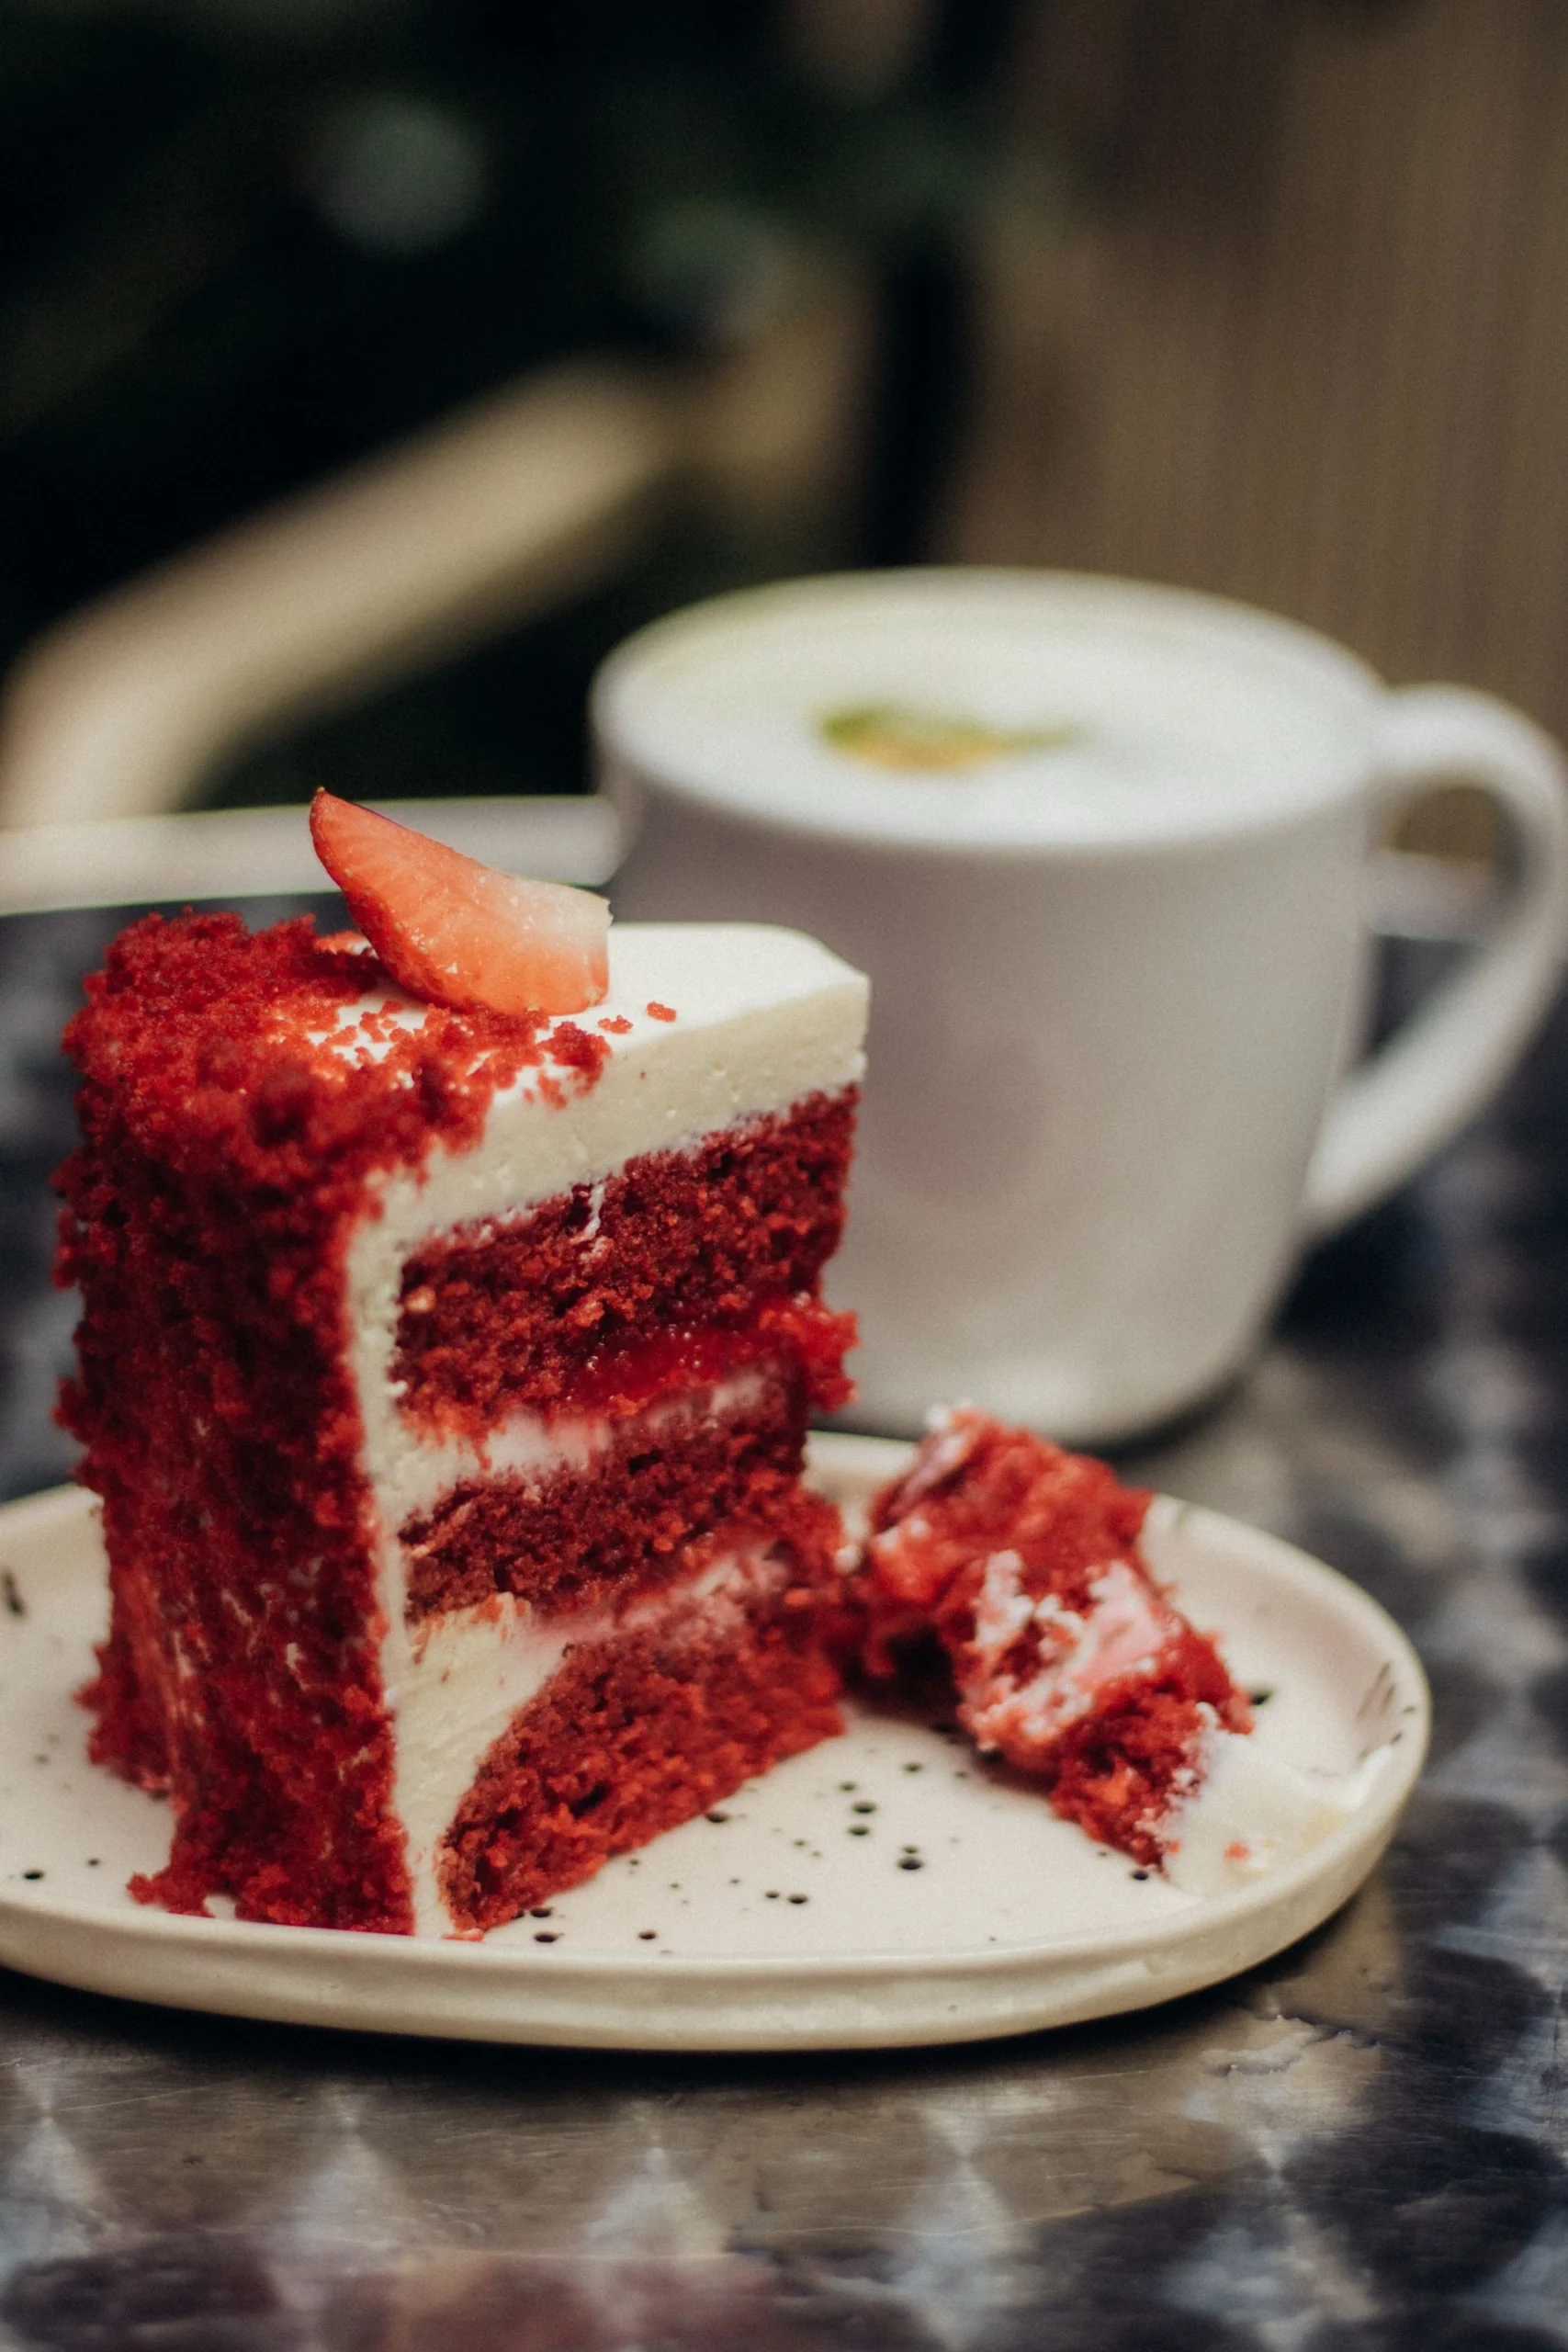
I used to think the vivid red color was the whole point of this cake, until I actually dug into the batter and realized the real magic is in the texture, that unmistakably soft, almost velvety crumb the cake is named for. A splash of vinegar reacting with the baking soda is part of what gives it that tender lift, a small detail easy to miss but impossible to replace. Once you slice into a properly made red velvet cake and see those bright red layers against white frosting, you understand immediately why it has stayed a classic for so long.
Table of Contents
Why You’ll Love This Recipe
- That signature tender crumb, soft and faintly chocolatey in every bite
- Tangy cream cheese frosting that perfectly balances the cake’s sweetness
- A genuine showstopper, dramatic enough for birthdays, holidays, or Valentine’s Day
- Freezer friendly layers, making it easy to bake ahead for events
- Easy to adapt, from a full layer cake to red velvet cupcakes
- A true classic, the kind of dessert worth having in your regular rotation
Quick Information
- Prep Time: 25 minutes
- Cook Time: 30 minutes
- Cool Time: 30 minutes
- Total Time: About 1 hour 30 minutes
- Servings: 12
- Difficulty: Medium
- Calories: 420 per serving
- Important Tool: Two 9 inch round cake pans
- Best For: Birthdays, holidays, Valentine’s Day, or any celebration dessert table
- Course: Dessert
- Cuisine: American
- Category: Desserts & Baking
Nutrition Information
- Calories: 420
- Protein: 5g
- Carbohydrates: 52g
- Fat: 22g
- Fiber: 1g
- Sugar: 38g
- Sodium: 320mg
- Serving Size: 1 slice (about 1/12 of the cake)
- Servings Per Recipe: 12
Most of the sugar and fat in this red velvet cake comes from the cream cheese frosting, so using a slightly thinner layer of frosting is an easy way to lighten each serving without losing the cake’s signature flavor pairing. The buttermilk in the batter adds tenderness while keeping the cake itself relatively light compared to denser cake styles.
Nutrition information is an estimate calculated from standard ingredient values and will vary based on specific brands and portion sizes used.
Ingredients
For the Cake
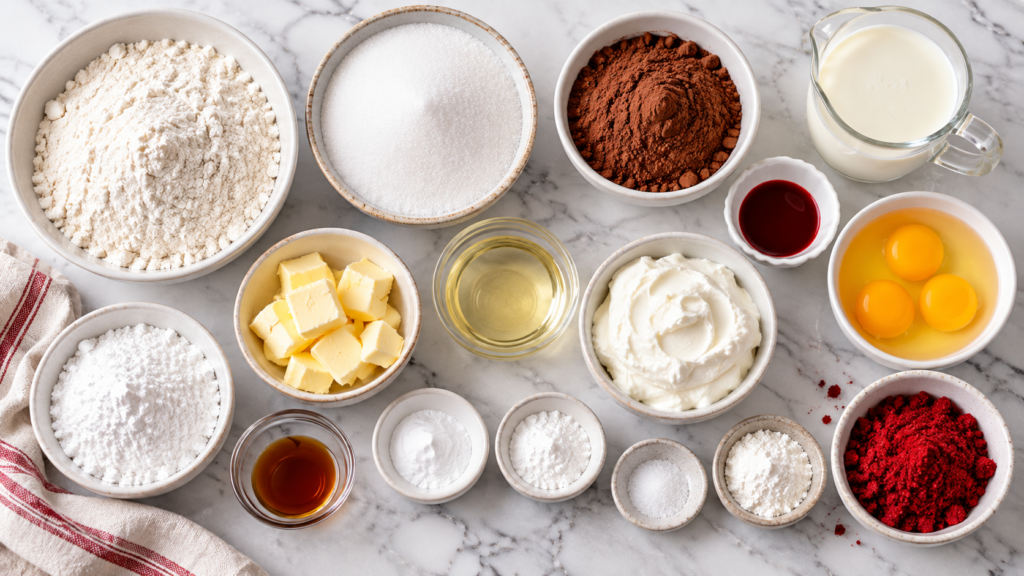
- 2 1/2 cups (315g) all purpose flour
- 2 tablespoons unsweetened cocoa powder
- 1 teaspoon baking soda
- 1/2 teaspoon salt
- 1 1/2 cups (300g) granulated sugar
- 1 1/2 cups (360ml) vegetable oil
- 2 large eggs
- 1 cup (240ml) buttermilk
- 2 tablespoons red food coloring
- 1 teaspoon vanilla extract
- 1 teaspoon white vinegar
For the Cream Cheese Frosting
- 16oz (450g) cream cheese, softened
- 1/2 cup (115g) unsalted butter, softened
- 4 cups (480g) powdered sugar
- 1 teaspoon vanilla extract
Ingredient Notes: Buttermilk is what gives this red velvet cake its tender crumb and faint tang, so avoid substituting regular milk if you can help it. Gel food coloring gives a more vibrant, true red color than liquid food coloring without thinning out the batter, though liquid coloring works in a pinch with a slightly less intense shade.
Tip: If you do not have buttermilk, stir 1 tablespoon of white vinegar or lemon juice into 1 cup of regular milk and let it sit for 5 minutes before using it in the batter.
Equipment Needed
- Two 9 inch round cake pans – bakes the cake into even, stackable layers
- Hand mixer or stand mixer – creams the frosting smooth and whips the batter together
- Offset spatula – spreads the frosting evenly between and around the layers
- Wire racks – cools the cake layers completely before frosting
Practical Tip: Lining the bottom of each cake pan with a round of parchment paper makes releasing the baked layers far easier than relying on greasing alone.
Preparation
Before you start, preheat your oven to 350°F (175°C) and grease and line both cake pans with parchment paper. Measure out your dry ingredients into one bowl and set your eggs and buttermilk out to come closer to room temperature, since room temperature ingredients blend more evenly than cold ones.
Have your food coloring and vinegar measured and ready nearby, since they get added toward the end of mixing the batter.
Step by Step Instructions
- Whisk the dry ingredients. In a large bowl, whisk together the flour, cocoa powder, baking soda, and salt.
- Mix the wet ingredients. In a separate bowl, beat the sugar and oil together, then add the eggs one at a time, beating well after each addition.
- Add the buttermilk and color. Mix in the buttermilk, red food coloring, and vanilla extract until fully combined.
- Combine wet and dry. Gradually add the dry ingredients to the wet mixture, mixing just until no streaks of flour remain, taking care not to overmix once the flour has been added, since overmixing develops gluten and leads to a denser, tougher cake instead of that soft, velvety texture this recipe is named for.
- Add the vinegar. Stir in the white vinegar last. This small amount of vinegar reacts with the baking soda already in the batter, creating extra lift and contributing to the tender, fine crumb that sets red velvet cake apart from a standard chocolate cake.
- Divide and bake. Divide the batter evenly between the two prepared pans and bake for 28 to 30 minutes, until a toothpick inserted into the center comes out clean.
- Cool completely. Let the layers cool in the pans for 10 minutes, then turn them out onto wire racks to cool completely, at least 30 minutes, before frosting. Frosting warm cake layers will cause the cream cheese frosting to melt and slide right off, so this cooling step genuinely cannot be rushed.
- Make the frosting. Beat the softened cream cheese and butter together until smooth, then gradually add the powdered sugar, beating until light and fluffy, and mix in the vanilla extract.
- Assemble and frost. Place one cake layer on a serving plate, spread a generous layer of frosting on top, add the second layer, then frost the top and sides of the whole cake.
Expert Tips & Tricks
- Use room temperature ingredients. The first time I rushed this with cold eggs and buttermilk straight from the fridge, the batter looked slightly curdled, so now I always let them sit out for about 20 minutes first.
- Do not overmix once the flour goes in. Stop as soon as the streaks disappear to keep that signature tender crumb.
- Let the layers cool completely. This is the single most common reason frosting ends up sliding instead of staying put.
- Level your layers if needed. Trimming any domed tops with a serrated knife makes for a neater, more stable stack.
- Chill the frosted cake briefly before slicing. About 20 minutes in the fridge firms up the frosting and gives you much cleaner cuts.
- Use gel food coloring for the most vibrant color. It delivers a deeper red without thinning the batter the way liquid coloring can.
- Bake ahead and freeze the layers. Wrapped tightly, unfrosted layers freeze well, so you can split the work across two days for any event.
Common Mistakes & Troubleshooting
Dry cake: Overbaking, or measuring too much flour by scooping directly from the bag, are the most common culprits. Check for doneness starting a couple minutes before the timer goes off, and spoon your flour into the measuring cup rather than packing it in.
Dense, heavy texture: Overmixing the batter once the flour is added develops too much gluten, working against the light, tender crumb this cake is known for. Mix just until the streaks of flour disappear, accepting a few small lumps rather than a perfectly smooth batter.
Frosting slides off the cake: This almost always means the layers were still slightly warm when frosted. Let them cool completely on a wire rack, which takes a full 30 minutes or more, before spreading any frosting.
Uneven or dull color: Not mixing the food coloring in thoroughly, or using a liquid coloring that is too diluted, can leave the color patchy or muted. Make sure the coloring is fully incorporated before adding the dry ingredients, and consider gel coloring for a deeper, more even red.
Frosting too thin: Cream cheese or butter that was too soft or slightly melted when beaten can leave the frosting too loose to hold its shape. Chill the frosting in the fridge for 10 to 15 minutes if it seems too soft, then give it a quick stir before spreading.
Storage Instructions
- Room Temperature: Do not leave frosted cake out longer than 2 hours, since cream cheese frosting needs refrigeration.
- Refrigerator: Store the frosted cake in an airtight container for up to 5 days.
- Freezer: Freeze unfrosted cake layers tightly wrapped for up to 3 months; a fully frosted cake can also be frozen, though texture is best when frozen unfrosted.
- Reheating: Not required, as this cake is served at room temperature or chilled.
- Make Ahead: Bake the layers up to 2 days in advance and frost the day you plan to serve for the best appearance and texture.
- My storage tip: I almost always bake and freeze the layers ahead of a big event, then thaw and frost the morning of, which keeps the cake tasting genuinely fresh instead of previously frozen.
Variations & Substitutions
- Warm spiced version: Add 1/2 teaspoon of ground cinnamon to the dry ingredients for a subtle, cozy twist on the classic flavor.
- Mild, kid friendly version: Use a slightly thicker layer of cream cheese frosting and reduce the cocoa powder by half for an even milder flavor.
- Red velvet cupcakes: This same batter works beautifully as cupcakes, baking at 350°F for about 18 to 20 minutes in a lined muffin tin instead of two cake pans.
- Gluten free version: Substitute the all purpose flour with a 1:1 gluten free baking flour blend, keeping the rest of the recipe the same.
- Other substitutions: Swap a portion of the artificial food coloring for natural beet powder if you prefer a more natural tint, though the color will be slightly less vivid.
Serving Suggestions
Red velvet cake is rich enough to be the centerpiece of any dessert table on its own.
- Drinks: A hot cup of coffee or a cold glass of milk alongside
- Dessert spreads: Pair with chocolate cupcakes or almond cookies for a bigger mixed dessert table
- Occasions: Perfect for birthdays, Valentine’s Day, or any celebration that calls for something a little dramatic
- Toppings: A few fresh raspberries or a light dusting of cocoa powder on top of the frosting
- Meal combinations: Explore more dessert and baking recipes for other homemade treats
Meal Prep Tip: I regularly bake the cake layers a day or two ahead and keep them wrapped in the freezer, so all that is left on the day of an event is thawing and frosting.
Frequently Asked Questions
Can I make red velvet cake ahead of time?
Yes, baking the layers up to 2 days in advance and freezing them wrapped tightly is one of the easiest ways to get ahead on this recipe. Frost the cake the day you plan to serve it for the best texture and appearance, since the frosting holds up better freshly made. A fully frosted cake also keeps in the refrigerator for up to 5 days if needed.
Why does my red velvet cake taste dry?
Dry cake usually comes down to overbaking or using too much flour, often from scooping directly out of the bag rather than spooning it into the measuring cup. Start checking for doneness a couple minutes before the timer goes off, and fluff your flour before measuring to avoid packing in extra.
Can I turn this into red velvet cupcakes instead?
Absolutely, this same batter converts easily into red velvet cupcakes, simply divide it among a lined muffin tin and bake at 350°F for about 18 to 20 minutes, checking with a toothpick for doneness. The cream cheese frosting works exactly the same way piped or spread on top of the cooled cupcakes.
Why do you add vinegar to red velvet cake?
The small amount of vinegar reacts with the baking soda already in the batter, creating extra lift and contributing to that signature soft, fine textured crumb the cake is named for. It also helps balance the slight sweetness of the batter with a touch of acidity, though you will not taste the vinegar itself in the finished cake.
Why is red velvet cake technically chocolate cake?
Red velvet cake actually contains a small amount of cocoa powder, which historically gave the batter a reddish brown tint even before food coloring became common. Modern versions lean more heavily on added food coloring for that vivid red shade, but the small amount of cocoa is still there, giving the cake its subtle, unmistakable chocolate undertone rather than the more pronounced flavor of a true chocolate cake.
Conclusion
Red Velvet Cake earns its reputation as a celebration classic by combining a genuinely tender, subtly chocolatey crumb with a tangy cream cheese frosting that few other combinations can match. What makes this version worth the extra steps is understanding that the real character of the cake comes from texture, not just color, built through small details like the vinegar and properly room temperature ingredients. Bake this one for your next celebration, and you will likely understand exactly why it has remained a staple among red velvet desserts for generations.
For more easy dessert and baking recipes like this one, follow along on Pinterest at MyRecipesDiary.

Red Velvet Cake
Ingredients
Equipment
Method
- Whisk together flour, cocoa powder, baking soda, and salt.
- Beat sugar and oil, then add eggs one at a time.
- Mix in buttermilk, food coloring, and vanilla.
- Combine wet and dry ingredients just until no streaks remain.
- Stir in vinegar last.
- Divide between two pans and bake at 350°F for 28 to 30 minutes.
- Cool completely, at least 30 minutes, before frosting.
- Beat cream cheese, butter, powdered sugar, and vanilla into a smooth frosting.
- Layer and frost the fully cooled cake.
Notes
- Do not overmix the batter once the flour is added, or the cake will turn out dense instead of tender.
- The vinegar reacts with the baking soda for extra lift; do not skip it.
- Use room temperature eggs and buttermilk for the smoothest batter.
- Two 9 inch round pans give the batter room to rise into even, stackable layers.