Stuffed Bell Peppers

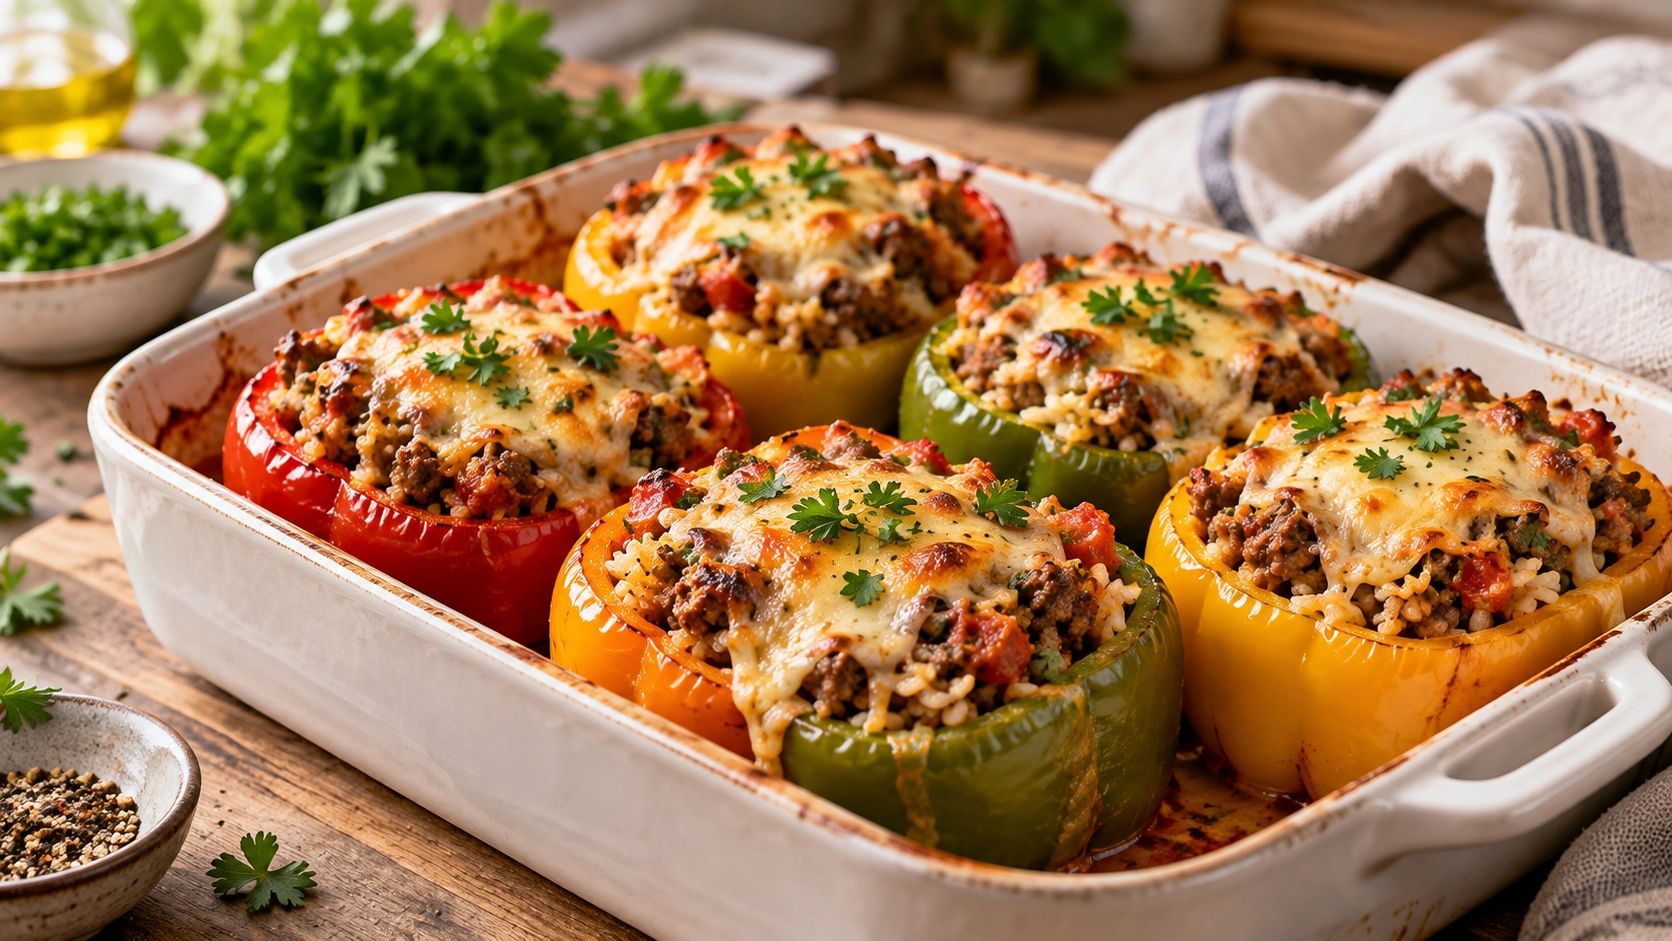
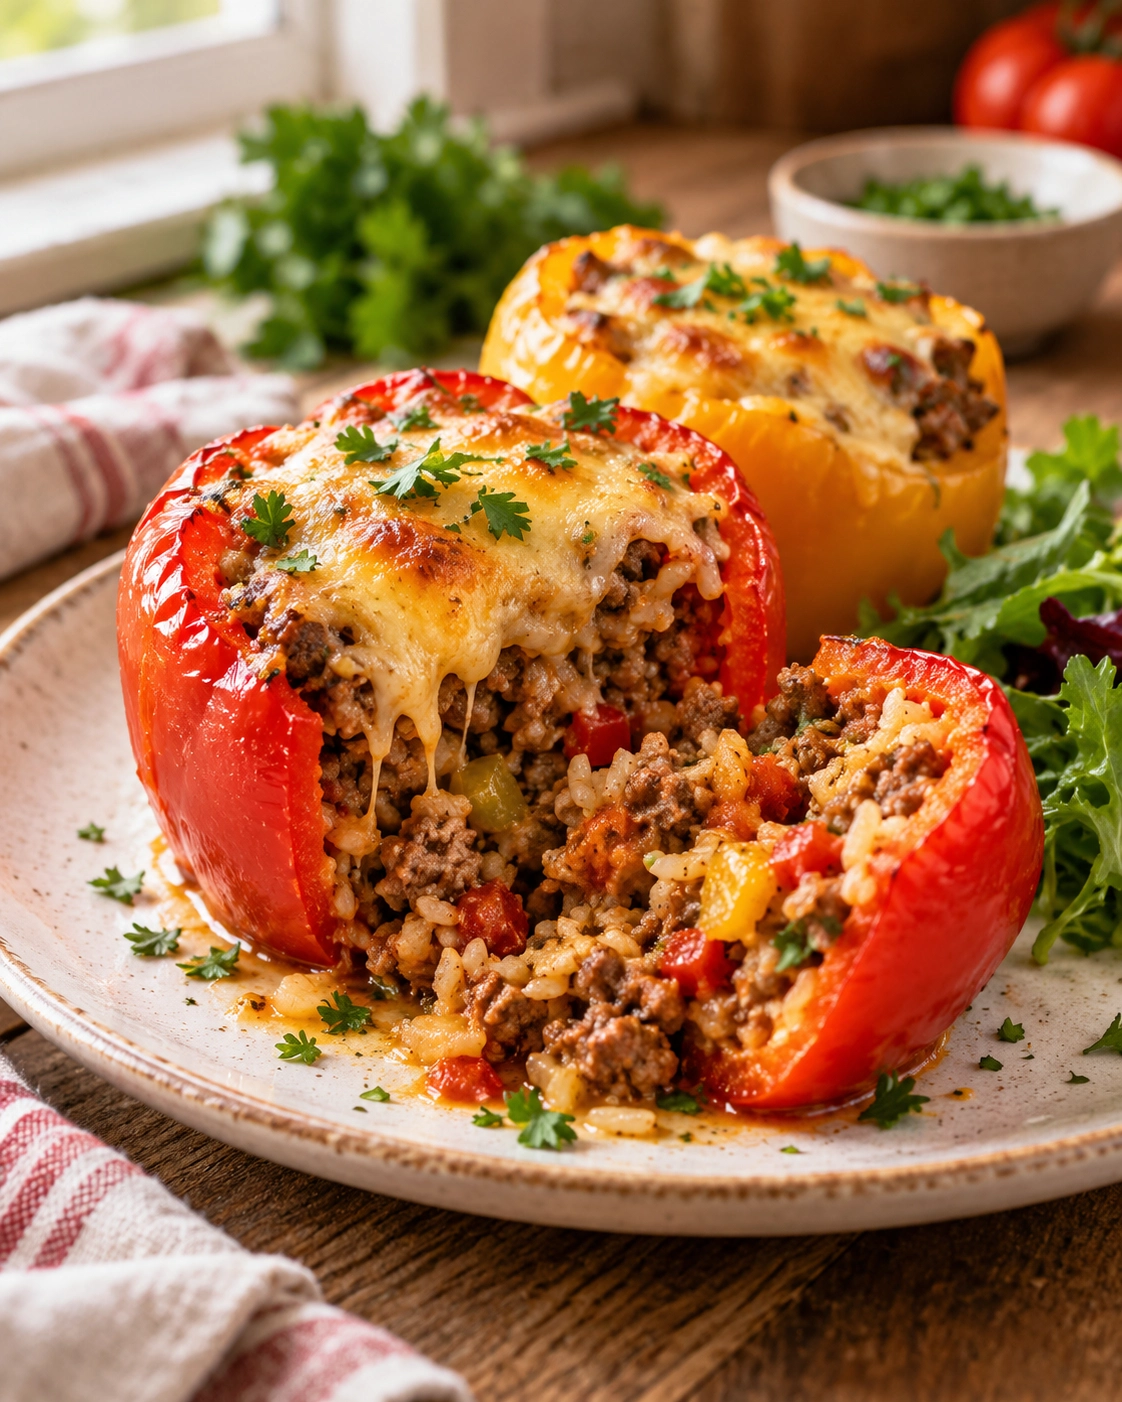
A pepper this loaded, with a savory beef and rice filling spilling out under melted cheese, turns a simple vegetable into the actual centerpiece of dinner. Stuffed Bell Peppers take tender roasted peppers and fill them with a hearty, well seasoned mixture that holds together in every bite instead of falling apart on the plate.
I used to skip a step that made a real difference here, pre-softening the peppers slightly before stuffing them, and ended up with a crunchy shell around a perfectly cooked filling more times than I would like to admit. Once I started giving the peppers a short head start in the oven before adding the filling, this recipe became reliably tender all the way through. These stuffed bell peppers have become one of my favorite ways to turn ground beef, rice, and a handful of pantry staples into a dinner that looks far more impressive than the effort it actually takes.
Table of Contents
Why You’ll Love This Recipe
- A complete meal in one pepper, protein, rice, and vegetables all together
- Loaded with savory flavor from a well seasoned beef and rice filling
- Great for meal prep, since a batch holds up well through the week
- Naturally portioned, making cleanup and serving genuinely simple
- Easy to customize, from the protein to the color of pepper you use
- Freezer friendly, whether baked or assembled ahead unbaked
Quick Information
- Prep Time: 20 minutes
- Cook Time: 40 minutes
- Total Time: 1 hour
- Servings: 6
- Difficulty: Easy
- Calories: 320 per serving
- Important Tool: A large baking dish
- Best For: Weeknight dinners, meal prep, or a colorful dish for a potluck
- Course: Main Course
- Cuisine: American
- Category: Main Dishes
Nutrition Information
- Calories: 320
- Protein: 22g
- Carbohydrates: 26g
- Fat: 14g
- Fiber: 3g
- Sugar: 6g
- Sodium: 560mg
- Serving Size: 1 stuffed pepper
- Servings Per Recipe: 6
These stuffed bell peppers get a solid protein boost from the ground beef, while the peppers themselves add fiber and vitamin C to round out the meal. Swapping in ground turkey is an easy way to lighten this dish slightly without changing the overall technique.
Nutrition information is an estimate calculated from standard ingredient values and will vary based on specific brands and portion sizes used.
Ingredients
For the Peppers
- 6 large bell peppers, any color, tops cut off and seeds removed
For the Filling
- 1 pound ground beef
- 1 small onion, diced
- 2 garlic cloves, minced
- 2 cups cooked rice
- 1 can (14.5oz) diced tomatoes, drained
- 1/2 cup tomato sauce
- 1 teaspoon Italian seasoning
- 3/4 teaspoon salt
- 1/4 teaspoon black pepper
- 1 1/2 cups shredded mozzarella or cheddar cheese, divided
- 2 tablespoons chopped fresh parsley, for garnish
Ingredient Notes: Choosing peppers with a relatively flat bottom helps them stand upright on their own in the baking dish, rather than tipping over during baking. Day old or slightly leftover rice actually works better than freshly cooked rice here, since it holds its texture more firmly in the filling.
Callout Box — Ingredient Tip: Drain your canned diced tomatoes well before adding them to the filling, since extra liquid can make the finished stuffed bell peppers watery instead of holding together properly.
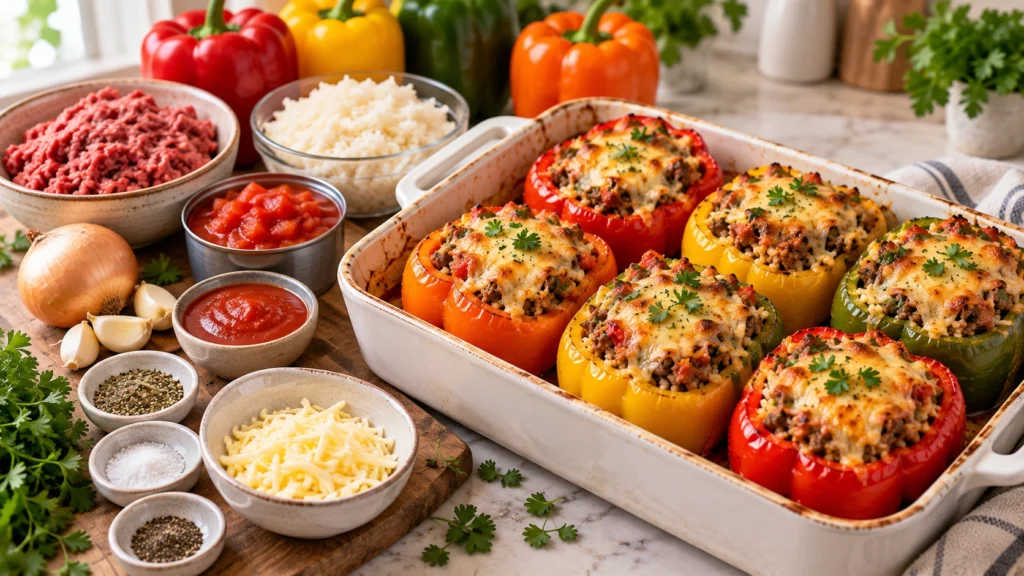
Equipment Needed
- Large baking dish – holds the peppers upright while they bake
- Large skillet – browns the beef and builds the filling
- Knife – for cutting the tops off the peppers and removing seeds
- Spoon – for stuffing the filling into each pepper
Practical Tip: If a pepper wobbles instead of standing upright, slice a very thin piece off the bottom to create a flat, stable base rather than cutting through the pepper itself.
Preparation
Before you start, preheat your oven to 375°F (190°C) so it is fully heated once your peppers are ready to bake. Cut the tops off each bell pepper and remove the seeds and membranes, keeping the pepper shells intact for stuffing.
Arrange the prepared peppers upright in a baking dish, giving each one enough room that they are not squeezed too tightly against each other.
Step by Step Instructions
- Pre-soften the peppers. Bake the empty peppers, upright in the baking dish, for 10 minutes before filling them. Giving the peppers this short head start in the oven is what guarantees they turn out fully tender by the time the filling is done, rather than staying slightly crunchy.
- Brown the beef. While the peppers bake, heat a large skillet over medium heat and cook the ground beef with the onion for 6 to 7 minutes, breaking it apart, until no pink remains and the onion is soft.
- Add the garlic. Stir in the minced garlic and cook for 30 seconds, until fragrant.
- Build the filling. Add the cooked rice, drained diced tomatoes, tomato sauce, Italian seasoning, salt, and pepper, stirring until well combined. The filling should look thick and hold together when scooped with a spoon rather than looking loose or watery; if it seems too wet, let it simmer another minute or two to reduce.
- Stuff the peppers. Remove the pre-baked peppers from the oven and fill each one generously with the beef and rice mixture, pressing gently to pack it in.
- Top with cheese. Sprinkle each stuffed pepper with shredded cheese, dividing it evenly among all six.
- Bake covered. Cover the baking dish loosely with foil and bake for 20 minutes.
- Bake uncovered. Remove the foil and bake for an additional 5 to 8 minutes, until the cheese is melted and lightly golden. A finished pepper should feel tender when pierced with a fork and the filling should be visibly hot throughout, with the cheese on top fully melted rather than just softened.
- Rest and garnish. Let the peppers rest for 5 minutes before garnishing with fresh parsley and serving.
Expert Tips & Tricks
- Pre-soften the peppers first. The first time I skipped this step to save time, the peppers stayed noticeably crunchy even after a full bake, so now I never skip that initial 10 minute head start.
- Choose peppers that stand upright. A relatively flat bottomed pepper saves you the trouble of it tipping over mid-bake and spilling filling into the dish.
- Do not overstuff. Filling each pepper generously but not beyond the rim keeps everything contained as it bakes rather than overflowing.
- Use day old rice if you have it. Slightly firmer, previously cooked rice holds its texture better in the filling than rice made fresh the same day.
- Let the peppers rest before serving. A short 5 minute rest after baking helps the filling set slightly, making it easier to serve without everything sliding apart.
- Make the filling ahead of time. Preparing the beef and rice mixture a day in advance means all that is left to do later is stuff and bake the peppers.
- Mix up the colors. Using a variety of red, yellow, and orange peppers instead of all one color makes for a noticeably more colorful dinner plate.
Common Mistakes & Troubleshooting
Peppers still crunchy after baking: This almost always means the peppers were not given a head start in the oven before stuffing. Pre-bake the empty peppers for 10 minutes before filling them, which is the single biggest factor in ensuring fully tender stuffed bell peppers.
Watery filling: Skipping the step of draining canned diced tomatoes, or using undrained tomatoes altogether, adds excess liquid to the filling. Always drain your tomatoes well, and let the filling simmer for an extra minute or two if it still looks loose before stuffing the peppers.
Peppers collapse or turn mushy: Overbaking, or pre-softening the peppers for too long before stuffing, can leave them too soft to hold their shape. Stick to the recommended pre-bake time and total cook time rather than extending it just to be safe.
Filling falls out while serving: Overstuffing the peppers beyond the rim, or cutting too wide an opening at the top, can make the filling harder to keep contained. Fill generously but stop at the rim, and use a spoon to gently pack the filling rather than mounding it excessively.
Bland filling: Under-seasoning the beef and rice mixture, or skipping the Italian seasoning, leaves the finished stuffed bell peppers tasting flatter than they should. Season generously while building the filling and taste it before stuffing, since that is much easier to adjust than after the peppers are baked.
Storage Instructions
- Room Temperature: Do not leave the peppers out longer than 2 hours.
- Refrigerator: Store in an airtight container for up to 4 days.
- Freezer: Freeze baked or unbaked stuffed peppers tightly wrapped for up to 3 months.
- Reheating: Reheat individual peppers in the microwave for 2 to 3 minutes, or cover the dish with foil and reheat in a 350°F (175°C) oven for 20 minutes.
- Make Ahead: Assemble the stuffed peppers up to 24 hours in advance, cover, and refrigerate until ready to bake.
- My storage tip: I always wrap leftover stuffed bell peppers individually before refrigerating, since it makes grabbing a single serving for lunch far easier than digging through one large container.
Variations & Substitutions
- Spicy version: Stir in a diced jalapeño or a pinch of red pepper flakes to the filling for a subtle kick.
- Mild, kid friendly version: Stick with a mild cheese and skip any added spice for a flavor that appeals to younger palates.
- Vegetarian version: Swap the ground beef for black beans or lentils, adding extra diced vegetables to the filling for texture.
- Gluten free version: This recipe is naturally gluten free as written, provided your tomato sauce and seasoning blends are confirmed gluten free.
- Other substitutions: Use ground turkey or chicken in place of beef, swap the rice for quinoa, or stir a cup of corn or black beans into the filling for extra variety.
Serving Suggestions
Stuffed bell peppers are filling enough on their own, but a few sides round out the meal.
- Side salad: A simple green salad with a light vinaigrette balances the richness of the filling
- Bread: Garlic bread pairs well with the tomato based filling
- Vegetables: A side of steamed green beans or roasted zucchini for extra color
- Mains: Pair with chicken broccoli rice casserole if you want to offer two hearty main dishes at once
- Meal combinations: Round out the table with more easy main dish recipes for a bigger spread
Callout Box — Meal Prep Tip: I regularly assemble a full batch of stuffed bell peppers unbaked on a Sunday, refrigerating them until I am ready to bake fresh throughout the week.
Frequently Asked Questions
Can I make stuffed bell peppers ahead of time?
Yes, you can assemble the full peppers up to 24 hours in advance and store them covered in the refrigerator before baking. Just add a few extra minutes to the covered bake time if you are starting from cold instead of room temperature. This makes stuffed bell peppers a great option to prep the night before a busy day.
Why are my stuffed peppers still crunchy after baking?
Crunchy peppers almost always mean they went into the oven raw and unsoftened before being filled and baked. Give the empty peppers a 10 minute head start in the oven before stuffing them, which reliably softens them enough that the final bake finishes the job properly.
Can I freeze stuffed bell peppers?
Yes, both baked and unbaked stuffed bell peppers freeze well for up to 3 months when wrapped tightly. If freezing unbaked, thaw them in the refrigerator overnight before baking as directed, adding a few extra minutes if needed. Baked peppers can be reheated directly from frozen in a covered dish at 350°F, just allowing extra time to heat through.
What’s the best way to keep the peppers standing upright while baking?
Choosing peppers with a relatively flat bottom to begin with makes the biggest difference, since some varieties naturally stand better than others. If a particular pepper still wobbles, slice a very thin piece off the bottom, being careful not to cut all the way through, to create a more stable base.
Why does my stuffed pepper filling turn out watery?
A watery filling almost always comes from undrained canned tomatoes or extra liquid that was not cooked off before stuffing the peppers. Drain your diced tomatoes thoroughly, and let the filling simmer for an extra minute or two if it still looks loose, since it should hold together firmly on a spoon rather than looking soupy.
Conclusion
Stuffed Bell Peppers turn a handful of simple ingredients into a dinner that feels genuinely complete, with protein, grains, and vegetables all coming together in one colorful package. What makes this version reliably good every time is that small pre-baking step for the peppers, ensuring they are tender all the way through rather than fighting a crunchy shell. Make a batch this week, and you will likely find these becoming a regular fixture in your dinner rotation.
For more easy main dish recipes like this one, follow along on Pinterest at MyRecipesDiary.

Smoky Stuffed Bell Peppers
Ingredients
Equipment
Method
- Pre-bake empty peppers upright for 10 minutes.
- Brown ground beef with onion, then add garlic.
- Stir in rice, drained tomatoes, tomato sauce, and seasonings.
- Stuff peppers generously with the filling.
- Top with cheese and bake covered at 375°F for 20 minutes.
- Uncover and bake 5 to 8 minutes until cheese is golden.
- Rest 5 minutes, garnish, and serve.
Notes
- Pre-soften the peppers in the oven before stuffing for reliably tender results.
- Drain canned tomatoes well to prevent a watery filling.
- Do not overstuff; fill generously but stop at the rim.
- A large baking dish gives each pepper enough room to stand upright without tipping over.